How to Make Graduation Necklaces of Candy on a Budget
Learn how to make graduation necklaces of candy with our budget assessment. Compare material costs, stringing techniques, and structural durability.

The Economics of DIY Candy Jewelry for Graduation
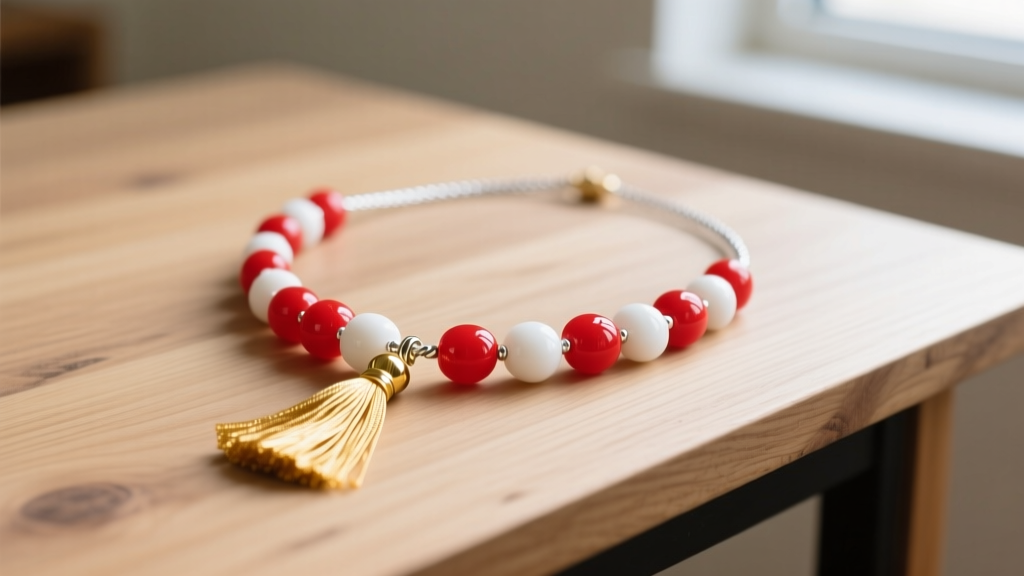
As the class of 2026 prepares to walk across the stage, the demand for unique, personalized party favors has never been higher. While traditional jewelry remains a staple for milestone gifts, novelty accessories have carved out a massive niche in the graduation market. Learning how to make graduation necklaces of candy is not just a nostalgic craft; when approached with a jeweler’s mindset, it becomes a masterclass in budget optimization and perceived value. Pre-made novelty candy necklaces on boutique marketplaces often retail between $12 and $18 per unit. By sourcing wholesale confections and applying professional stringing techniques, you can reduce the cost per necklace to under $2.50 while dramatically increasing the structural integrity and aesthetic appeal of the final piece.
The core of this budget assessment lies in understanding the intersection of food science and jewelry mechanics. Candy is inherently hygroscopic (moisture-attracting) and fragile, meaning the hardware and stringing mediums you choose will dictate whether your creation survives the graduation ceremony or snaps during the first photo op. In this guide, we break down the exact materials, structural tolerances, and cost-saving strategies required to engineer premium DIY candy necklaces.
Material Breakdown: Stringing Mediums and Hardware
The most common point of failure in amateur candy jewelry is the stringing material. Standard cotton craft thread or cheap elastic cord lacks the tensile strength to support the dense, heavy payload of hard candies. According to educational resources from Beadaholique, professional beaders rely on multi-strand stainless steel wire coated in nylon for heavy bead loads. For candy necklaces, a 49-strand flexible beading wire with a 0.018-inch (0.45mm) diameter offers the perfect balance of drape and strength, easily supporting up to 15 pounds of tension without kinking.
| Stringing Material | Diameter | Tensile Strength | Cost per Yard | Best Application |
|---|---|---|---|---|
| Cotton Craft Cord | 1.0mm | Low (2-4 lbs) | $0.02 | Lightweight cereal loops (not recommended for heavy candy) |
| Stretch Magic (Elastic) | 0.8mm | Medium (5-8 lbs) | $0.05 | Dehydrated gummy beads, lightweight fruit snacks |
| 49-Strand Beading Wire | 0.018 inch | High (15-20 lbs) | $0.12 | Hard candies, mints, heavy licorice beads |
| Leather Cord | 2.0mm | Very High (30+ lbs) | $0.25 | Large novelty candy pendants, chunky chocolate pieces |
To elevate the piece from a child's craft to a structured accessory, integrate metallic findings. Using 2mm sterling silver or gold-filled crimp beads, alongside a 10mm lobster clasp, adds approximately $0.45 to your material cost but increases the perceived retail value by over 300%. Jewelry supply experts at Fire Mountain Gems highly recommend using a wire guardian (also known as French wire) at the clasp loop to prevent the abrasive edges of the candy from eventually fraying the beading wire.
Selecting the Right Candy: Humidity and Structural Integrity
Not all candies are engineered to be worn. When assessing the value of your materials, you must account for environmental factors, particularly the high humidity and heat typical of May and June graduation seasons. The structural integrity of your 'beads' will dictate the longevity of the necklace.
Hard Candies vs. Gummies vs. Chocolates
- Hard Candies (Mints, Fruit Drops): These offer the best structural integrity and pre-drilled center holes (usually 2mm to 3mm). However, their high sugar content makes them highly susceptible to ambient moisture. If worn outdoors in high humidity, they will become tacky and eventually dissolve. Budget Tip: Buy these in bulk 5lb bags from restaurant supply stores for roughly $2.80 per pound, dropping the cost to pennies per bead.
- Gummy Candies: Standard gummies will rot, attract insects, and shrink away from the wire within 48 hours. To use gummies, you must partially dehydrate them in a food dehydrator at 135°F for 4 to 6 hours. This creates a stable, leathery 'bead' that holds its shape and won't degrade on the wearer's skin.
- Chocolates: Avoid entirely for wearable necklaces. The melting point of cocoa butter is approximately 93°F (34°C). Body heat combined with outdoor graduation ceremonies will result in catastrophic structural failure and ruined garments.
Step-by-Step Assembly and Budget Optimization
Executing a professional finish requires a specific sequence of assembly to ensure the hardware is secure and the candy is protected from metal abrasion.
- Prepare the Wire: Cut a 34-inch length of 49-strand beading wire (for a standard 16-inch choker/princess length with ample working room).
- Attach the Clasp: Thread on a 2mm crimp bead, followed by a wire guardian. Loop the wire through the jump ring of your lobster clasp, pass it back through the wire guardian, and pull tight. Use crimping pliers to fold and secure the crimp bead.
- String the Candy: Thread your hard candies onto the wire. To prevent the hard candies from grinding against each other and chipping, intersperse them with 2mm seed beads or tiny silicone spacer beads (costing roughly $0.01 per spacer).
- Finish the End: Repeat the crimping process on the opposite end, attaching a split ring or extender chain to allow for adjustable sizing.
Value Assessment: DIY vs. Pre-Made Novelty Necklaces
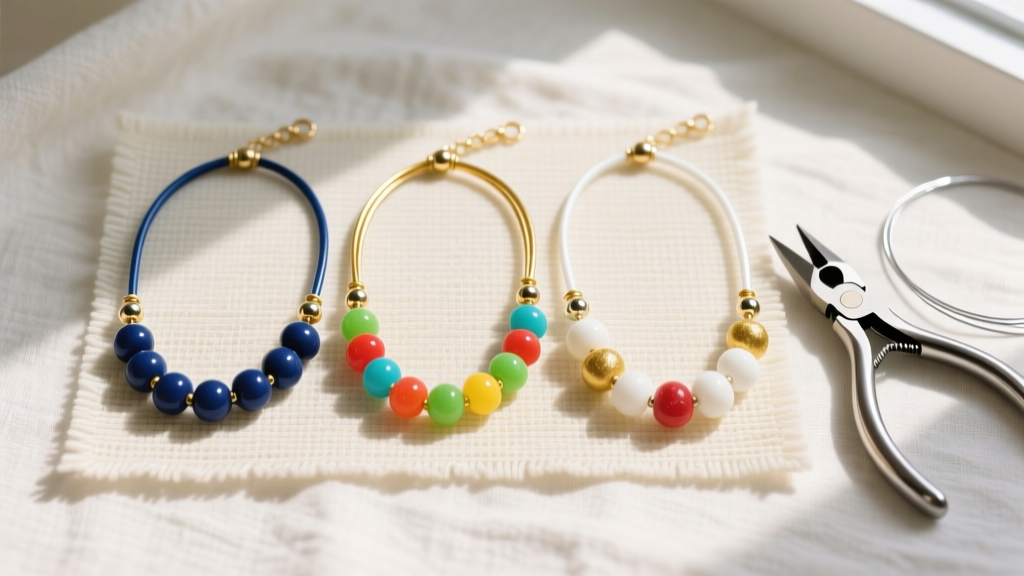
When deciding whether to manufacture your own graduation favors or purchase them wholesale, the financial and qualitative differences are stark. The table below illustrates the true cost and value proposition of the DIY approach versus market alternatives in 2026.
| Metric | DIY Custom (Professional Finish) | Pre-Made Bulk (Party Store) | High-End Novelty (Etsy Boutique) |
|---|---|---|---|
| Cost Per Unit | $1.85 - $2.50 | $4.00 - $6.00 | $14.00 - $22.00 |
| Stringing Material | 49-Strand Coated Steel Wire | Cotton Thread / Cheap Elastic | Nylon Cord / Ribbon |
| Hardware / Clasps | Stainless Steel / Gold-Filled | None (Slip-over head) | Base Metal Lobster Clasp |
| Customization Level | Exact School Colors & Initials | Generic Rainbow Assortment | High (Custom Pendants) |
| Failure Rate (Snapping) | Less than 1% | 15% - 20% | 5% - 8% |
As demonstrated, investing an extra $0.50 per unit in proper jewelry findings and high-tensile wire yields a product that rivals boutique pricing, offering massive ROI for PTA groups, sororities, or large family graduation parties.
Preservation and Wearability Tips
To maximize the lifespan of a candy necklace, particularly if it is intended as a keepsake rather than a consumable party favor, you must mitigate the effects of sugar crystallization and moisture. For hard candy necklaces, apply a micro-thin coat of food-safe confectioner's glaze (shellac-based spray) before stringing. This creates a non-toxic, moisture-impermeable barrier that prevents the candies from becoming sticky against the skin and preserves their glossy finish for weeks.
"Treating novelty materials with the same respect and mechanical precision as semi-precious gemstones is the hallmark of modern, budget-conscious jewelry design. A well-crimped candy necklace outlasts a poorly strung pearl strand every time."
Finally, advise the wearer to remove the necklace before consuming the candies. Pulling hard candies off a tensioned steel wire can cause the wire to snap back dangerously. By providing a small pair of flush cutters or simply instructing graduates to unclasp the lobster hook first, you ensure the accessory remains a safe, memorable, and highly cost-effective celebration of their academic achievements.


