How to Craft and String an Authentic Kukui Necklace
Learn how to prepare, drill, and string an authentic kukui necklace. Master traditional Hawaiian knotting and oiling techniques for lasting wear.

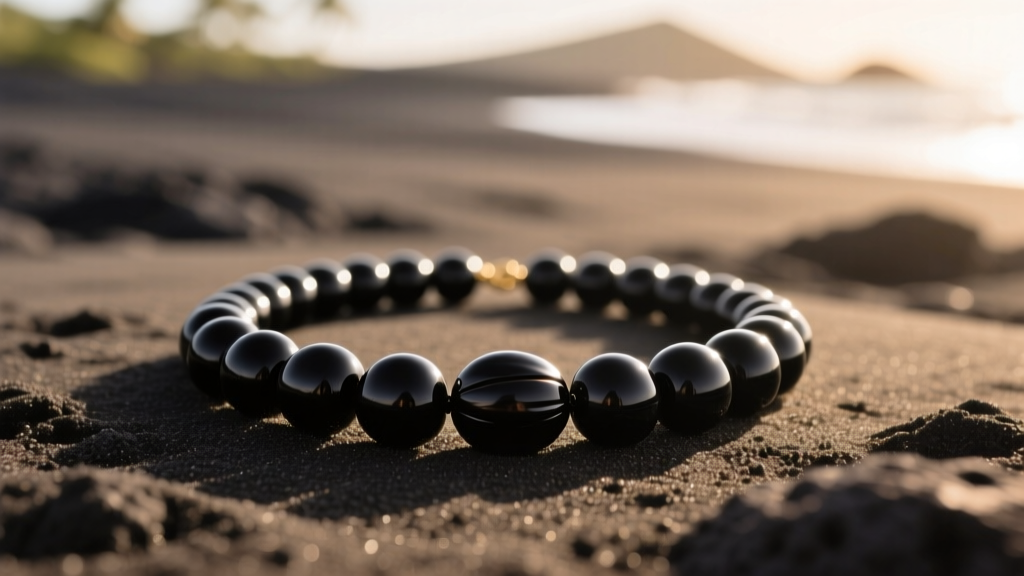
The Cultural Significance of the Kukui Nut
Before picking up your tools, it is essential to understand the profound cultural weight behind the kukui necklace. In Hawaiian culture, the kukui nut (Aleurites moluccanus, commonly known as the candlenut) is a powerful symbol of enlightenment, protection, and peace. The word "kukui" itself translates to "light" or "torch," referencing the high oil content of the raw nuts, which ancient Hawaiians strung together and lit as candles to measure time and illuminate the night. Today, wearing a kukui necklace is not merely a fashion statement; it is an embrace of Hawaiian heritage and a nod to spiritual clarity. When crafting your own, approaching the process with respect and patience honors the deep roots of this traditional lei.
Materials and Tools Required
Creating a durable, high-quality kukui necklace requires specific materials. The shells are incredibly dense, and improper tools will lead to shattered nuts or frayed cords. Below is the master list of supplies needed for a standard 24-inch matinee-length necklace.
| Category | Item | Specifications & Notes |
|---|---|---|
| Base Material | Raw Kukui Nuts | 50-60 pieces (always prep 20% extra for breakage) |
| Abrasive | Wet/Dry Sandpaper | Grits: 220, 400, 800, 1500, and 2000 |
| Drilling | Drill Bits | 3/32" or 1/8" Titanium-coated Brad-point bits |
| Cordage | Waxed Cotton or Nylon | 1.5mm to 2.0mm thickness (Avoid silk; it degrades) |
| Finishing | Oil | Pure Tung Oil, Food-grade Mineral Oil, or Kukui Oil |
| Hardware | Clasp (Optional) | Wooden toggle or macramé sliding knot (traditional) |
Step 1: Preparing and Sanding the Shells
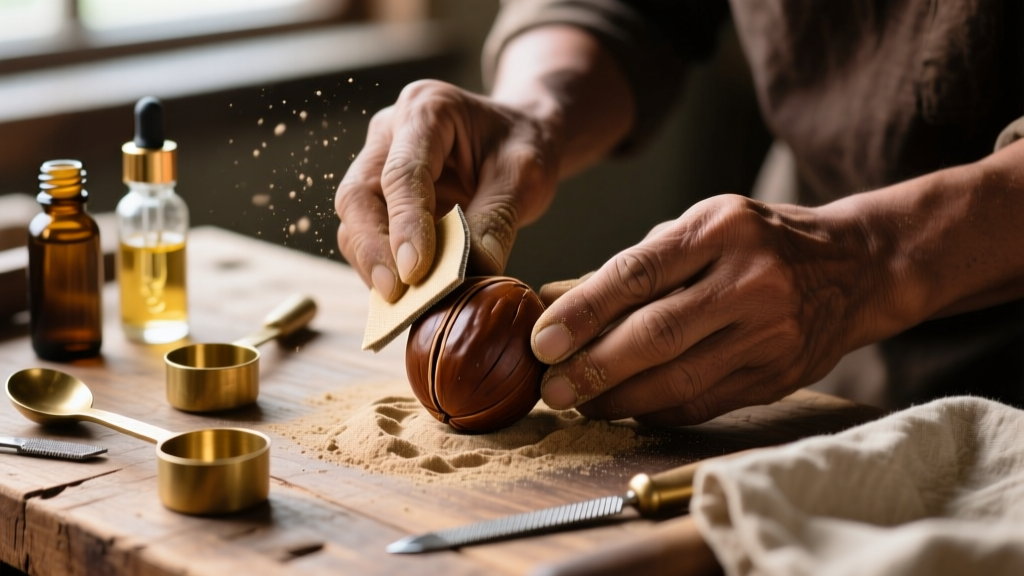
Raw kukui nuts feature a rough, deeply grooved, and pale brown exterior. To achieve the iconic, glass-like black or deep mahogany finish seen in premium jewelry, you must sand away the outer layers to reveal the dense inner shell. This is the most labor-intensive step, but it dictates the final quality of your necklace.
Begin by dry-sanding the rough exterior with 220-grit sandpaper to level the deep ridges. Once the nut is relatively smooth and oval-shaped, transition to wet sanding. Submerge your 400-grit sandpaper in water and sand the nut in circular motions. The water prevents the shell dust from clogging the paper and keeps the nut cool, preventing micro-fractures. Progress sequentially through 800, 1500, and finally 2000 grit. By the time you reach 2000 grit, the shell will feel like polished glass and exhibit a natural, dull satin sheen. Rinse the nuts thoroughly and let them air-dry completely for 24 hours before moving to the drill press. Trapped moisture will cause the shells to rot from the inside out if sealed too early.
Step 2: Drilling Techniques for Hard Shells
The kukui shell is notoriously tricky to drill. The exterior is rock-hard, but the interior cavity is porous and brittle. If you drive a standard twist bit straight through, the exit hole will almost certainly "blow out," taking a massive chunk of the shell with it and ruining the nut.
The Two-Sided Drilling Method
To achieve clean, professional holes, you must drill from both poles. Secure the nut in a padded vise or a specialized leather drilling jig. Using a 3/32" titanium brad-point bit (the sharp center spur prevents the bit from wandering on the curved surface), drill exactly to the center of the nut. Measure the depth using a piece of masking tape wrapped around the bit as a visual stopper. Flip the nut over and drill from the opposite pole until the two holes meet in the middle. This completely eliminates exit blowout and preserves the structural integrity of the shell.
Step 3: Stringing and Traditional Knotting
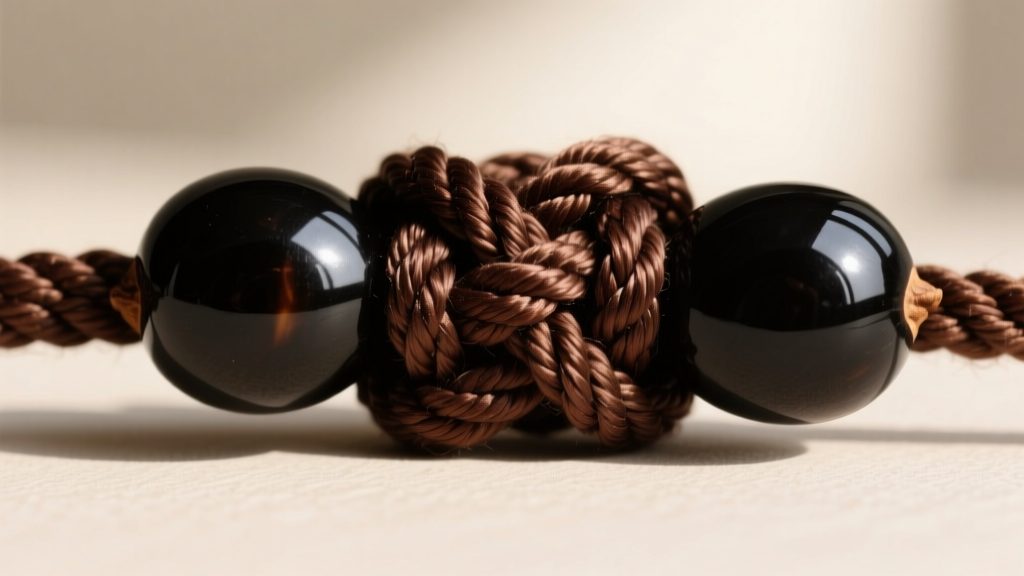
With your nuts drilled and sanded, it is time to string the necklace. While modern iterations might use a metal lobster clasp, the traditional and most durable method relies on a continuous loop of cord finished with a sliding macramé knot. This allows the wearer to adjust the length and ensures the necklace can easily slip over the head without hardware failure.
Cut a length of 1.5mm black or dark brown waxed cotton cord approximately 60 inches long. The wax coating is vital; it provides water resistance and prevents the cord from fraying against the sharp inner edges of the drilled shells. Thread the nuts onto the cord one by one. For a uniform look, alternate the orientation of the nuts (top-to-bottom, then bottom-to-top) so they nestle together tightly without awkward gaps.
The Sliding Square Knot Closure
Once all nuts are strung, bring the two ends of the cord together, overlapping them by about 6 inches. Cut a separate, 24-inch piece of the same waxed cord to serve as your knotting cord. Center it over the overlapping main cords and tie a series of square knots (right over left, then left over right). Four to five square knots will create a sturdy, 1-inch barrel that slides smoothly along the main cords when pulled, but locks tightly under the weight of the necklace. Melt the very tips of the nylon or cotton cord with a lighter to seal them, and apply a drop of superglue to the ends of the knotting cord to prevent unraveling.
Step 4: Oiling and Long-Term Maintenance
Sanded kukui nuts are highly porous and will quickly absorb oils from your skin, dirt, and environmental pollutants, leading to a cloudy, uneven patina. To lock in the pristine finish and deepen the color to a rich, obsidian black or warm amber, you must seal the shells with oil.
Expert Tip: Never use synthetic polyurethane or lacquer on a traditional kukui necklace. These plastics sit on the surface, chip easily, and ruin the organic feel of the shell. Stick to penetrating oils.
Place a few drops of pure tung oil or food-grade mineral oil onto a lint-free microfiber cloth. Rub the oil vigorously into each nut, ensuring it penetrates the drilled holes. Let the necklace sit for 30 minutes, then buff off any excess oil with a clean cloth. If the shell absorbs all the oil and looks dry, repeat the process. For long-term maintenance, re-oil the necklace once every six months, or whenever the shells begin to look dull. Store the necklace flat in a breathable cotton pouch; hanging it for years can cause the cord to stretch permanently.
Troubleshooting Common Mistakes
- Cloudy or White Spots After Oiling: This happens when moisture is trapped inside the shell from wet sanding. Remove the cord, place the nuts in a warm, dry area (or a food dehydrator on the lowest setting) for 48 hours, and re-oil.
- Cord Fraying Near the Knot: The inner edges of the drilled shell may have sharp burrs. Use a diamond-coated bead reamer to gently smooth the inside of the holes before stringing.
- Sliding Knot is Too Tight: You likely pulled the square knots too tightly while tying. The knotting cord must be tied loosely enough to slide, but tightly enough to hold friction. Practice on scrap cord first.
Sizing Guide: Choosing the Right Length
Kukui necklaces are versatile, but their bulk requires careful sizing. Because the nuts are three-dimensional, a necklace that measures 18 inches on a stringer will sit higher on the neck than a flat metal chain of the same length. Use this framework to determine your target cord length:
- Choker (16 - 18 inches): Requires 35-40 nuts. Sits tightly at the base of the neck. Best for smaller, uniformly sized nuts.
- Princess (20 - 22 inches): Requires 45-50 nuts. The most popular length, resting just below the collarbone. Ideal for everyday wear over t-shirts or casual button-downs.
- Matinee (24 - 28 inches): Requires 55-65 nuts. Falls at the center of the chest. This is the traditional length for Hawaiian ceremonial wear and pairs beautifully with open-neck dresses or resort attire.
- Opera (30+ inches): Requires 70+ nuts. A bold, statement-making length that can be doubled over for a layered look.
By mastering these preparation, drilling, and finishing techniques, you elevate the kukui necklace from a simple souvenir to a meticulously crafted piece of wearable art. The patience required to wet-sand and hand-knot each piece ensures your necklace will not only look stunning but will endure as a lasting testament to the art of traditional jewelry making. For more insights into the history of Hawaiian lei and adornment, consult the cultural archives on traditional Hawaiian lei making.


