How to Care for and Restring a Blue Freshwater Pearl Necklace
Learn how to authenticate, clean, and restring your blue freshwater pearl necklace with our expert step-by-step restoration and care guide.

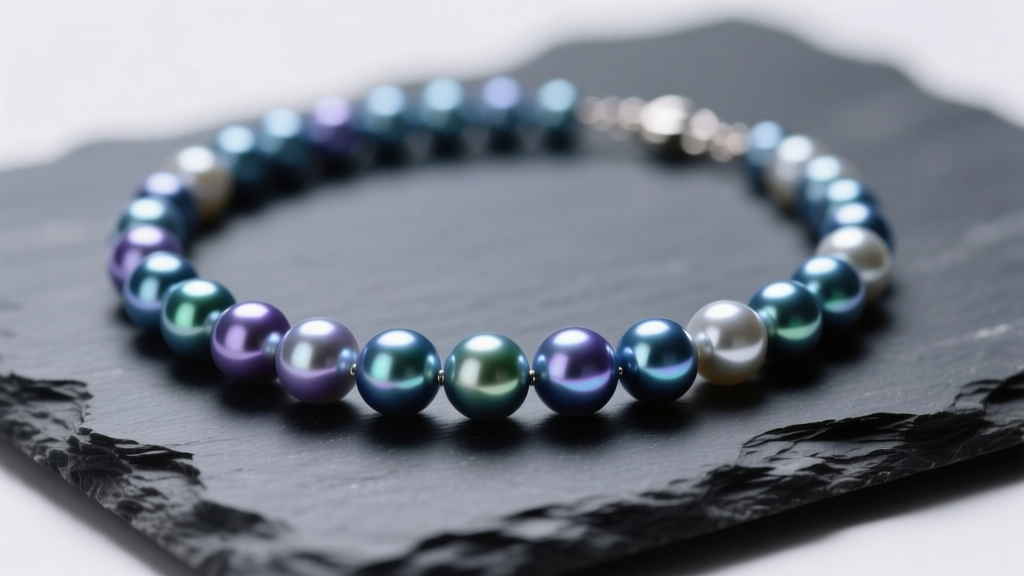
Owning a blue freshwater pearl necklace is a statement of unique elegance. Unlike their saltwater counterparts, freshwater pearls are cultivated in mussels, yielding thick, durable nacre. However, the striking blue hues found in these gems are rarely natural. Most are the result of specialized dyeing or irradiation processes. Because of these treatments, maintaining a blue freshwater pearl necklace requires a highly specific, technical approach to cleaning, storing, and eventual restringing. This comprehensive guide will walk you through the exact protocols used by professional jewelers to preserve the luster and structural integrity of your dyed freshwater pearls.
The Science of Blue Freshwater Pearls: Authentication and Dye Detection
Before applying any cleaning solutions or beginning the restringing process, you must understand the chemical nature of your pearls. According to the Gemological Institute of America (GIA), the vast majority of blue freshwater pearls on the market are dyed using silver nitrate or organic blue colorants. Silver nitrate reacts with the conchiolin (the organic protein layer beneath the nacre) to create dark, blue-black tones.
Because the dye is concentrated in the conchiolin and the drill holes, aggressive cleaning can strip the color or cause it to bleed. To verify your necklace's treatment level, perform a visual drill-hole inspection using a 10x jeweler's loupe.
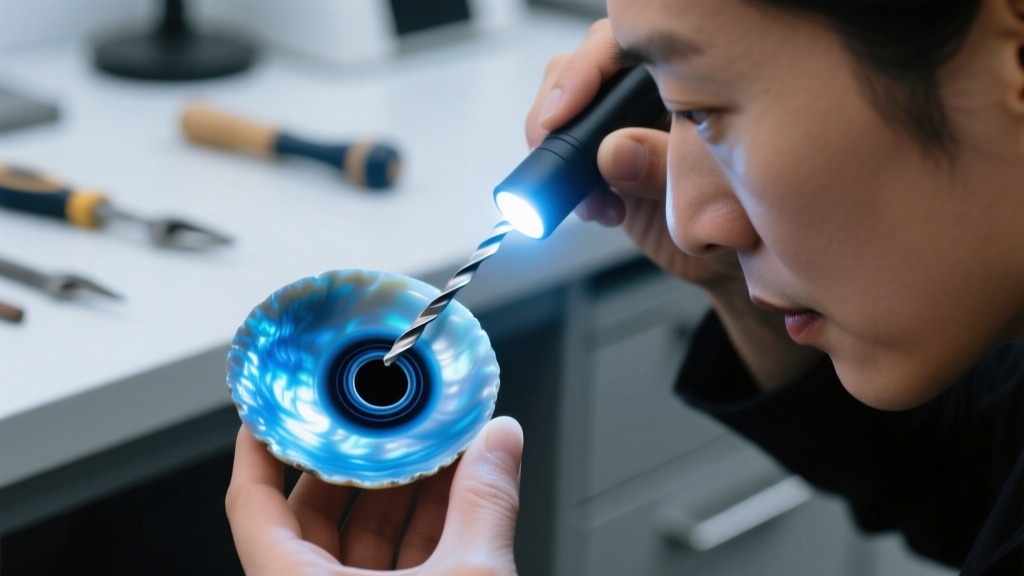
Step-by-Step Dye Concentration Test
- Visual Loupe Inspection: Examine the drill hole. If you see a dark, concentrated ring near the surface or deep inside the hole, the pearl is likely silver-nitrate dyed.
- UV Light Test: Shine a 365nm UV flashlight on the pearls. Organic dyes will often fluoresce differently than the natural nacre, showing patchy absorption patterns.
- The Acetone Swab Test (Use with Extreme Caution): Dip a micro-cotton swab in pure acetone and gently rub the inside of the drill hole where it won't be visible. If blue or black residue transfers to the swab, the pearl is surface-dyed and highly susceptible to chemical damage. Avoid all alcohol-based cleaners.
Step-by-Step Cleaning Protocol for Treated Nacre
Pearls are composed of calcium carbonate and rank a mere 2.5 to 3.0 on the Mohs hardness scale. Furthermore, the GIA Pearl Care Guidelines explicitly warn against using ultrasonic cleaners, steamers, or ammonia-based solutions, which will instantly dissolve the nacre and ruin the dye job. Follow this safe, 3-step cleaning protocol.
Materials Required
- Distilled water (tap water contains chlorine and minerals that degrade nacre)
- pH-neutral liquid castile soap or baby shampoo
- Lint-free microfiber cloths
- Soft-bristled makeup blending brush
The Cleaning Process
- Mix the Solution: Combine 1 cup of lukewarm distilled water with exactly one drop of pH-neutral soap. Do not use hot water, as heat can expand the drill holes and cause dyed conchiolin to crack.
- Spot Clean the Nacre: Dip the soft makeup brush into the solution, shake off excess moisture, and gently buff each pearl individually. Avoid scrubbing the silk thread, as wet silk stretches and degrades.
- Rinse and Dry: Wipe each pearl immediately with a damp microfiber cloth soaked in pure distilled water to remove soap residue. Lay the necklace flat on a dry towel in a well-ventilated area away from direct sunlight. Never hang a wet pearl necklace, as the weight of the water will stretch the silk permanently.
Technical Guide to Restringing Your Necklace
Silk thread is the industry standard for pearl stringing because it stretches slightly, absorbing shock and preventing the pearls from shattering if dropped. However, silk degrades, absorbs body oils, and weakens over time. If your blue freshwater pearl necklace has gaps between the knots, or if the thread appears gray and frayed near the clasp, it requires immediate restringing.
Thread and Hardware Sizing Matrix
Choosing the correct silk thickness is critical. If the thread is too thick, it will fray against the drill hole; if too thin, the knots will slip through the pearls. Refer to this matrix based on your pearl's diameter:
| Pearl Diameter | Silk Thread Size (Griffin) | French Wire (Gimp) Gauge | Needle Type |
|---|---|---|---|
| 5.0 - 6.0 mm | Size D (0.30mm) | 0.6 mm | Fine Wire |
| 6.5 - 7.5 mm | Size E (0.32mm) | 0.7 mm | Standard |
| 8.0 - 9.0 mm | Size F (0.35mm) | 0.8 mm | Standard |
| 9.5+ mm | Size G (0.40mm) | 0.9 mm | Heavy |
The Knotting Process: Step-by-Step
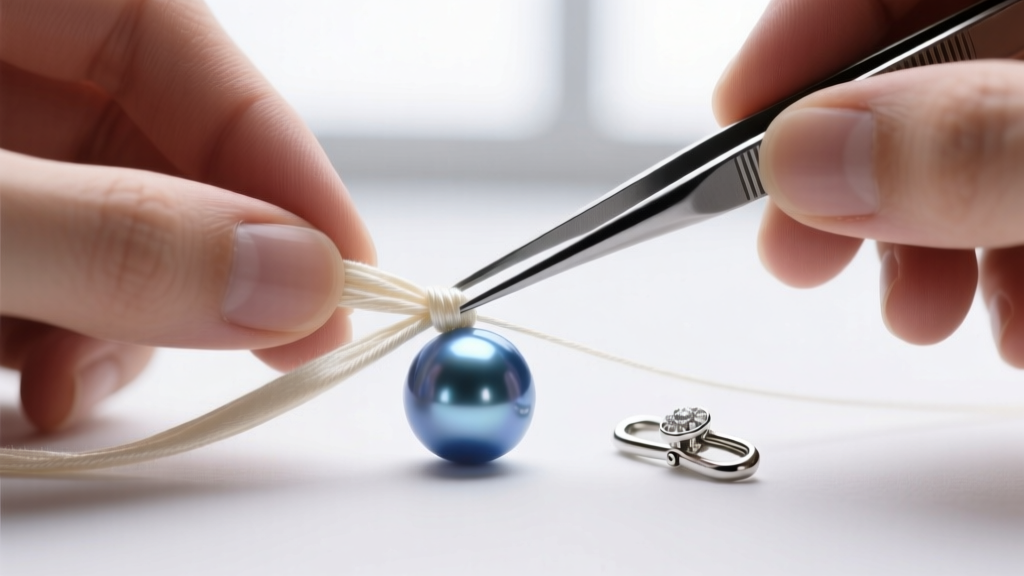
Restringing is a meticulous process that requires patience and specialized tools, including a pearl knotting awl or fine-tipped tweezers, a thread zapper, and sterling silver or 14k gold-filled French wire (gimp) to protect the silk at the clasp.
- Prepare the Clasp End: Thread your needle and pass it through a 1-inch piece of French wire. Loop the wire through the jump ring of your clasp, then pass the needle back through the French wire and the first pearl. This creates a protective metal shield so the silver clasp doesn't saw through the silk.
- The First Knot: Tie a double half-hitch knot tightly against the French wire. Apply a microscopic drop of flexible jewelry glue (like G-S Hypo Cement) to secure it. Let it cure for 10 minutes.
- String and Knot: Slide on your first blue freshwater pearl. Using your tweezers or awl, form an overhand knot in the silk. Before pulling it tight, use the tip of the awl to push the knot flush against the pearl's surface. Pull tight. This ensures the pearls are separated by knots, preventing them from rubbing against each other and wearing down the dyed nacre.
- Finishing the Strand: After the final pearl, thread on another piece of French wire and the opposite side of the clasp. Pass the needle back through the last three pearls. Pull the thread taut so there is zero slack between the pearls.
- Seal and Cut: Tie a final surgeon's knot, apply a drop of G-S Hypo Cement, and use a thread zapper or heated needle to melt the silk tail flush against the knot. Never use scissors, as they leave sharp, frayed ends that will eventually poke out of the drill hole.
Long-Term Storage and Humidity Control
Proper storage is just as critical as cleaning. Pearls require a specific level of ambient humidity to maintain their structural integrity. Storing your blue freshwater pearl necklace in an airtight plastic bag or a safety deposit box will dehydrate the nacre, leading to microscopic cracking and a dull, chalky appearance.
Always store the necklace flat in a breathable, untreated cotton or linen pouch. Never hang it on a jewelry tree, as gravity will stretch the newly knotted silk over time, creating unsightly gaps between your carefully placed knots. Finally, adhere to the golden rule of pearl jewelry: last on, first off. Apply your perfumes, hairsprays, and cosmetics before putting on your necklace, and wipe it down with a dry microfiber cloth immediately after taking it off to remove acidic skin oils that can slowly eat away at the dyed calcium carbonate surface.


