Chart Types of Necklace Chains: Troubleshooting Breaks & Tangles
Use our visual chart types of necklace chains to diagnose breaks, solve tangling issues, and match the right gauge to your favorite pendants.

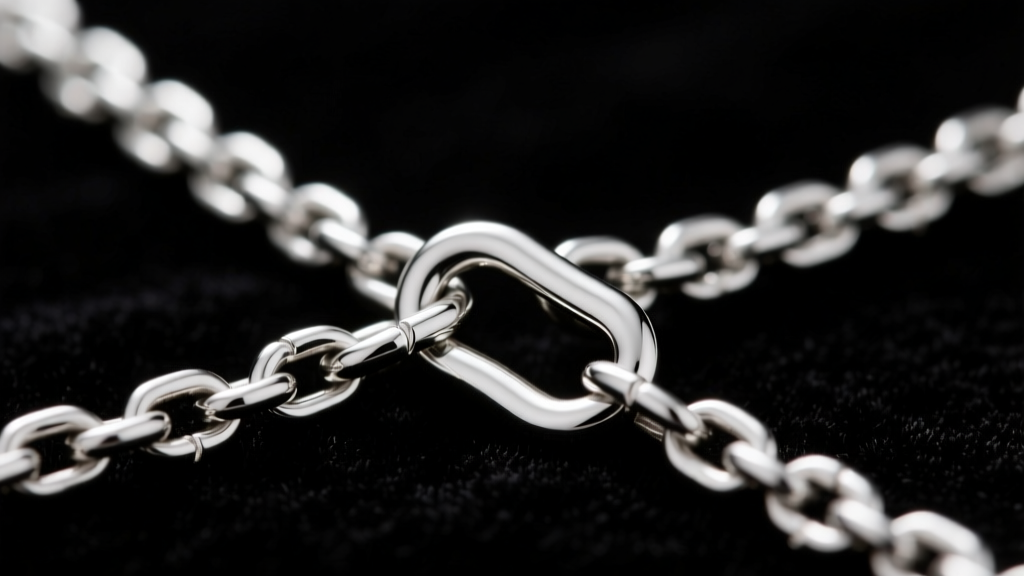
When a beloved necklace snaps or turns into a bird's nest of tangled metal, the frustration is immediate. Most jewelry wearers search for a visual guide or chart types of necklace chains to understand what went wrong, but few resources explain the structural engineering behind chain failures. As jewelry metallurgy and manufacturing techniques have evolved through 2026, the ways chains break, kink, and wear down have become highly predictable. Whether you are dealing with a herniated snake chain, a stretched rope chain, or a bail that refuses to slide over a curb link, troubleshooting requires a deep understanding of gauge thickness, link geometry, and metal hardness.
This comprehensive troubleshooting guide and reference chart will help you diagnose your chain's specific failure mode, solve persistent tangling issues, and correctly pair chain widths with pendant bails to prevent future damage.
The Master Chart: Types of Necklace Chains and Their Weak Points
Before attempting a repair or replacement, you must identify the chain's architecture. Different link styles distribute weight and handle torsional stress in vastly different ways. According to educational resources from the Gemological Institute of America (GIA), the alloy composition (such as 14k vs. 18k gold) also dictates the Vickers hardness (HV) of the chain, heavily influencing its lifespan under a heavy pendant.
| Chain Style | Best Gauge for Pendants | Common Failure Mode | Tangling Risk |
|---|---|---|---|
| Cable | 1.0mm - 1.5mm | Link elongation at the solder joint | Low |
| Curb / Figaro | 1.5mm - 3.0mm | Clasp jump-ring detachment | Very Low |
| Box | 1.2mm - 2.0mm | Kinking and corner crushing | High |
| Snake | 1.5mm - 2.5mm | Permanent structural herniation | Extreme |
| Rope | 2.0mm - 4.0mm | Unraveling if a single link snaps | Medium |
| Wheat | 1.5mm - 2.5mm | Friction wear between woven links | Low |
| Franco | 2.0mm - 5.0mm | Rare; usually clasp failure first | Very Low |
Note: Gauge sizes listed refer to the outer width of the chain in millimeters. For heavy gemstone pendants (over 5 grams), always opt for a Franco or Wheat chain with a minimum width of 2.0mm to prevent metal fatigue.
Troubleshooting Chain Tangling: Why It Happens and How to Fix It
Tangling is not just a nuisance; it is a structural threat. When chains knot, the links are subjected to extreme lateral pressure that they were not designed to withstand. Box chains and snake chains are the most frequent offenders.
The Physics of the Knot
Snake chains are essentially continuous tubes of tightly joined, slightly curved rings. Their smooth exterior feels great against the skin, but the microscopic gaps between the rings act like teeth, catching on fine body hair and clothing fibers. Once hair is pulled into the gaps, the chain bends at an unnatural angle, causing a 'kink' that permanently damages the tubular structure. Box chains, with their sharp 90-degree corners, catch on each other when stored loosely, creating rigid, geometric knots that are incredibly difficult to loosen with bare fingers.
The Freezer and Powder Method
If your box or snake chain has formed a stubborn knot, do not pull it. Pulling tightens the links and increases the risk of snapping. Instead, use this jeweler-approved troubleshooting method:
- Step 1: Lay the chain flat on a piece of glass or a smooth ceramic tile.
- Step 2: Dust the knot generously with talc-free baby powder or cornstarch. This reduces the friction coefficient between the metal links.
- Step 3: Place the chain in the freezer for 15 minutes. The extreme cold causes the metal to contract microscopically, creating a fraction of a millimeter of extra clearance between the jammed links.
- Step 4: Remove the chain and use two fine sewing needles to gently tease the center link of the knot outward.
Solving Pendant Incompatibility: Bail Sizes vs. Chain Widths
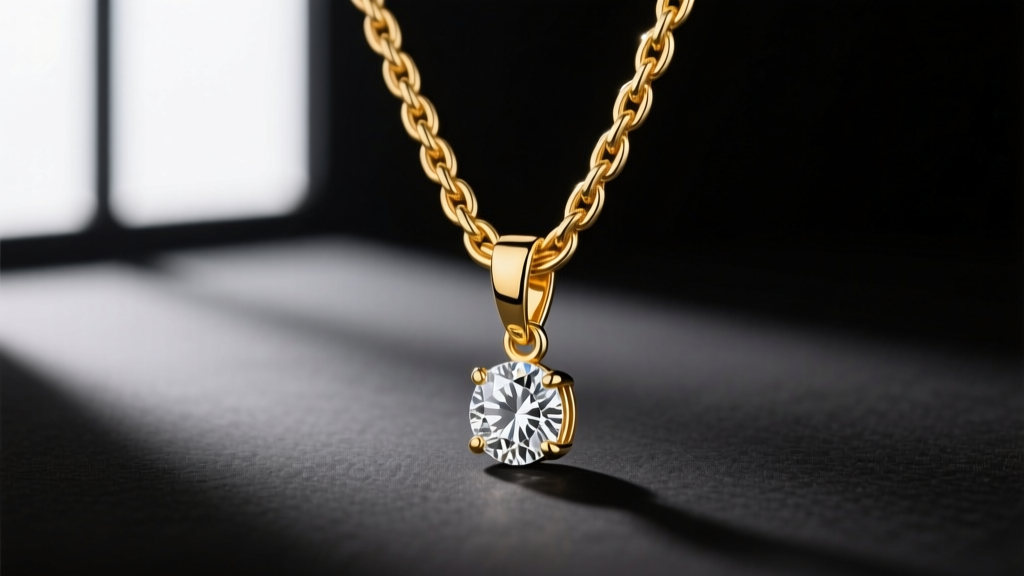
A frequent reason chains break is not the chain's fault, but a mismatch between the chain's thickness and the pendant's bail (the loop the chain threads through). When a chain is too thick for a bail, it creates a rigid pivot point. Every time the wearer moves, the chain bends sharply against the edge of the bail, causing severe friction wear and eventual snapping.
The Golden Ratio of Bails and Chains
To ensure smooth movement and prevent metal-on-metal shearing, follow this sizing framework recommended by the Jewelers of America:
The inner diameter of the pendant bail should be at least 1.5 to 2 times the width of the chain. For example, if you are using a 2.0mm curb chain, the bail's inner opening must be at least 3.0mm to 4.0mm.
If you have a heavy pendant with a small, soldered bail, do not force a thick chain through it. Instead, use a 'chain connector' or a small, unsoldered jump ring to attach the pendant to a heavier chain. This allows the pendant to swing freely without grinding against the chain links.
Metal Fatigue and Clasp Failures: Diagnosing the Snap
When a chain breaks, the failure rarely happens in the middle of the strand. It almost always occurs at the clasp or the jump rings connecting the clasp to the chain. Understanding clasp mechanics is vital for troubleshooting recurrent breaks.
Spring Ring vs. Lobster Claw
Spring ring clasps are standard on lightweight chains (under 1.0mm). They rely on a tiny internal steel spring. Over time, this spring suffers from metal fatigue and loses its tension, causing the clasp to slide open unexpectedly. If your necklace keeps slipping off, the spring ring is likely compromised and must be replaced.
Lobster claw clasps are vastly superior for chains over 1.5mm. They feature a thicker, more robust internal spring and a larger surface area for the trigger. However, the weak point of a lobster clasp is the jump ring that attaches it to the chain. If the jump ring is not soldered shut, the lateral pull of a heavy pendant will slowly pry the jump ring open, resulting in a lost necklace.
The Soldered Jump Ring Fix
If you are purchasing a new chain for a heavy pendant, inspect the end rings. If you see a microscopic slit in the metal, take it to a jeweler to have the jump rings laser-welded or torch-soldered shut. This single $15 repair will increase the chain's security by over 90%.
Step-by-Step Emergency Chain Repair at Home
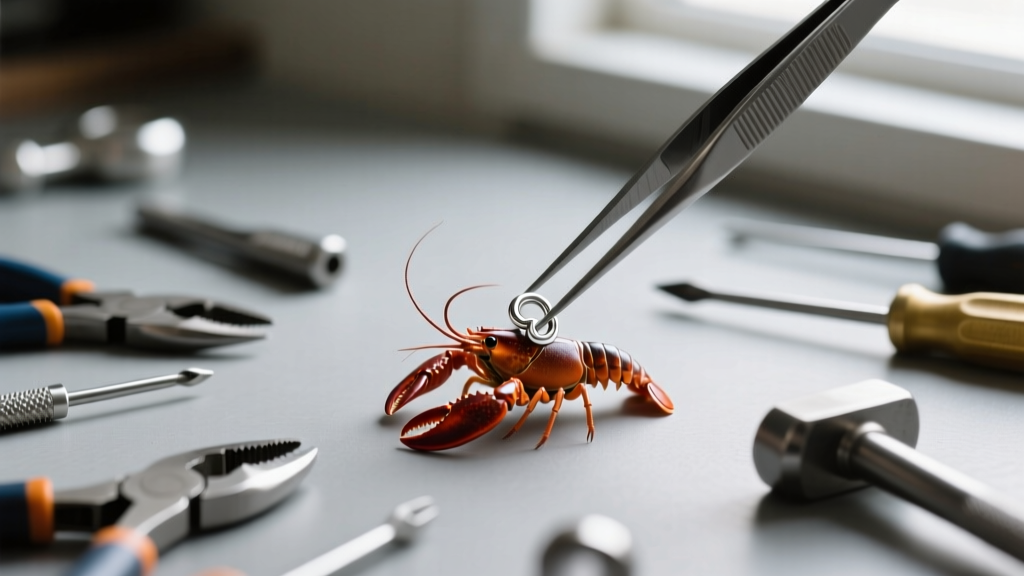
While severe breaks require professional soldering, you can perform emergency troubleshooting and minor realignments at home to save a damaged chain from the scrap pile.
Fixing a Kinked Box Chain
If a box chain has been bent out of its square shape, the structural integrity of that specific link is compromised. To prevent the kink from spreading and snapping adjacent links:
- Secure the chain on a flat, hard surface.
- Using flat-nose jewelry pliers (never use serrated pliers, which will scratch the metal), gently grip the distorted link.
- Apply micro-pressure to bend the link back into a perfect 90-degree square. Do not overcorrect, as work-hardened gold or silver will snap if bent back and forth repeatedly.
- Once realigned, apply a microscopic drop of jewelry-grade clear resin to the corners of the link to stabilize it until you can visit a professional.
Addressing a Stretched Rope Chain
Rope chains stretch when the interlocking links are pulled under heavy tension. Once a rope chain stretches, the links lose their tight spiral geometry and become fragile. Unfortunately, you cannot 'shrink' a stretched rope chain at home. The only troubleshooting solution is to take it to a jeweler who can carefully snip out the stretched, weakened section and laser-solder the healthy ends back together, restoring the chain's original tensile strength.
By understanding the specific architecture of your jewelry and referencing this chart types of necklace chains, you can transition from reactive frustration to proactive maintenance, ensuring your favorite pieces remain secure, untangled, and beautifully displayed for years to come.


