How to Choose the Perfect Bezel Pendant Necklace: Step-by-Step
Learn how to select, style, and care for a bezel pendant necklace. This step-by-step guide covers metals, gemstone settings, and layering techniques.

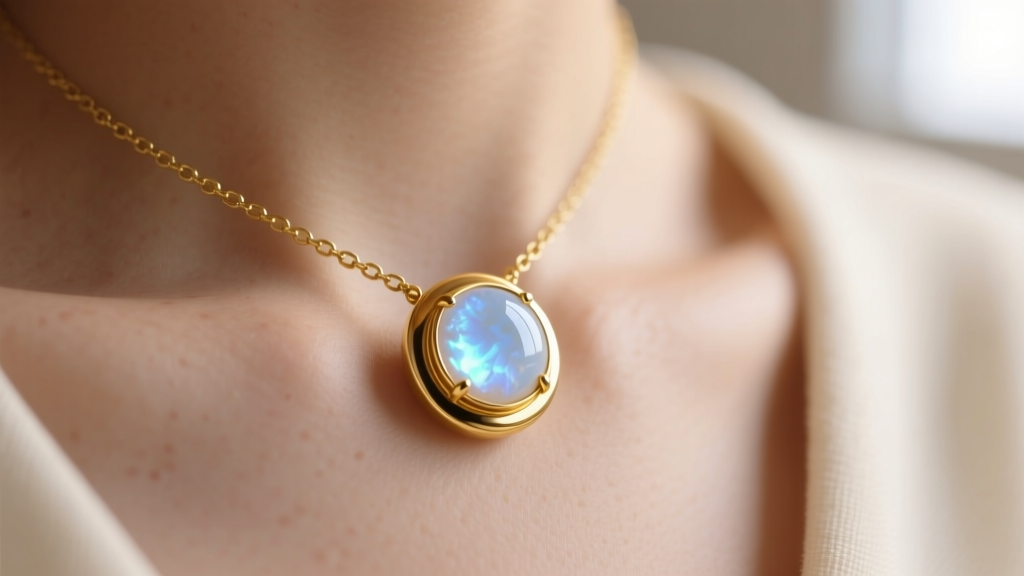
The modern jewelry landscape has shifted heavily toward secure, minimalist, and highly wearable designs. At the forefront of this movement is the bezel pendant necklace. Unlike traditional prong settings that leave gemstone edges exposed to snags and impacts, a bezel setting encircles the stone with a custom-fitted metal rim. Whether you are investing in a daily-wear diamond solitaire or a vintage-inspired turquoise piece, understanding the structural nuances of bezel settings is critical for making a smart purchase in 2026.
This step-by-step guide will walk you through the exact metallurgical, gemological, and stylistic decisions required to choose, configure, and maintain the perfect bezel pendant necklace.
What Defines a Bezel Pendant Necklace?
A bezel pendant necklace features a gemstone secured by a continuous band of metal that wraps around the stone's girdle (its widest edge). The metal is pushed or folded over the crown of the gemstone to lock it in place. This technique is one of the oldest in jewelry making, yet modern CAD (Computer-Aided Design) and laser welding have allowed contemporary jewelers to create bezels that are microscopically thin yet structurally impenetrable. The result is a sleek silhouette that protects the stone while offering a modern, flush aesthetic.
Step 1: Selecting the Metal Alloy and Grade
The metal you choose dictates not only the color but the tensile strength of the bezel wall. A bezel must be malleable enough for the jeweler to push over the stone, but hard enough to resist peeling back during daily wear.
| Metal / Alloy | Vickers Hardness (HV) | Durability Profile | Average Price Range (1ct - 2ct Stone) |
|---|---|---|---|
| 925 Sterling Silver | 60 - 75 HV | Soft; bezel walls must be thicker to prevent bending. Prone to tarnish. | $80 - $250 |
| 14k Yellow/White Gold | 120 - 140 HV | Ideal balance of malleability and strength. Best for everyday bezel pendants. | $400 - $1,200 |
| 18k Yellow Gold | 90 - 110 HV | Softer than 14k; requires a slightly wider bezel rim for secure stone retention. | $800 - $2,500+ |
| 950 Platinum | 120 - 130 HV (High Density) | Extremely durable; does not wear away. The ultimate choice for heirloom bezels. | $1,500 - $4,000+ |
Expert Insight: If you are choosing 18k gold for its rich color, ensure the jeweler uses a laser welder to secure the bail to the bezel frame. Traditional soldering can sometimes weaken the immediate surrounding area of high-karat gold alloys.
Step 2: Matching the Bezel Type to Gemstone Hardness
Not all gemstones can withstand the pressure of a full bezel setting, nor do they all require it. The Gemological Institute of America (GIA) categorizes gemstone durability using the Mohs scale of hardness and a separate toughness rating. Your bezel choice must align with these metrics.
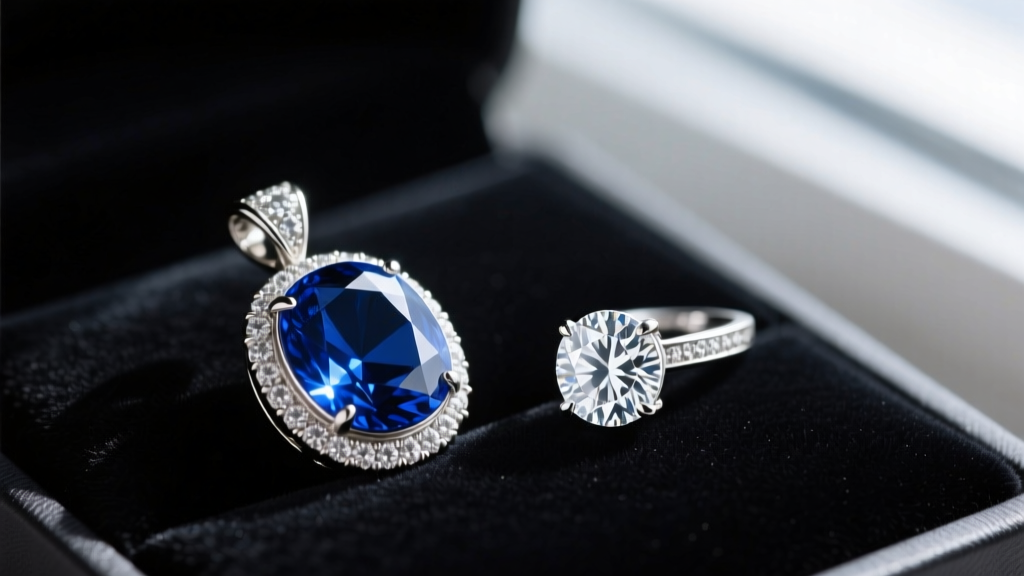
Full Bezel vs. Half Bezel Settings
- Full Bezel: The metal rim encircles 100% of the stone's perimeter. This is mandatory for porous or fragile stones with a Mohs hardness below 7, such as opal, turquoise, moonstone, and emerald. The full rim prevents moisture ingress and protects the girdle from chipping.
- Half Bezel (Semi-Bezel): Two opposing metal walls hold the stone, leaving the other sides exposed. This allows maximum light return and is highly recommended for high-hardness stones (Mohs 8.5+) like diamonds and sapphires. It offers a more contemporary, open look while still eliminating the snagging risk of prongs.
"When setting fragile stones like opals or emeralds in a bezel, the jeweler must ensure the bearing (the inner ledge the stone sits on) is perfectly level. Any uneven pressure during the metal pushing phase will cause the stone to fracture." — GIA Gemological Guidelines.
Step 3: Engineering the Chain and Bail Connection
A common failure point in any pendant necklace is the bail (the loop connecting the pendant to the chain) and the chain itself. The weight of the bezel pendant dictates the required chain thickness.
The Weight-to-Chain Ratio
To prevent chain stretching or bail deformation, follow these engineering guidelines:
- Lightweight Pendants (Under 5 grams): Pair with a 1.0mm to 1.2mm cable, box, or rolo chain. These chains slide easily through standard 3mm x 5mm bails.
- Medium Pendants (5 to 12 grams): Upgrade to a 1.5mm to 2.0mm curb, wheat, or rope chain. The interlocking links of a wheat chain provide superior tensile strength against the pendulum swing of a heavier bezel.
- Heavy Statement Pendants (12+ grams): Require a 2.5mm+ chain, often featuring a reinforced, soldered ring bail rather than a standard cast loop.
Pro Tip: Always check the inner dimension of the bail before purchasing a chain. A heavy box chain might be strong enough, but its rigid, square links may not articulate smoothly through a narrow, rounded bezel bail, causing premature wear on the bail's interior.
Step 4: The 4-Inch Layering Formula
Styling a bezel pendant necklace in 2026 is all about intentional layering. Because bezel settings are inherently sleek and lack the visual "noise" of prongs, they serve as the perfect foundational layer in a necklace stack.

To avoid tangling and ensure each piece is visible, utilize the 4-Inch Rule:
- Layer 1 (The Anchor): A 14-inch or 16-inch bezel pendant necklace resting on the collarbone. Choose a smaller stone (e.g., 4mm to 6mm) in a full bezel for a subtle gleam.
- Layer 2 (The Bridge): An 18-inch or 20-inch chain with a different texture. A paperclip chain or a herringbone snake chain adds contrasting geometry without competing with the gemstone.
- Layer 3 (The Statement): A 24-inch matinee-length piece, such as a larger lariat or a second, heavier bezel pendant featuring a darker, opaque stone like onyx or lapis lazuli.
By maintaining at least a 2-inch to 4-inch gap between the clasp lengths, you prevent the metal bails from rubbing against each other, which can cause micro-abrasions on your gold or silver chains.
Step 5: Micro-Gap Maintenance and Cleaning Protocols
While bezel settings protect the stone, they introduce a unique maintenance challenge: the micro-gap. This is the microscopic seam where the metal bezel wall meets the crown of the gemstone. Over time, lotions, dead skin cells, and soap scum accumulate in this crevice, dulling the stone's appearance.
What to Avoid
Never use ultrasonic cleaners on bezel-set emeralds, opals, pearls, or turquoise. According to Jewelers of America, the high-frequency vibrations can not only fracture internally included stones but can also force chemical solutions deep into the micro-gap, where they are nearly impossible to rinse out, leading to long-term degradation of porous gems.
The Correct Cleaning Method
- Mix a solution of one part mild, phosphate-free dish soap to ten parts lukewarm water.
- Submerge the bezel pendant necklace for 5 to 10 minutes to soften debris.
- Using a specialized jewelry brush with ultra-soft baby-hair bristles, gently brush the perimeter of the bezel at a 45-degree angle to dislodge trapped oils.
- Rinse under a gentle stream of distilled water (tap water minerals can leave spots on the metal rim).
- Pat dry with a lint-free microfiber cloth, ensuring no moisture remains trapped against the bail.
Final Thoughts on Your Bezel Selection
Choosing a bezel pendant necklace is an exercise in balancing structural engineering with personal style. By matching the Vickers hardness of your chosen metal to your lifestyle, aligning the bezel type with your gemstone's Mohs rating, and adhering to proper chain-weight ratios, you ensure your piece remains secure and stunning. Whether worn alone as a minimalist staple or layered into a complex stack, a well-constructed bezel pendant is a timeless investment in modern jewelry design.


