How to Safely Clean and Maintain a DIY Bead Necklace
Learn how to safely clean a DIY bead necklace based on its specific materials. Expert tips on washing, drying, and restringing beaded jewelry.

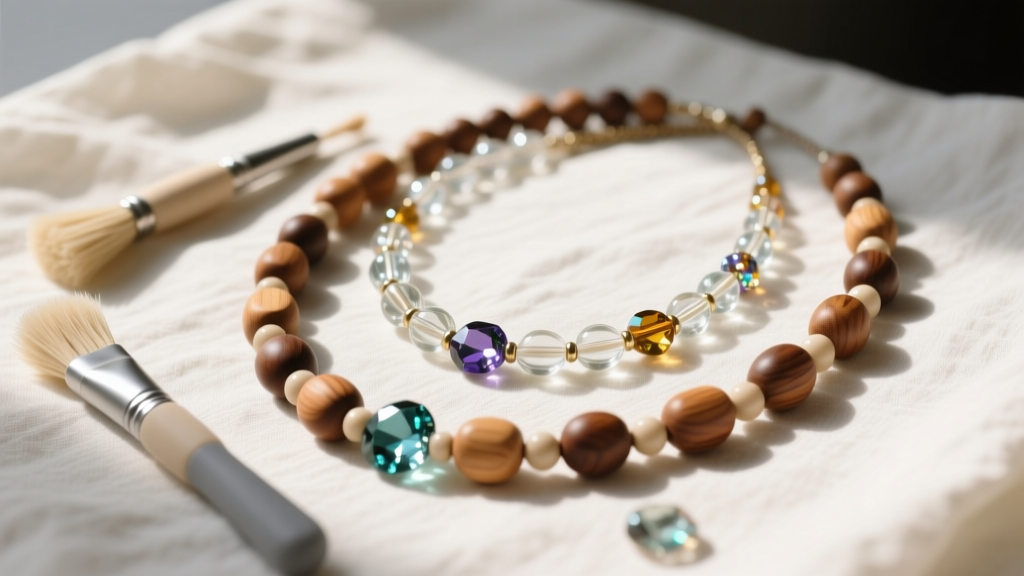
The Hidden Vulnerabilities of Handmade Beaded Jewelry
Creating your own jewelry is a rewarding endeavor, but maintaining it requires a radically different approach than caring for mass-produced, solid-metal chains. When you search for ways to clean a diy bead necklace, most generic guides suggest a simple soak in warm soapy water. As a jewelry care specialist, I must warn you: this one-size-fits-all advice is the fastest way to ruin handmade beaded pieces. A DIY necklace is a complex composite of varying mineral hardness levels, organic porosity, and tension-bearing stringing materials. Water, ultrasonic vibrations, and harsh chemicals can cause irreversible structural failure, discoloration, and snapping.
To properly maintain your handmade pieces, you must deconstruct the necklace into its two core components: the beads themselves and the stringing medium. In this comprehensive 2026 care guide, we will break down the exact material science behind beaded jewelry maintenance, providing you with actionable, fail-safe cleaning protocols tailored to your specific creation.
Step 1: Identify Your Bead Porosity and Hardness
The Mohs scale of mineral hardness and a material's porosity dictate how it reacts to cleaning agents. According to the Gemological Institute of America (GIA), treating a porous gemstone like a hard silicate will result in chemical trapping and internal fracturing.
Non-Porous Beads (Glass, Crystal, Glazed Ceramic, Quartz)
Materials like Swarovski crystals, borosilicate glass, and hard gemstones (Mohs 7+, such as amethyst or quartz) are non-porous. They do not absorb liquids, making them highly resistant to mild detergents and safe for brief submersion. Dirt and skin oils tend to sit on the surface or accumulate in the drill holes (typically 0.8mm to 1.5mm in diameter), requiring targeted agitation rather than deep chemical penetration.
Porous and Organic Beads (Wood, Bone, Turquoise, Lapis Lazuli, Pearl)
Organic materials and soft, porous stones (Mohs 2 to 6) act like microscopic sponges. Turquoise, for example, is highly sensitive to oils, cosmetics, and even prolonged exposure to pure water, which can alter its copper-based color matrix. Wood beads are often treated with natural waxes or tung oil; submerging them strips this finish, leading to drying, cracking, and a dull, grayish appearance. These materials must never be soaked.
Step 2: Assess the Stringing Material (The Real Point of Failure)
The most common failure mode in a DIY bead necklace is not the bead breaking, but the stringing material degrading. Water exposure is the enemy of most beading threads. Before applying any moisture to your necklace, identify what holds it together.
| Stringing Material | Composition | Water Resistance | Failure Mode When Wet |
|---|---|---|---|
| Silk Thread (e.g., Size F) | Natural Protein Fiber | Very Poor | Stretches, rots, and weakens at the knots |
| Nylon (e.g., Nymo, Silamide) | Synthetic Polyamide | Moderate | Can stretch when wet; takes hours to dry |
| Tiger Tail / Beading Wire | Nylon-coated Stainless Steel | Excellent | Nylon coating can yellow; steel rusts if exposed |
| Elastic Cord (e.g., 0.8mm Stretch Magic) | Polyurethane / Elastomer | Poor | Degrades, loses elasticity, becomes brittle |
Source: Material specifications adapted from the Fire Mountain Gems Stringing Encyclopedia.
Step 3: The Correct Cleaning Protocols
Based on your material audit, select the appropriate cleaning protocol below. Never use ultrasonic cleaners (which operate at 40kHz frequencies) on any DIY necklace, as the vibrations can shatter glass beads, fracture natural stones, and fray knotting threads.
Protocol A: The Dry & Gentle Wipe (For Porous, Organic, and Silk-Strung Necklaces)
- Surface Dusting: Use a clean, dry, ultra-soft makeup brush (like a goat-hair blending brush) to sweep out dust from the crevices and drill holes of the beads.
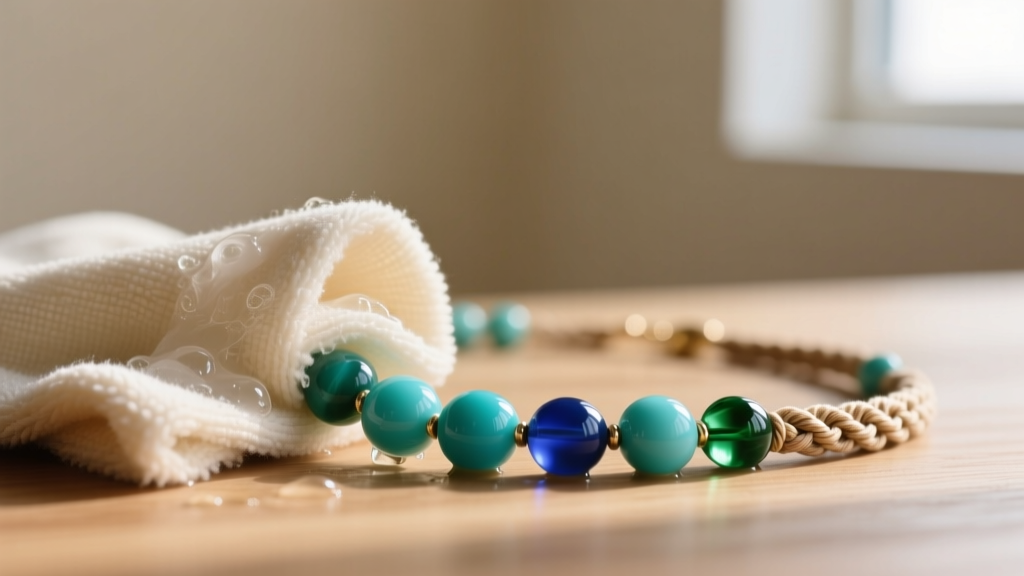
- Targeted Spot Cleaning: For localized oil buildup on turquoise or wood, lightly dampen a microfiber cloth with distilled water (never tap water, which contains chlorine and minerals). Wring it out until it is barely moist.
- Buffing: Gently buff the soiled beads one by one, avoiding the stringing holes to prevent moisture from wicking into the silk or nylon thread.
- Reconditioning (Wood/Bone Only): Once a year, apply a microscopic drop of jojoba oil or specialized beeswax wood conditioner to a cloth and buff the wooden beads to restore their luster and prevent desiccation.
Protocol B: The Lukewarm Soak (For Glass, Crystal, and Hard Gemstones on Wire/Nylon)
- Prepare the Bath: Fill a glass bowl with lukewarm distilled water and add two drops of pH-neutral, fragrance-free dish soap (like Dawn Free & Clear). Avoid hot water, which can expand bead holes or warp nylon coatings.
- Submerge and Agitate: Place the necklace in the solution for exactly 5 to 10 minutes. Do not exceed this time limit to protect the stringing material's tensile strength.
- Interstitial Cleaning: Use a soft-bristled infant toothbrush to gently scrub the areas between the beads where dead skin cells and sebum accumulate. Brush away from the knots or crimp beads to avoid fraying them.
- Rinsing: Rinse thoroughly under a gentle stream of cool distilled water to remove all soap residue, which can leave a cloudy film on crystals.
Expert Troubleshooting Tip: If your crystal or glass beads still look cloudy after washing, the issue is likely hard water mineral deposits or micro-scratches, not dirt. Wipe them with a 50/50 solution of distilled water and white vinegar, then immediately rinse with pure distilled water and dry.
Drying and Preventative Storage
Improper drying is responsible for 80% of post-cleaning stringing failures. Never hang a wet DIY bead necklace vertically. The weight of the water-logged beads will stretch the wet nylon or silk thread, causing permanent sagging and compromising the structural integrity of the piece.
- Flat Drying: Always lay the necklace flat on a dry, lint-free microfiber towel in a well-ventilated area away from direct sunlight or heat sources.
- Moisture Wicking: For necklaces strung on silk or nylon, use a can of compressed air (held at least 6 inches away) to blow moisture out of the bead drill holes.
- Storage Environment: Store your beaded creations in anti-tarnish ziplock bags with a small silica gel desiccant packet. Keep them in a dark drawer to prevent UV degradation, which is particularly damaging to dyed agates, acrylic beads, and elastic cords.
Knowing When to Restring Your DIY Bead Necklace
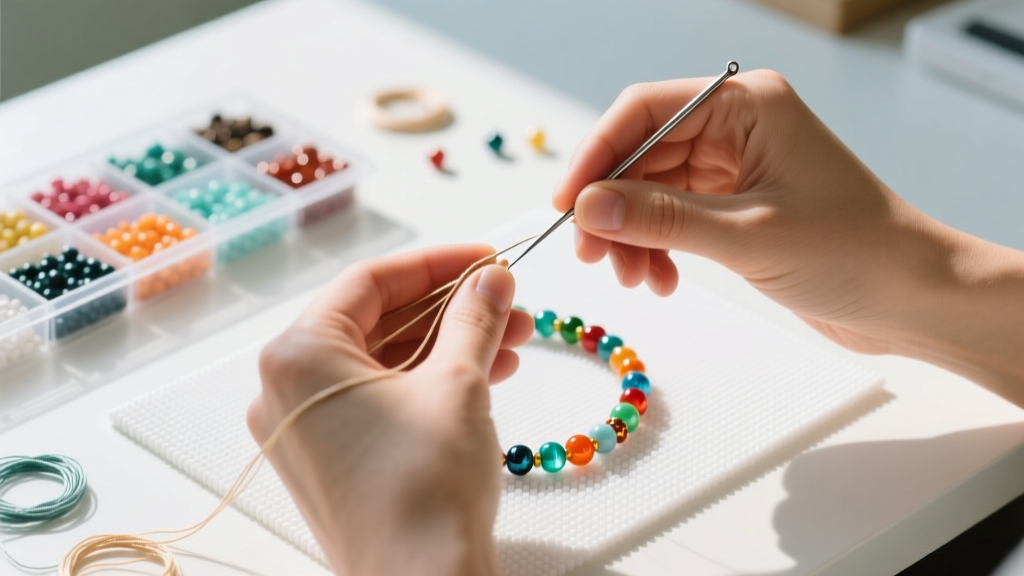
Even with meticulous care, stringing materials have a finite lifespan. Elastic cords typically require replacement every 12 to 18 months due to polymer breakdown from body heat and friction. Silk thread should be inspected annually. If you notice any of the following warning signs, cease wearing the necklace and restring it immediately using a beading needle and appropriate thread conditioner:
- Visible fraying or 'fuzziness' on the thread near the clasp or crimp beads.
- Increased gaps between the beads, indicating the thread has permanently stretched.
- Discoloration or darkening of the stringing material, which signifies oil saturation and fiber rot.
- A stiff or 'kinked' feel to the necklace, meaning the internal wire or nylon has suffered metal fatigue or memory deformation.
By treating your handmade jewelry as a composite system rather than a single object, you ensure that your DIY bead necklace remains vibrant, structurally sound, and beautiful for years to come. Proper maintenance is the hallmark of a true jewelry artisan.


