How to Clean, Polish, and Restore Resin Necklaces
Learn expert techniques to clean, polish, and restore yellowed resin necklaces. Discover safe solutions for epoxy and UV resin jewelry maintenance.

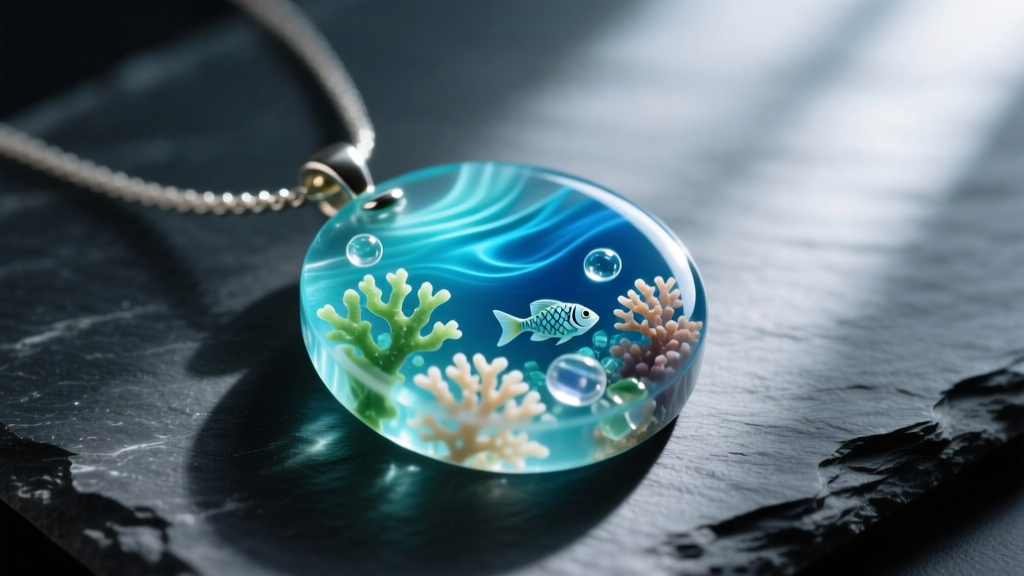
Resin necklaces offer incredible artistic versatility, capturing everything from suspended botanicals to vibrant ocean landscapes. However, unlike traditional gemstones or metals, polymer-based jewelry requires a highly specialized approach to care. Whether your piece is crafted from two-part epoxy or one-part UV resin, improper cleaning can lead to micro-crazing, irreversible cloudiness, or accelerated yellowing. This comprehensive guide details the exact chemical protocols, wet-sanding progressions, and storage frameworks necessary to maintain the optical clarity and structural integrity of your resin necklaces.
The Science of Resin Degradation
To properly care for resin jewelry, you must first understand the material science behind it. Most high-quality artisan necklaces are made from either epoxy resin or UV-cured resin. Epoxy resin, a thermosetting polymer, cures via a chemical reaction between a resin and a hardener, resulting in a durable surface with a Shore D hardness typically between 80 and 85. UV resin, conversely, relies on photoinitiators that react to ultraviolet light to cure almost instantly.
The primary enemy of resin is UV radiation. Over time, the photoinitiators in UV resin—and the amine components in epoxy hardeners—break down when exposed to sunlight, causing a chemical shift that manifests as a yellow or amber tint. Furthermore, resin is highly susceptible to thermal expansion and chemical solvents. Exposing these necklaces to harsh chemicals or extreme heat compromises the polymer chains, leading to surface crazing (microscopic cracks) that permanently ruins the piece's optical clarity.
Daily Maintenance and Safe Cleaning Protocols
Routine cleaning of resin necklaces should be gentle and strictly mechanical. Body oils, lotions, and environmental dust can create a filmy buildup that dulls the resin's natural luster. According to guidelines from polymer manufacturers like Smooth-On, cured epoxy is chemically resistant to mild detergents but highly vulnerable to strong solvents.
| Cleaning Agent | Safety for Resin | Effect on Polymer Surface |
|---|---|---|
| Mild Dish Soap & Distilled Water | Highly Safe | Lifts oils without degrading the surface tension. |
| Microfiber Cloth | Highly Safe | Traps dust without causing micro-scratches. |
| Isopropyl Alcohol (IPA) | Unsafe | Causes micro-crazing and permanent cloudiness. |
| Acetone / Nail Polish Remover | Highly Unsafe | Dissolves the top layer of UV resin instantly. |
| Ultrasonic Cleaners | Unsafe | High-frequency vibrations shatter internal inclusions. |
| Ammonia-based Glass Cleaners | Unsafe | Strips protective topcoats and dulls the finish. |
To clean your necklace, mix a few drops of pH-neutral dish soap into a bowl of lukewarm (never hot) distilled water. Submerge the pendant for no more than two minutes. Gently agitate the water, then rinse under a slow stream of cool tap water. Pat dry immediately with a clean, lint-free microfiber cloth. Never air-dry resin, as hard water minerals will leave stubborn calcium deposits that mimic surface scratches.

Managing Metal Hardware and Chains
A resin pendant is only as durable as its hardware. Many artisans pair resin with sterling silver, gold-filled, or brass bails and chains. The challenge lies in cleaning the metal without damaging the resin. Standard silver dip solutions and commercial brass polishes contain harsh thiourea compounds and abrasives that will permanently etch the adjacent resin.
When polishing the metal bail, use a specialized jewelry polishing cloth (such as a Sunshine cloth) and carefully wrap the resin pendant in a soft cotton barrier to prevent accidental contact with the polishing compounds. If the chain requires a deeper clean, detach the resin pendant entirely before using any liquid metal cleaners. As noted by Jewelers of America, isolating mixed-media components is the gold standard for preventing cross-contamination during jewelry maintenance.
Step-by-Step Polishing for Micro-Scratches
Despite careful handling, resin necklaces inevitably accumulate micro-scratches from daily wear, friction against clothing, and contact with harder surfaces. Because resin is essentially a hardened plastic, these scratches can be buffed out using a progressive wet-sanding and polishing technique.
Phase 1: Wet Sanding Progression
For visible surface scratches, you must level the resin. Use high-quality wet/dry silicon carbide sandpaper. Always sand with water to lubricate the surface and carry away particulate matter, which prevents deeper gouging.
- 800 Grit: Use only for deep, noticeable scratches. Sand in a single direction until the scratch is level.
- 1200 Grit: Sand perpendicular to the previous scratches to remove the 800-grit tool marks.
- 2000 Grit: Sand in circular motions to begin refining the surface finish.
- 3000 Grit: Final wet sand to achieve a semi-gloss, frosted appearance ready for compounding.
Phase 2: Plastic Polishing Compounds
After sanding, the resin will appear cloudy. To restore optical clarity, you must use a plastic-specific polishing compound. The industry standard is the Novus Plastic Polish system. Apply Novus No. 3 (Heavy Scratch Remover) with a clean microfiber pad using firm, circular pressure. Wipe away the residue, then follow with Novus No. 2 (Fine Scratch Remover) to bring the resin back to a high-gloss, glass-like finish.
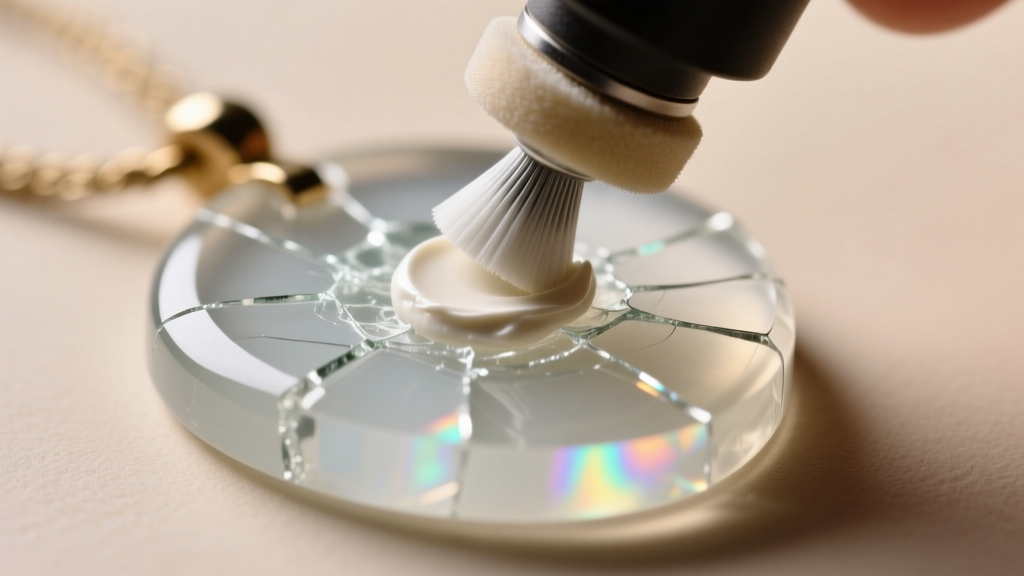
Pro-Tip: Never use a high-speed rotary tool (like a Dremel) on resin. The friction generates heat rapidly, and because resin has a low melting point, a high-speed buffing wheel will melt the surface, creating permanent ripples and optical distortion. Always polish by hand or use a low-RPM buffer with a loose cotton wheel.
Reversing Yellowing: The Hard Truth
Can you clean the yellow out of a resin necklace? The answer depends on the source of the discoloration. If the yellowing is a surface stain from nicotine, turmeric, or environmental pollutants, a gentle scrub with a paste of baking soda and water may lift it.
However, if the yellowing is caused by UV degradation (photodegradation), the discoloration is a fundamental chemical change within the polymer matrix. No amount of surface cleaning will remove it. For opaque or solid-colored white resins, some restorers use the 'Retrobright' method—submerging the piece in a hydrogen peroxide bath under UV light to bleach the polymers. But for clear, translucent, or botanically-included resin necklaces, this process will destroy the inclusions and cause severe clouding. In these cases, the yellowing is permanent, and the best approach is preventative storage.
Storage Best Practices to Prevent Future Damage
Proper storage is the most effective maintenance strategy for resin necklaces. To maximize the lifespan and clarity of your jewelry, implement the following storage protocols:
- UV Protection: Store resin necklaces in a dark environment. Use opaque jewelry boxes or drawers lined with anti-tarnish fabric. Never leave resin on a sunny windowsill or in a car dashboard.
- Climate Control: Extreme heat can warp the resin and weaken the adhesive bonding the bail to the pendant. Keep your jewelry in a climate-controlled room, avoiding humid bathrooms.
- Moisture Absorption: Place silica gel desiccant packets inside your jewelry storage boxes. While epoxy is largely waterproof, fluctuating humidity can cause condensation inside sealed bezels or cloud certain polyurethane-based resins.
- Physical Isolation: Resin is softer than metal and gemstones. Store each necklace in an individual soft cotton pouch to prevent heavier jewelry pieces from pressing into the resin and leaving permanent indentations.
By understanding the unique vulnerabilities of polymer jewelry and adhering to these strict cleaning and storage protocols, you can ensure your resin necklaces remain vibrant, clear, and structurally sound for years to come.


