How to Clean, Restore, and Style Your Hematite Necklace
Learn how to clean, restore, and authenticate your hematite necklace. Expert steps for rust prevention, stringing, and styling heavy iron oxide beads.

Understanding Your Hematite: Natural vs. Magnetic
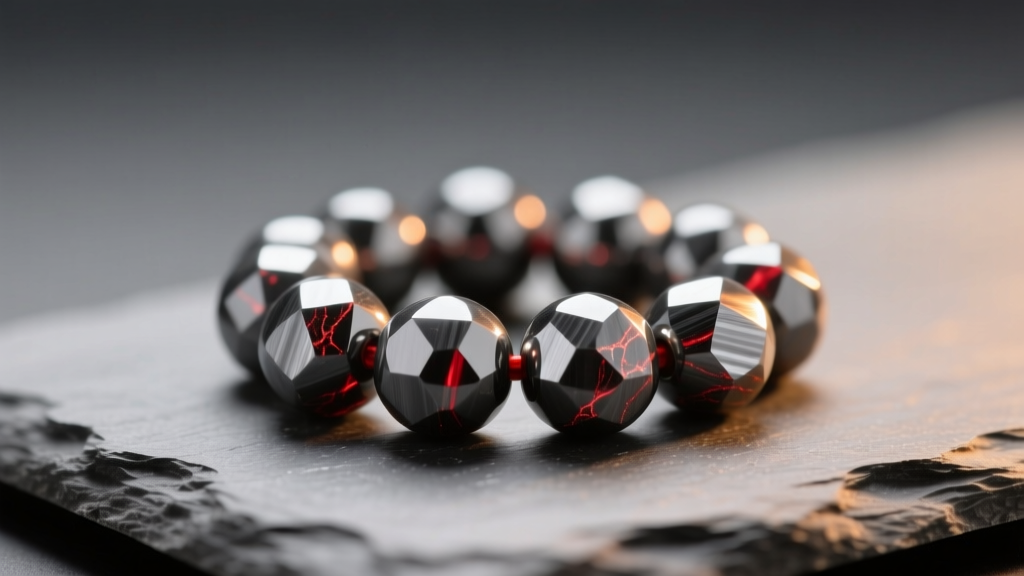
Before you apply any cleaning solution or polishing cloth to your hematite necklace, you must identify its exact composition. Hematite is an iron oxide mineral (Fe2O3) with a high specific gravity (5.0 to 5.3), making it exceptionally heavy and dense. However, the beads on the market generally fall into two distinct categories, and treating them identically can permanently ruin your jewelry. According to the Gemological Institute of America (GIA), natural hematite is weakly magnetic or non-magnetic, whereas the highly magnetic beads sold in wellness and jewelry shops are almost always synthetic.
| Feature | Natural Hematite | Magnetic (Synthetic) Hematite |
|---|---|---|
| Composition | Natural Iron Oxide (Fe2O3) | Barium Ferrite or Strontium Ferrite |
| Magnetism | None to Very Weak | Strong (Clings to clasps and itself) |
| Rust Risk | High (if exposed to prolonged moisture) | Low to Moderate (depends on coating) |
| Streak Test | Reddish-Brown | Gray or Black |
| Price Range | $30 - $150+ (depending on cut/clarity) | $10 - $40 (mass-produced) |
Step-by-Step Guide: How to Clean a Hematite Necklace
Because hematite contains iron, water is your biggest enemy. Submerging your necklace in a bowl of soapy water is a guaranteed way to induce micro-rusting, which manifests as a dull, chalky gray film or actual orange rust spots around the drill holes. Follow this dry-first protocol to restore your necklace's mirror-like luster.
Step 1: The Dry Dusting Method
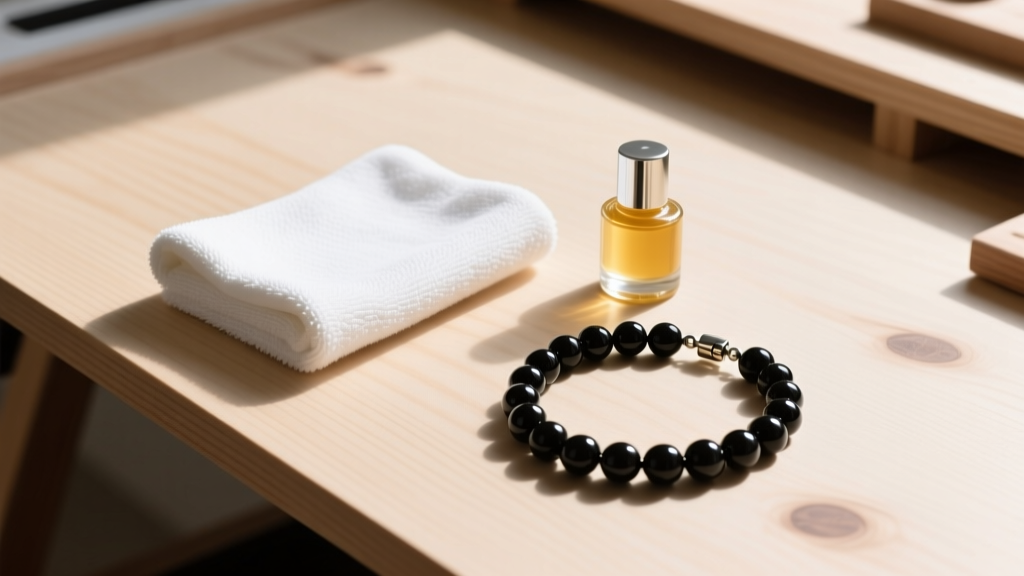
Body oils, dead skin cells, and cosmetic powders accumulate in the crevices between beads. Use a clean, soft-bristled makeup brush (like a kabuki or eyeshadow blending brush) to gently sweep between each bead. Avoid toothbrushes, as the stiff nylon bristles can leave micro-scratches on the highly polished surface of the hematite, dulling its metallic reflection over time.
Step 2: The Damp Cloth Technique (With Caveats)
If dry brushing isn't enough to remove stubborn oils, use a microfiber cloth slightly dampened with distilled water. Never use tap water; the chlorine and dissolved minerals can react with the iron oxide. Wipe each bead individually, applying gentle pressure. Do not let the moisture sit on the surface, and never allow water to seep into the drill holes where the stringing wire resides.
Step 3: Immediate Drying
Immediately after wiping, use a dry, lint-free jeweler's cloth to buff the beads dry. For extra assurance, use a hair dryer on the "cool" setting to blow out any microscopic moisture trapped near the clasp or inside the bead channels. Heat settings should be avoided, as rapid temperature changes can cause thermal shock and fracture natural hematite.
Step 4: Polishing and Sealing
To restore the deep, gunmetal shine and create a barrier against ambient humidity, apply a micro-crystalline wax. Renaissance Wax is the museum-standard choice. Apply a tiny amount to a cotton swab, rub it gently over the beads, let it haze for 10 minutes, and buff it off with a clean microfiber cloth. This seals the iron oxide from oxygen and moisture.
How to Authenticate Your Hematite Beads
If you purchased your hematite necklace from a vintage store or an unverified online marketplace, you might want to confirm its authenticity. Mindat.org, the premier mineralogical database, notes that hematite's most defining characteristic isn't its metallic gray color, but its streak. Here is how to test it without damaging your jewelry:
- The Streak Test: Find an unglazed porcelain tile (the unglazed bottom of a ceramic mug works perfectly). Gently rub a single, inconspicuous bead against the porcelain. Natural hematite will leave a distinct reddish-brown or rust-colored streak, despite the bead looking silver or black. Synthetic magnetic hematite will leave a gray or black streak, or no streak at all.
- The Magnet Test: Hold a strong neodymium magnet near the beads. If the beads aggressively snap to the magnet, they are almost certainly synthetic barium ferrite. Natural hematite may show a very faint pull under a high-strength magnet, but it will not "stick" or support its own weight.
- The Weight Test: Natural hematite is surprisingly heavy. A 16-inch necklace of 8mm natural hematite beads will weigh approximately 45 to 50 grams. Synthetic beads are often slightly lighter, and glass beads coated with a hematite-like finish will feel noticeably hollow and light in the hand.
Hardware and Stringing Considerations for Heavy Beads
One of the most common reasons hematite necklaces fail is improper stringing material. Because of its high density, hematite acts like a saw against traditional elastic cords or cotton threads, eventually snapping them and sending heavy beads scattering across the floor. If you are restringing or repairing a vintage hematite necklace, you must use the correct hardware.
According to jewelry fabrication standards outlined by the International Gem Society, heavy stone beads require flexible, multi-strand wire. Use a 49-strand micro-wire with a diameter of 0.018" to 0.024" (such as Soft Flex or Beadalon). This gauge is thick enough to support the 50+ gram weight of the necklace but flexible enough to drape elegantly around the collarbone. Always use French wire (gimp) at the ends to protect the wire from fraying against the metal clasp, and secure it with heavy-duty crimp tubes, not standard round crimp beads, which can slip under heavy tension.

Styling and Layering Your Hematite Necklace
Hematite's dark, mirror-like finish makes it an incredible anchor piece for layered necklace stacks. Because it reads as a "neutral" metallic rather than a bright gemstone, it pairs beautifully with both warm and cool tones.
- The Choker Anchor: Use a 15-inch hematite bead choker as your base layer. Its dark, solid line draws the eye to the neck and provides a visual break between the skin and longer, more intricate pendants.
- Contrast with Bright Metals: Layer your hematite necklace with a 20-inch sterling silver or white gold chain featuring a geometric pendant. The gunmetal gray of the hematite amplifies the brilliance of bright silver, creating a sleek, modern, and slightly industrial aesthetic.
- Earth Tone Pairings: For a bohemian or Southwestern look, mix 8mm hematite beads with turquoise, lapis lazuli, or tiger's eye. The dark iron oxide grounds the vibrant blues and golds of these softer stones, preventing the stack from looking overly colorful or chaotic.
Common Mistakes to Avoid
To ensure your hematite necklace lasts a lifetime, avoid these three critical maintenance errors:
- Ultrasonic Cleaners: Never put hematite in an ultrasonic jewelry cleaner. The high-frequency vibrations can shatter natural beads along their internal crystalline cleavage planes, and it will instantly strip the protective coating off synthetic magnetic beads, causing them to rust within days.
- Harsh Chemicals: Avoid commercial silver dips, bleach, ammonia, or alcohol-based cleaners. These chemicals will react with the iron oxide, causing permanent pitting and a chalky, irreversible white residue on the surface of the beads.
- Wearing in Water: Remove your hematite necklace before showering, swimming in chlorinated pools, or entering the ocean. Saltwater and chlorine are highly corrosive to iron-based minerals and will accelerate rusting, particularly around the drill holes where moisture gets trapped against the metal stringing wire.
Expert Tip: If your natural hematite necklace develops a slight chalky film from prolonged exposure to skin acids, do not use liquid polish. Instead, gently tumble the beads in a rotary tumbler with stainless steel shot and a few drops of mild dish soap for 30 minutes. This burnishes the surface and restores the metallic luster without introducing prolonged moisture.


