How to Make Necklaces With Beads: Advanced Stringing Guide
Master how to make necklaces with beads using professional stringing materials, precise crimping techniques, and wire gauge charts for lasting durability.

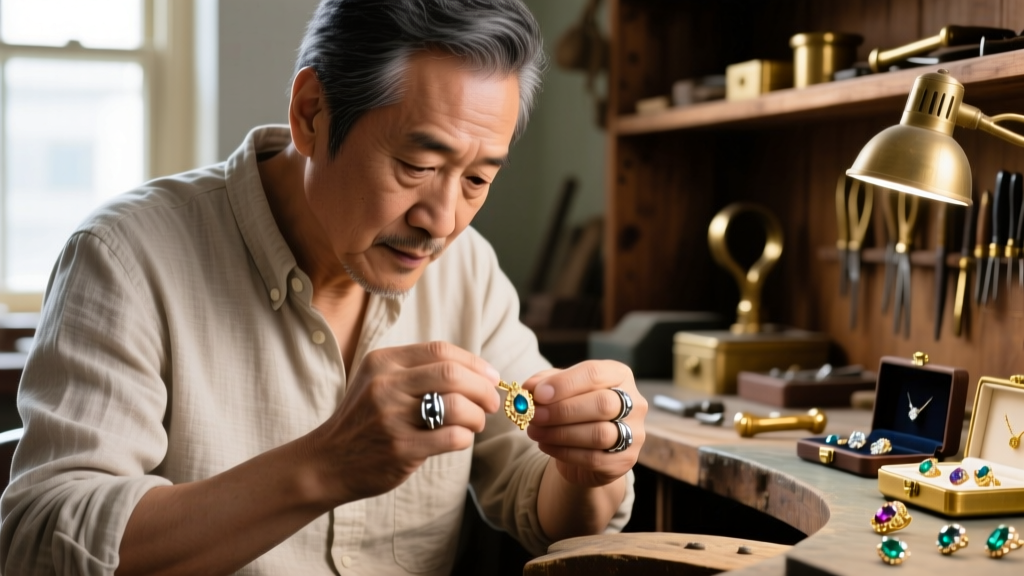
When learning how to make necklaces with beads, most beginners focus entirely on the aesthetic arrangement of gemstones, pearls, and glass. However, professional jewelry design requires a deep understanding of material fatigue, tensile strength, and micro-mechanics. A beautifully designed beaded necklace that snaps after three wears is a failure of engineering, not art. This expert deep dive bypasses basic craft tutorials to explore the technical specifications of professional stringing, precision crimping, and edge protection, ensuring your beaded creations are as structurally sound as they are visually stunning.
The Physics of Bead Stringing: Selecting the Right Core
The foundation of any durable beaded necklace is the stringing material. While silk thread and nylon monofilament have their places in traditional pearl knotting and rigid designs, modern professional stringing relies almost exclusively on nylon-coated, multi-strand stainless steel wire. The critical metric here is the strand count, which dictates the wire's bend radius and resistance to metal fatigue.
A 7-strand wire is stiff, prone to kinking, and will eventually snap at the clasp connection due to repeated bending. A 19-strand wire offers a medium drape suitable for lightweight glass beads. However, for high-end gemstones, heavy lampwork beads, or pieces intended for daily wear, 49-strand wire is the industry standard. The 49 micro-strands distribute the mechanical stress across a wider surface area, allowing the wire to flex like a liquid rather than hinging at a single stress point. Brands like Soft Flex Company and Beadalon engineer their 49-strand wires with specific nylon durometers to prevent the coating from cracking under extreme tension.
Beading Wire Gauge and Diameter Matrix
Selecting the correct diameter is equally crucial. The wire must pass through the smallest bead hole in your design while maintaining adequate tensile strength to support the total weight of the piece. Refer to the matrix below for technical specifications:
| Strand Count | Diameter (Inches) | Tensile Strength (lbs) | Best Application |
|---|---|---|---|
| 7-Strand | 0.015" | 15-20 lbs | Lightweight seed beads, temporary stringing, rigid collars |
| 19-Strand | 0.018" | 20-25 lbs | Medium-weight glass, crystal bicones, standard pendants |
| 49-Strand | 0.019" | 30-40 lbs | Heavy gemstones, metallic beads, high-end commercial jewelry |
| 49-Strand (Heavy) | 0.024" | 40-50 lbs | Large focal beads, heavy jasper/agate, multi-strand clasps |
Precision Crimping: The Micro-Mechanics of a Secure Finish
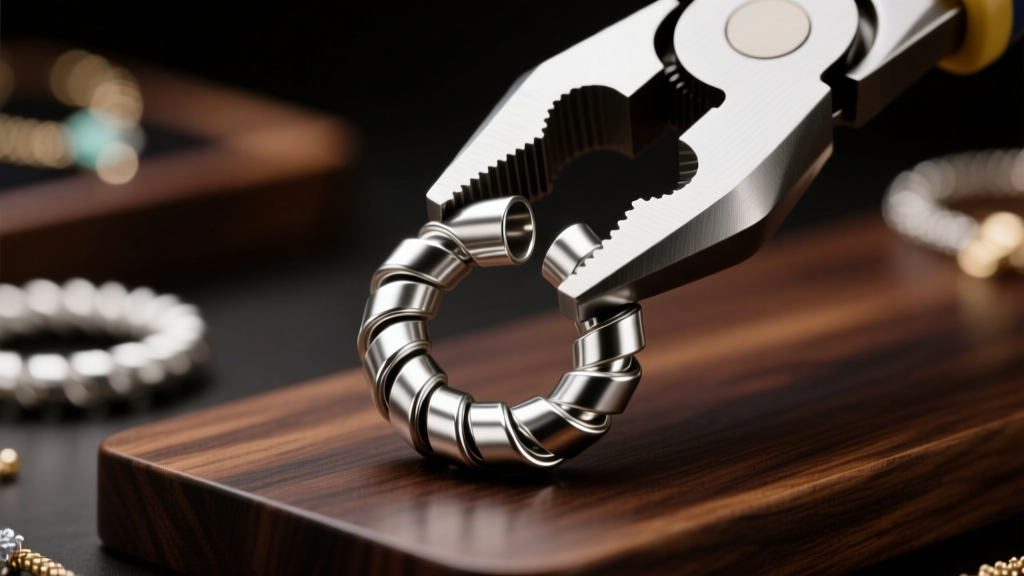
Crimping is where 90% of amateur beaded necklaces fail. The objective of a crimp is not merely to smash a bead flat; it is to fold the metal around the wire, creating a multi-point friction grip that will not slide or cut the nylon coating.
First, consider the metallurgy of your crimp beads. Base metal or poorly annealed brass crimps are brittle; when compressed, they tend to shatter or develop micro-fractures that eventually slice through the beading wire. Professional jewelers use sterling silver or pure copper crimp tubes. Both metals are softer than the stainless steel core wire (ranking lower on the Mohs hardness scale), meaning they will deform smoothly and bite into the steel wire without compromising their structural integrity.
To achieve a professional finish, you must use a two-step crimping plier (such as those manufactured by The Beadsmith). The process is highly specific:
- Step 1 (The U-Channel): Place the crimp tube in the back notch of the pliers. Squeeze firmly to separate the two wires into distinct channels, creating a U-shape.
- Step 2 (The Fold): Rotate the crimp 90 degrees and place it in the front notch. Squeeze again to fold the U in half, effectively encasing the wires in a tight, rounded metal barrel.
Expert Insight: Never use flat-nose pliers to crush a crimp bead. Flattening creates sharp, jagged metal edges on the inside of the crimp that act like tiny guillotines, slowly sawing through your nylon-coated wire over time.
Edge Protection: Preventing Abrasion and Fatigue Failure
The most vulnerable point of any beaded necklace is the termination loop where the flexible wire meets the rigid clasp. Every time the wearer moves, the wire bends sharply against the metal jump ring or clasp loop. Over months of wear, this friction wears away the nylon coating, exposing the steel core to oxidation and eventual snapping.
To engineer against this, professionals use wire guardians (also known as wire protectors or horseshoes). These are tiny, U-shaped channels made of sterling silver or gold-filled metal. The flexible wire threads up through one side of the guardian, over the curved top, and down the other side. The jump ring then passes through the guardian itself, ensuring that the flexible wire never directly rubs against the clasp hardware.
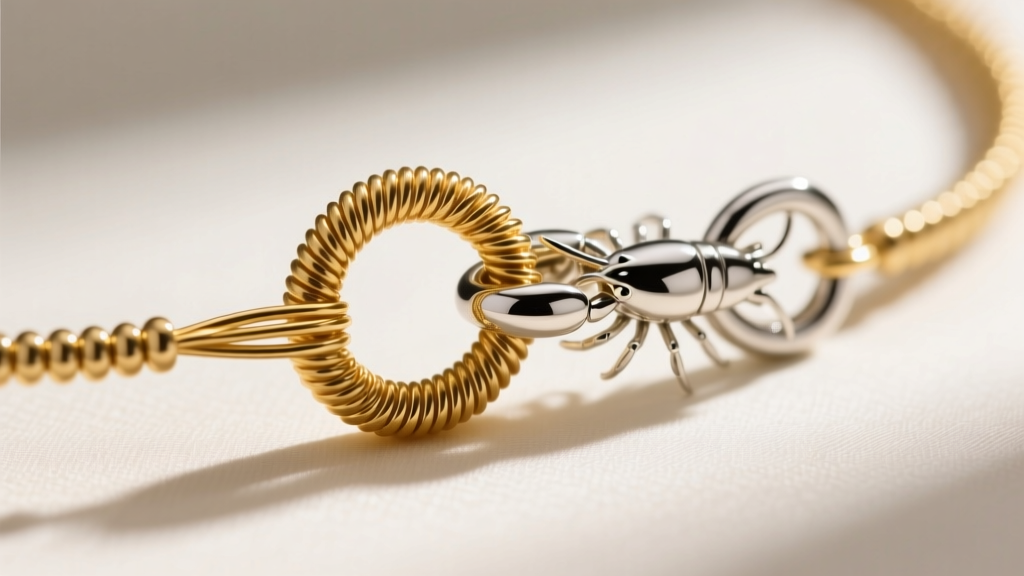
For designs utilizing silk thread or ultra-fine metallic wires, French wire (bullion) is the traditional alternative. French wire is a tightly coiled spring of fine metal that acts as a sacrificial abrasion barrier. According to the jewelry education resources at Fire Mountain Gems, properly sizing your wire guardian to the exact gauge of your stringing wire prevents the wire from sliding laterally inside the channel, which can cause unwanted bunching near the clasp.
Tension, Drape, and Heavy Stone Engineering
A common mistake when learning how to make necklaces with beads is pulling the stringing wire too tight. A necklace strung with zero slack will bow outward, resist laying flat against the collarbone, and place immense lateral torque on the crimp beads when bent.
The Slack Rule: You must engineer deliberate slack into the design. For a standard 18-inch princess-length necklace, you should leave approximately 1/4 to 1/2 inch of un-beaded wire at the ends before crimping. This allows the beads to shift slightly, giving the necklace a fluid, fabric-like drape.
When working with exceptionally heavy focal stones (such as large polished agates or solid turquoise cabs exceeding 150 grams), continuous stringing on a single wire may result in sagging. In these scenarios, experts employ a hybrid technique: stringing the heavy focal bead on a rigid, heavy-gauge wire frame or headpin, and then attaching that focal component to the flexible beading wire via reinforced jump rings, distributing the gravitational load away from the primary crimp points.
Sourcing Professional-Grade Components
The longevity of your beaded necklace is entirely dependent on the quality of its hidden components. Avoid bulk, unbranded stringing wire from general craft stores, as the nylon coating is often too thin and the steel core prone to rusting. Invest in USA-made, high-tensile 49-strand wires, precision-machined crimping pliers, and solid metal findings. By treating bead stringing as an exercise in micro-engineering rather than simple threading, you elevate your jewelry from fragile crafts to enduring, professional-grade accessories.


