How to Clean, Secure, and Fix Necklace Jump Rings
Learn how to properly clean, secure, and repair necklace jump rings to prevent lost pendants and chain breakage with expert jewelry maintenance tips.

The Hidden Weak Point: Why Necklace Jump Rings Fail
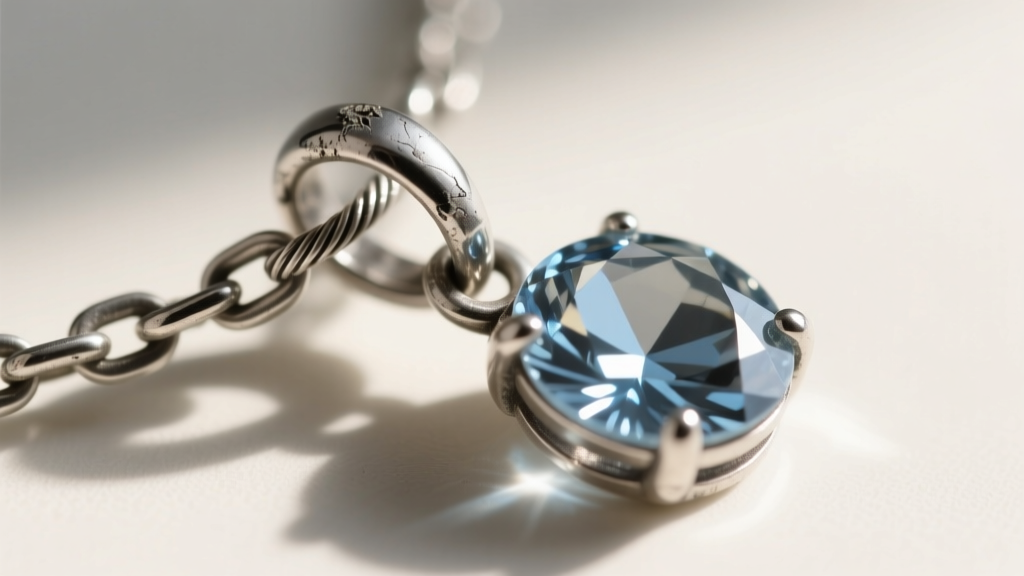
When we think about necklace maintenance, our minds usually drift toward polishing gemstones or untangling delicate chains. Yet, the most critical component of any necklace is often the smallest: the jump ring. These tiny metal loops are the structural bridges connecting your clasp to the chain, and your chain to the pendant bail. According to jewelry manufacturing standards outlined by Rio Grande, a leading jewelry supply authority, the vast majority of lost pendants and broken chains are not caused by the chain itself snapping, but by an unsoldered jump ring pulling apart.
Jump rings are typically cut from a coiled wire, leaving a microscopic seam known as the 'kerf'. Over time, the natural tension of wearing a necklace, combined with the weight of a pendant, can cause this kerf to gap. If you do not understand the metallurgy and proper care of these tiny hardware pieces, you risk losing sentimental or highly valuable pendants. This guide dives deep into the professional care, cleaning, and structural securing of necklace jump rings.
Anatomy and Sizing: Know Your Hardware
Before you can maintain a jump ring, you must understand its specifications. Jump rings are measured by two primary metrics: gauge (wire thickness) and outer diameter (OD).
- 22-Gauge (0.64mm): Used for ultra-delicate chains and lightweight pearl pendants. Highly prone to pulling open under stress.
- 20-Gauge (0.81mm): The industry standard for most commercial women's necklaces and medium-weight pendants.
- 18-Gauge (1.02mm): Recommended for heavy gemstone pendants, thick Cuban links, and men's chains.
- 16-Gauge (1.29mm): Reserved for heavy statement pieces and structural chainmaille weaves.
The outer diameter typically ranges from 3mm to 5mm for standard clasp connections. When replacing a damaged jump ring, matching both the gauge and the OD is crucial to ensure the clasp operates smoothly without catching.
The Ultrasonic Danger: Cleaning Tarnished Jump Rings
Tarnish loves to hide in the kerf of a jump ring. When silver or copper alloys oxidize, the dark buildup acts as an abrasive paste, slowly wearing down the metal edges every time the ring moves. However, you must be incredibly careful about how you clean them.
Many jewelry owners toss their necklaces into an ultrasonic cleaner to blast away dirt. Never put an unsoldered jump ring in an ultrasonic cleaner. The high-frequency vibrations (typically 40kHz to 46kHz) can cause the microscopic burrs inside the kerf to catch on one another. As the machine vibrates, it can literally twist the jump ring open while it sits in the basket, resulting in a detached pendant at the bottom of the tank.
Safe Cleaning Solutions by Material
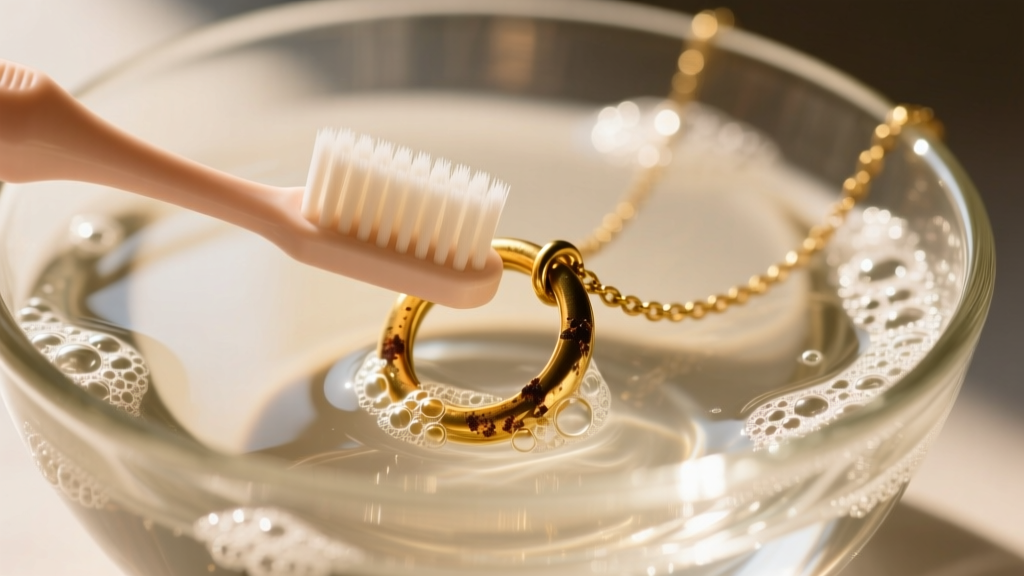
Instead of ultrasonics, use targeted manual cleaning. The Gemological Institute of America (GIA) recommends gentle, non-abrasive methods for maintaining jewelry hardware to preserve the metal's integrity.
| Material | Recommended Cleaning Agent | Technique & Tools | Soak Time |
|---|---|---|---|
| Sterling Silver | Aluminum foil, boiling water, baking soda | Ion exchange bath; use a fiberglass scratch pen for the kerf | 3-5 Minutes |
| Gold-Filled / Solid Gold | Mild dish soap (e.g., Dawn) and warm water | Soft baby toothbrush; brush parallel to the kerf | 10 Minutes |
| Brass / Copper | White vinegar and salt solution | Cotton swab application; rinse immediately | 1-2 Minutes |
| Base Metal (Plated) | Damp microfiber cloth only | Gentle wiping; avoid the kerf to prevent plating loss | N/A |
The Kerf: Where Dirt Hides and Chains Break
The kerf is the slit where the wire was cut. In cheap, mass-produced jewelry, jump rings are often 'machine cut' with a saw blade, leaving a rough, burred edge. In high-end jewelry, they are 'flush cut' or 'shear cut', leaving a nearly seamless closure. If your jump ring is tarnished specifically inside the kerf, do not use a toothpick or a needle to dig the dirt out. Prying the kerf open, even slightly, will compromise the ring's structural memory.
Pro-Tip: Use a fiberglass scratch pen. These pens contain thousands of tiny fiberglass bristles that act like a micro-file. Gently brushing the fiberglass tip over the closed kerf will erase tarnish and dirt without forcing the metal apart. Always wear safety glasses when using a fiberglass pen, as the bristles can shed.
How to Properly Close a Loose Jump Ring
If you notice a gap in your necklace jump ring, you must close it immediately. The most common mistake amateurs make is pulling the two ends of the ring outward to pinch them back together. This creates an oval shape, weakens the metal through improper stress distribution, and guarantees the ring will pop open again.
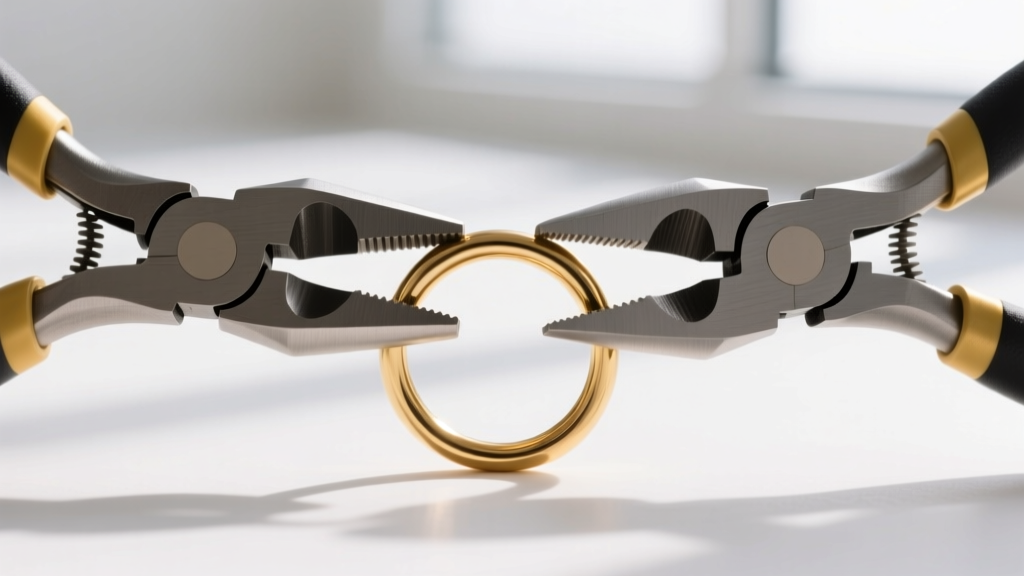
The Lateral Twist Method:
- Hold the jump ring with two pairs of pliers. Use nylon-jaw pliers (like Wubbers) on one side to prevent marring soft metals, and flat-nose or chain-nose pliers on the other.
- Grip the ring at the 3 o'clock and 9 o'clock positions, exactly opposite the kerf.
- Instead of pulling apart, twist one hand toward you and the other away from you (a lateral sliding motion).
- Slide the ends past each other slightly, then twist them back to center. The friction of the metal ends rubbing together will create a microscopic 'click' when they align perfectly flush.
- Run your fingernail over the kerf. If it catches, the ring is not fully closed. Repeat the twist until the seam is completely smooth.
Soldered vs. Unsoldered: When to Upgrade
For necklaces holding pendants valued over $100, relying on an unsoldered jump ring is a massive risk. Soldering involves using a jeweler's torch and a filler metal (solder) to permanently fuse the kerf shut, turning the jump ring into a continuous, unbreakable loop.
If you have a heavy pendant on a delicate 20-gauge chain, take the necklace to a local bench jeweler to have the pendant's jump ring 'flash soldered'. This service typically costs between $15 and $35 and takes less than ten minutes. It is the single best investment you can make in jewelry maintenance. For base metals or plated jewelry that cannot be torch-soldered without burning off the plating, a temporary fix is to apply a microscopic drop of Loctite 454 Gel Control (a thick cyanoacrylate adhesive) directly into the kerf using a toothpick. This will seal the gap and prevent lateral twisting, though it must be reapplied every few years.
Preventative Maintenance Checklist
To ensure your necklaces remain secure, integrate these quick checks into your jewelry care routine:
- The Monthly Tug Test: Once a month, gently pull the pendant away from the chain while inspecting the jump ring under a magnifying loupe. If you see light passing through the kerf, it needs to be twisted shut.
- Check for Work-Hardening: Metals like sterling silver become brittle when repeatedly bent (work-hardened). If a jump ring has been opened and closed more than three times, the metal is fatigued and must be replaced, not just twisted shut.
- Proper Storage: Always unclasp your necklace and lay it flat or hang it vertically. Tossing necklaces into a drawer causes the clasps to act as wedges, prying the jump rings open against other jewelry.
Jeweler's Insight: 'A jump ring is only as strong as its weakest seam. Treat the hardware with the same respect you give the gemstones, and your necklaces will last generations.'
By understanding the gauge, respecting the kerf, and utilizing the proper lateral closing techniques, you can entirely eliminate the risk of a lost pendant. Proper necklace jump ring maintenance is the hallmark of a true jewelry connoisseur.


