How to Clean Silver Necklace Tarnish Without Damaging Gems
Learn how to clean silver necklace tarnish safely. Expert troubleshooting for 925 sterling chains, porous gemstone inlays, and oxidized antique finishes.

The Chemistry of Tarnish: Why Sterling Silver Turns Black
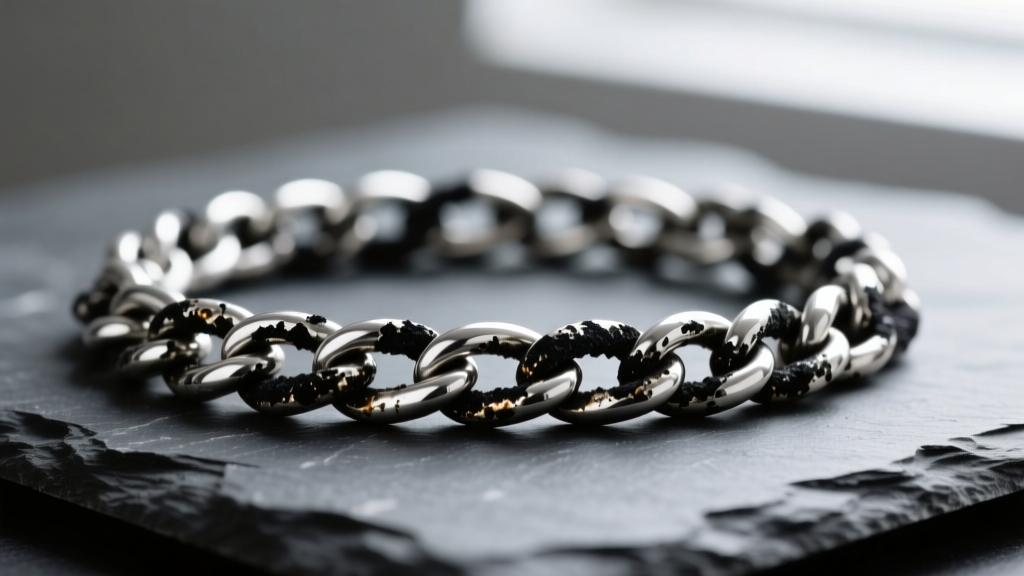
Before you can effectively clean silver necklace chains, you must understand what you are actually removing. Tarnish is not dirt; it is a chemical reaction. Sterling silver is an alloy composed of 92.5% pure silver and 7.5% copper or zinc. While pure silver (999) is relatively inert, the copper in 925 sterling reacts with sulfur compounds in the air, cosmetics, and even your skin's natural acidity to form silver sulfide (Ag2S). This manifests as a yellowish film that eventually deepens into a stubborn black crust.
When dealing with delicate 22-gauge chains versus chunky 14-gauge Cuban links, the mechanical approach to cleaning must shift. Aggressive scrubbing can stretch delicate links or weaken soldered jump rings. Furthermore, if your necklace features gemstones, pearls, or intentional antiquing, standard cleaning methods can cause irreversible damage. This guide provides a metallurgist's approach to troubleshooting and restoring your silver jewelry safely.
The Electrochemical Method: Aluminum Foil and Baking Soda
For plain sterling silver chains without porous gemstones or glued-in inlays, the aluminum foil method is the gold standard. Unlike abrasive polishes that strip away microscopic layers of silver along with the tarnish, this method uses a redox (reduction-oxidation) reaction to convert the silver sulfide back into pure silver, transferring the sulfur to the aluminum foil.
Step-by-Step Troubleshooting Protocol
- Prepare the Vessel: Line a glass or ceramic bowl with aluminum foil, shiny side up. Avoid metal bowls to prevent competing electrical currents.
- The Catalyst Solution: Add 1 tablespoon of baking soda (sodium bicarbonate) and 1 tablespoon of non-iodized salt (sodium chloride) per cup of boiling water. The salt acts as an electrolyte to facilitate the ion transfer.
- Submersion: Place your silver necklace into the bowl, ensuring it physically touches the aluminum foil. This contact is mandatory for the electrochemical circuit to close.
- Reaction Time: Let it sit for 3 to 5 minutes. You will notice a faint smell of sulfur (like rotten eggs)—this confirms the silver sulfide is breaking down.
- Rinse and Dry: Remove the chain with wooden or plastic tongs (never bare hands, as skin oils can disrupt the freshly reduced surface). Rinse thoroughly in distilled water and pat dry with a microfiber cloth.
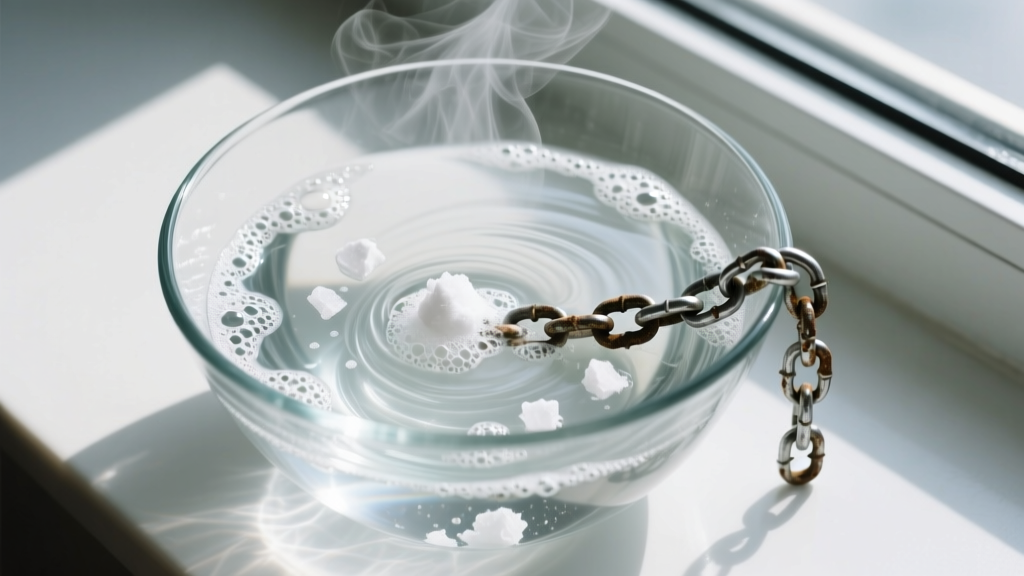
Expert Warning: Never use the boiling water and foil method on necklaces with glued-in stones, such as turquoise or lapis lazuli. The heat will soften the jeweler's epoxy, causing the stones to dislodge from their bezels.
Gemstone Inlays: The Porosity and Hardness Matrix
The most common mistake consumers make when attempting to clean silver necklace pendants is treating the entire piece as a single material. The Gemological Institute of America (GIA) categorizes gemstones not just by their Mohs hardness, but by their porosity and chemical stability. Chemical dips and ultrasonic cleaners are notorious for ruining organic and porous gems.
| Gemstone Material | Mohs Hardness | Porosity / Sensitivity | Safe Cleaning Verdict |
|---|---|---|---|
| Pearl (Organic) | 2.5 - 4.5 | Highly porous; dissolves in acids | Wipe with damp cloth only. Never submerge. |
| Turquoise | 5.0 - 6.0 | Porous; absorbs chemicals/oils | Dry microfiber only. Avoid all liquids. |
| Opal | 5.5 - 6.5 | Contains water; prone to crazing | Mild soapy water. No ultrasonics or heat. |
| Diamond | 10.0 | Non-porous; attracts grease | Safe for ultrasonics and mild chemical dips. |
| Emerald | 7.5 - 8.0 | Fractured; usually oil-treated | Warm soapy water. Ultrasonics will shatter it. |
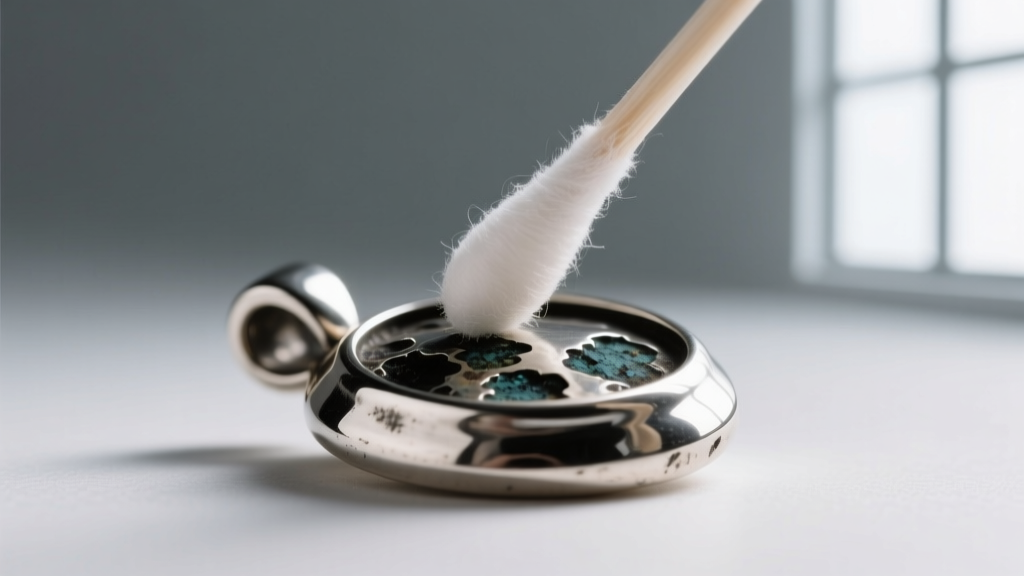
When cleaning a silver pendant set with a porous stone, use a soft-bristled baby toothbrush dipped in a mild, phosphate-free dish soap solution. Gently brush the silver bezel setting while keeping the brush angled away from the stone. Dry immediately with compressed air or a lint-free swab to prevent water spots from settling under the stone's girdle.
Preserving Intentional Oxidation (Antiqued Silver)
Many artisan and designer silver necklaces feature intentional oxidation—a process where the jeweler applies liver of sulfur to darken the recessed areas of the metal, creating high contrast and highlighting intricate textures. If you use the aluminum foil method or a commercial chemical dip on an oxidized necklace, you will strip the patina, leaving the piece looking flat and unnaturally white.
Targeted Polishing Technique
To clean oxidized silver, you must rely on mechanical abrasion restricted only to the high points of the metal. Fold a piece of Smithsonian-recommended treated silver polishing cloth into a tight square. Pinch the cloth and run it along the raised, polished edges of the chain links or pendant. For tight corners, wrap the cloth around a wooden toothpick. Never use liquid pastes or creams, as they will pool in the recesses and dry into a chalky white residue that is nearly impossible to remove without stripping the antiquing.
Chemical Dips vs. Mechanical Polishing: A Metallurgist's View
Commercial "instant" silver dips (often containing thiourea and hydrochloric acid) are highly controversial in the conservation community. While they remove heavy black tarnish in seconds, they do so by etching the surface of the silver. Repeated use of thiourea-based dips creates microscopic pitting on the metal's surface. Ironically, this rough, pitted surface area provides more crevices for sulfur to accumulate, meaning the necklace will tarnish faster and darker after each subsequent cleaning.
Instead of liquid dips, rely on high-quality impregnated polishing cloths (such as those made by Hagerty or Connoisseurs). These cloths contain microscopic jeweler's rouge (iron oxide) and a mild tarnish-inhibiting compound. They remove the Ag2S layer through gentle mechanical friction while leaving behind a protective polymer film that slows future oxidation.
Preventative Storage Protocols
Troubleshooting tarnish is secondary to preventing it. The rate at which your silver necklace oxidizes is directly tied to ambient humidity and airborne sulfur. To protect your collection, implement the following storage protocols:
- Anti-Tarnish Strips: Place 3M anti-tarnish strips inside your jewelry boxes. These strips contain copper-based particles that act as a sacrificial anode, absorbing sulfur gases before they reach your silver. Replace them every 6 months.
- Humidity Control: Store silver in environments with a relative humidity (RH) below 50%. Tarnish requires moisture to catalyze the reaction between copper and sulfur. Include silica gel desiccant packets in your storage drawers.
- Pacific Silvercloth: For long-term storage, wrap individual necklaces in Pacific Silvercloth. This specialized cotton flannel is embedded with fine silver particles that trap sulfur gases, keeping your 925 chains pristine for years without the need for chemical intervention.
By understanding the underlying chemistry of silver sulfide and respecting the physical limitations of gemstone inlays, you can maintain the brilliance of your silver necklaces without compromising their structural integrity or historical patina.


