How to Craft a Durable Wire Bead Necklace: Expert Guide
Learn how to craft a durable wire bead necklace with our expert step-by-step guide covering wire gauges, temper selection, and wrapped loops.

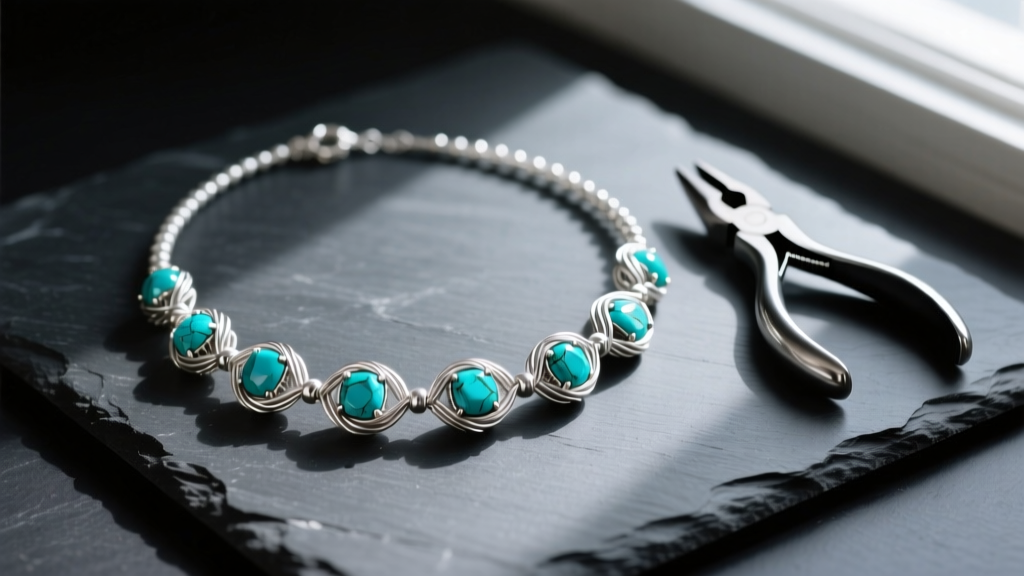
Crafting a wire bead necklace elevates your jewelry design from simple stringing to structural artistry. Unlike bead stringing on flexible beading wire, a wire-wrapped bead necklace uses rigid or semi-rigid metal wire to create individual linked segments. This technique allows the necklace to drape fluidly while providing immense tensile strength and a high-end, artisanal aesthetic. In this comprehensive guide, we will break down the exact metallurgy, tool requirements, and step-by-step mechanics of building a professional-grade wire bead necklace that withstands daily wear.
The Metallurgy of Wire: Selecting Gauge and Temper
The most common failure point in handmade wire jewelry is selecting the wrong temper (hardness) for the task. Wire is sold in dead-soft, half-hard, hard, and spring-hard tempers. For linking beads, you need a precise balance of malleability for wrapping and rigidity to hold the loop's shape under the weight of the stones.
According to metallurgical guidelines from Rio Grande, half-hard wire has been drawn and slightly work-hardened, making it ideal for structural loops that must bear weight without pulling open. Dead-soft wire is best reserved for tight coiling, weaving, and wrapping around the main stem. Using dead-soft wire for the primary structural loops of a heavy stone necklace will result in the loops elongating and eventually failing.
Wire Gauge and Temper Matrix for Bead Linking
| Wire Gauge | Temper | Best Use Case | Bead Hole Size Required |
|---|---|---|---|
| 20 AWG | Half-Hard | Main structural links, heavy stones, clasp hooks | 1.0mm - 1.2mm |
| 22 AWG | Half-Hard | Standard wrapped loops, medium glass or stone beads | 0.8mm - 1.0mm |
| 24 AWG | Dead-Soft | Tight coiling, securing top-drilled beads, weaving | 0.6mm - 0.8mm |
| 28 AWG | Dead-Soft | Micro-wrapping, creating wire rosettes and spacers | N/A (Used externally) |
Essential Tooling for Precision Wraps
To achieve flush, scratch-free wraps, your tooling must be precise and well-maintained. Professional wire wrappers invest in high-quality steel tools to prevent marring the metal.
- Flush Cutters: Use a pair with a flat back and beveled edge (e.g., Lindstrom RX series or Wubbers) to ensure the wire cut is perfectly flat against the bead. Never use standard hardware store cutters, as they will pinch and deform the wire.
- Round-Nose Pliers: Look for multi-step or stepped mandrel pliers. This guarantees every loop you form is the exact same diameter (typically 3mm to 4mm for necklaces), ensuring uniform drape.
- Chain-Nose Pliers: These must have smooth, un-serrated jaws to prevent scarring the silver or copper wire during the final tuck and tightening phase.
- Nylon-Jaw Pliers: Essential for pulling the wrapping wire taut without scratching the metal surface or work-hardening it prematurely.
- Cup Burr: A 2.35mm shank cup burr attached to a rotary tool is mandatory for rounding off the sharp ends of your cut wire so it doesn't slice the wearer's skin or snag delicate clothing.
Designing the Drape: Bead Sizing and Graduation
Before cutting any wire, map out the catenary curve of your wire bead necklace. Unlike uniform strung beads, wire-wrapped links add metal weight between every single stone. If you use heavy 16mm stone beads at the top near the clasp, the necklace will pull uncomfortably on the neck and fail to lay flat against the collarbone.
For an ergonomic drape, utilize a graduated bead pattern. Place your largest, heaviest beads at the center bottom of the necklace, and gradually step down to smaller, lighter beads as you move toward the clasp. This not only improves the physical comfort of the piece but also creates a visually striking focal point. As noted by the gemstone experts at Fire Mountain Gems, balancing the visual weight of natural stones with the metallic weight of the wire links is the hallmark of an advanced jewelry designer.
Step 1: Calculating Wire Length and Prepping Beads
The foundational formula for a standard wrapped wire link is: Bead Length + 3 inches (7.5 cm). If you are using 12mm round turquoise beads, cut your 22-gauge wire into 1.5-inch segments. Always cut slightly more wire than you calculate; silver and copper wire are inexpensive compared to the frustration of a wrap that falls short of the bead.
Before threading, inspect your bead holes. Natural stone beads often have irregular, jagged, or off-center drill holes. Use a diamond-coated bead reamer with water lubrication to smooth the interior of the hole. This critical step prevents the sharp stone interior from shearing the metal wire over time, a phenomenon known as abrasive fatigue.
Step 2: Crafting the First Wrapped Loop
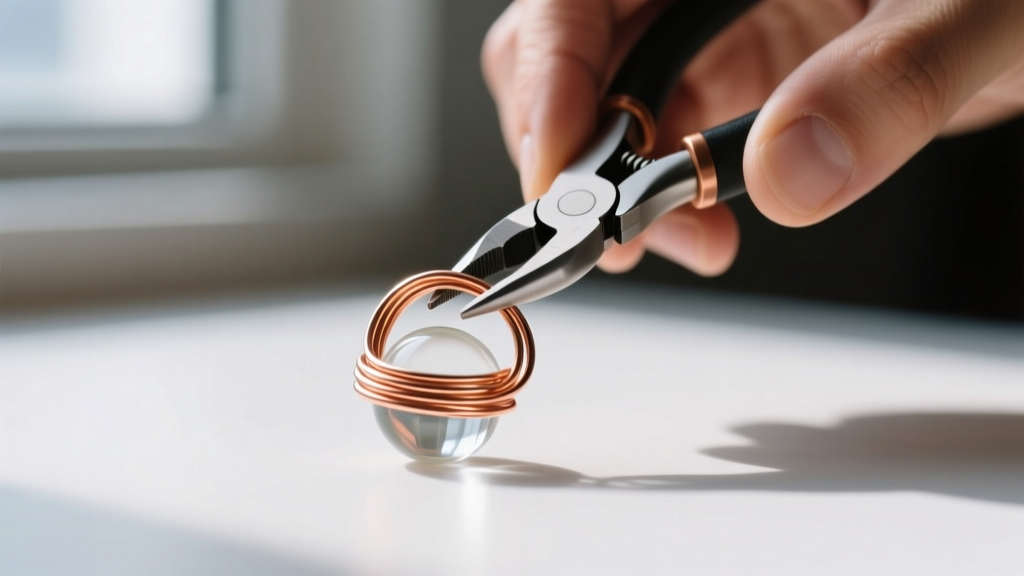
- Grip the wire with your round-nose pliers exactly 3/4 of an inch from the end.
- Roll the pliers away from you to form a 90-degree bend, then continue rolling to complete a full circle.
- Remove the pliers. The loop should be centered perfectly over the wire's tail.
- Using your thumb and forefinger, push the tail wire down so it sits flush against the main stem of the wire.
- Wrap the tail tightly around the stem 2.5 to 3 times. Keep the tension high and the coils perfectly parallel using your nylon-jaw pliers.
- Snip the excess wire with flush cutters, and use chain-nose pliers to gently squeeze the final cut end inward so it is completely flush and snag-free.
Step 3: Threading and Securing the Bead
Slide your prepared bead down the wire until it rests snugly against the base of your freshly wrapped loop. If the bead hole is too large and the wire slips through the top, you must introduce a spacer bead or a custom-made wire rosette (a flattened coil of 28-gauge wire) to act as a washer.
Once the bead is seated, bend the remaining wire at a strict 90-degree angle directly above the bead. This bend must be tight against the stone to prevent the bead from rattling, spinning, or shifting during wear. If the bead spins freely, your wire gauge is too thin for the drill hole; step up to a thicker gauge or use a micro-drop of jeweler's epoxy inside the hole.
Step 4: Linking and Clasp Integration
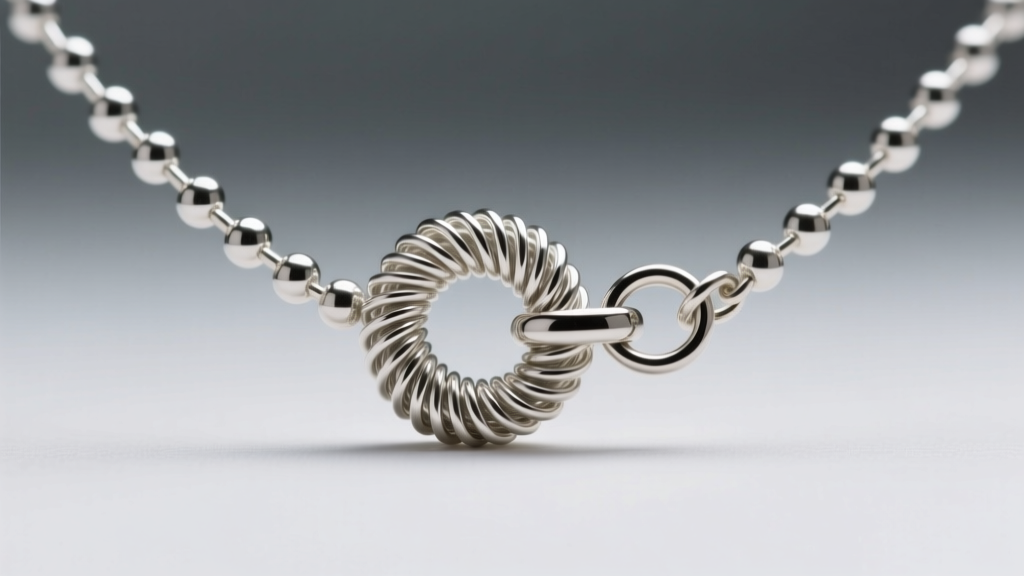
To connect the next segment, open the loop of the next wire link like a jump ring (twisting laterally, never pulling apart). Thread it through the first loop, close it flush, and execute the second wrapped loop to lock the connection permanently. Repeat this process until the desired length is achieved.
For the clasp, use a high-quality cast lobster clasp and a fully soldered jump ring on the opposite end. Do not rely on standard open jump rings for the primary clasp connection. The lateral stress of putting the necklace on and taking it off can easily pull an unsoldered ring apart, resulting in the loss of the entire piece. Finish the clasp connection with a tight, 3-coil wrap using 24-gauge dead-soft wire for a clean, professional bind.
Troubleshooting Common Wire Wrapping Failures
Even experienced jewelers encounter structural issues when crafting a wire bead necklace. Here is how to diagnose and fix the most common problems:
- Wire Snapping During the Wrap: This is caused by over-manipulation, which leads to excessive work hardening. If your wire keeps snapping at the bend, switch from half-hard to dead-soft temper, or anneal the wire with a butane torch before bending to restore its malleability.
- Sloppy, Gapped Coils: This happens when tension is lost during the wrapping phase. Always pull the wrapping wire taut with your fingers or nylon-jaw pliers after every single rotation. Gapped coils look amateurish and are prone to catching on hair and fabrics.
- Loops Pulling Open Under Weight: If your structural loops are elongating into ovals, your wire is too soft or too thin. Upgrade to 20-gauge half-hard wire, or ensure you are wrapping at least three full coils at the base of the loop to reinforce the neck of the wire.
Final Polish and Tarnish Prevention
Once the wire bead necklace is fully assembled, the metal will have accumulated fingerprints, minor tool marks, and oxidation from handling. To achieve a professional retail finish, tumble the necklace in a rotary tumbler with stainless steel shot and a drop of burnishing compound for 45 minutes. Use a mixed shot profile (balls, cylinders, and pins); the pins are crucial for reaching inside the tight spaces of your wrapped loops to polish the interior coils.
This tumbling process not only cleans the metal but also lightly work-hardens the outer layer of the wire, giving it a brilliant, mirror-like shine and increasing its overall durability. For Argentium or sterling silver wire bead necklaces, always store them in an anti-tarnish ziplock bag with a 3M anti-tarnish strip to prevent sulfur oxidation and keep the piece pristine between wears.
Pro Tip: Never use chemical silver dips or ultrasonic cleaners on a finished wire bead necklace if it contains porous stones like turquoise, opal, or pearls. The harsh chemicals will strip the stone's natural oils and cause irreversible discoloration. Stick to mechanical tumbling and gentle polishing cloths.


