How to Make a Flower Embroidery Necklace: Step-by-Step Guide
Learn how to craft a custom flower embroidery necklace with our step-by-step guide. Discover material grades, stitching techniques, and hardware tips.

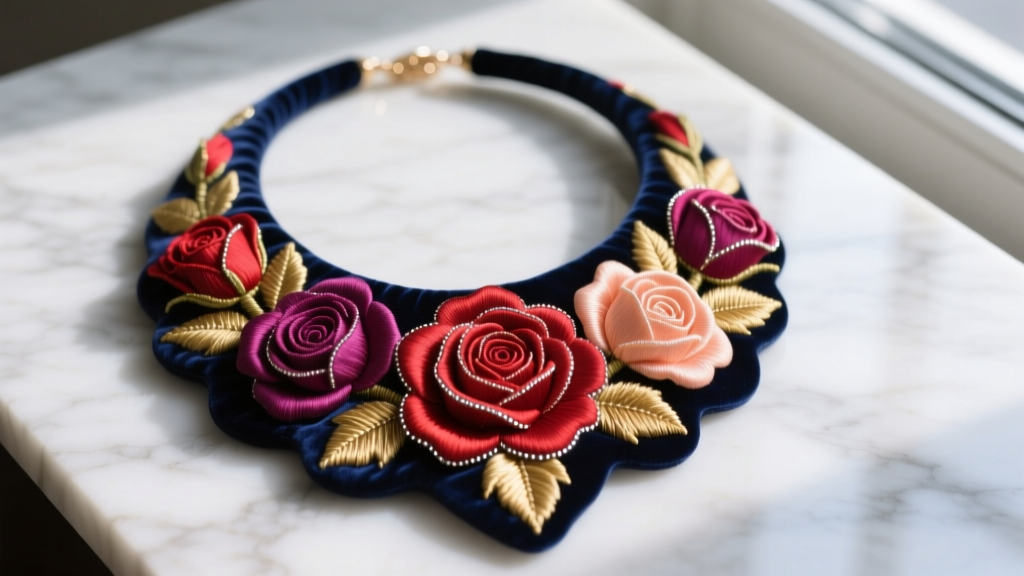
As we move through 2026, the intersection of slow fashion and artisanal jewelry has brought textile arts back to the forefront of accessory design. A flower embroidery necklace is more than just a decorative piece; it is a wearable canvas that combines the tactile richness of fabric with the structural elegance of fine jewelry. Whether you are a seasoned embroiderer looking to transition into jewelry making or a jewelry artisan wanting to incorporate textile elements, mastering the construction of an embroidered floral pendant requires precise material selection and specialized techniques.
In this comprehensive guide, we will break down the exact materials, structural foundations, and step-by-step stitching methods required to create a durable, high-end flower embroidery necklace that withstands daily wear while maintaining its artisanal beauty.
The Anatomy of an Embroidered Floral Necklace
Unlike traditional embroidery on garments, jewelry embroidery requires a rigid foundation to prevent warping, puckering, and sagging when suspended from a chain. According to the Royal School of Needlework, structural integrity in textile jewelry begins with the correct pairing of stabilizers and surface fabrics.
| Component | Recommended Material | Purpose & Specifications |
|---|---|---|
| Base Stabilizer | Pellon Peltex 70 (1.5mm thick) | Provides an ultra-firm, non-woven foundation that mimics hard plastic but can be pierced by needles. |
| Surface Fabric | Cotton Velvet or Dupioni Silk | Offers a rich, light-absorbing background that makes vibrant silk threads and metallic wires pop. |
| Backing Fabric | Ultrasuede (Lightweight) | Hides thread knots, provides a clean finish, and offers a porous surface for jewelry adhesive. |
| Threads & Wires | Au Ver à Soie Silk, Goldwork Purl | Delivers high-sheen floral petals and dimensional metallic accents for leaves and stamens. |
Essential Tools and Material Grades
To achieve professional results, you must move beyond standard craft supplies. The tension required for jewelry-scale embroidery demands specialized tools.
- Needles: Use John James Beading Needles (Size 10 or 11). These have an ultra-narrow eye that can pass through both seed beads and the dense weave of velvet without fraying your silk threads.
- Adhesives: Avoid standard hot glue. Use G-S Hypo Cement for precise, flexible bonding of the backing fabric, and E6000 Jewelry & Bead Adhesive for securing metal hardware. Both require a 24-hour cure time for maximum shear strength.
- Embroidery Hoop: A 4-inch hardwood embroidery hoop with a brass tension screw. Plastic hoops slip under the high tension required for stiffened bases.
- Transfer Medium: Sulky Sticky Fabri-Solvy. This printable, water-soluble stabilizer allows you to print your floral motif and stick it directly onto dark fabrics, eliminating the need for chalk tracing.
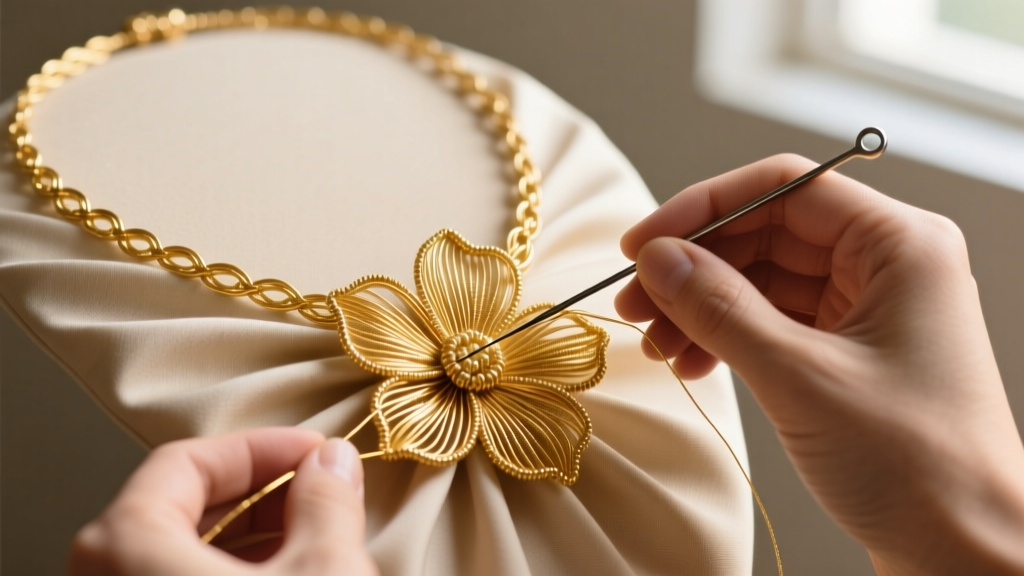
Step-by-Step Construction Process
Step 1: Preparing the Stiffened Base
Cut your Pellon Peltex 70 into your desired pendant shape—typically a 2-inch by 2.5-inch oval or teardrop. Next, cut your surface velvet slightly larger (about 0.5 inches of overhang on all sides). Apply a thin, even layer of fabric basting spray to the Peltex and carefully smooth the velvet over it, ensuring the nap of the velvet runs uniformly downward to catch the light correctly. Trim the excess velvet to leave a 1/4-inch border, and fold this border over the edge of the Peltex, securing it with tiny whip stitches. This creates a taut, drum-like surface.
Step 2: Transferring the Floral Motif
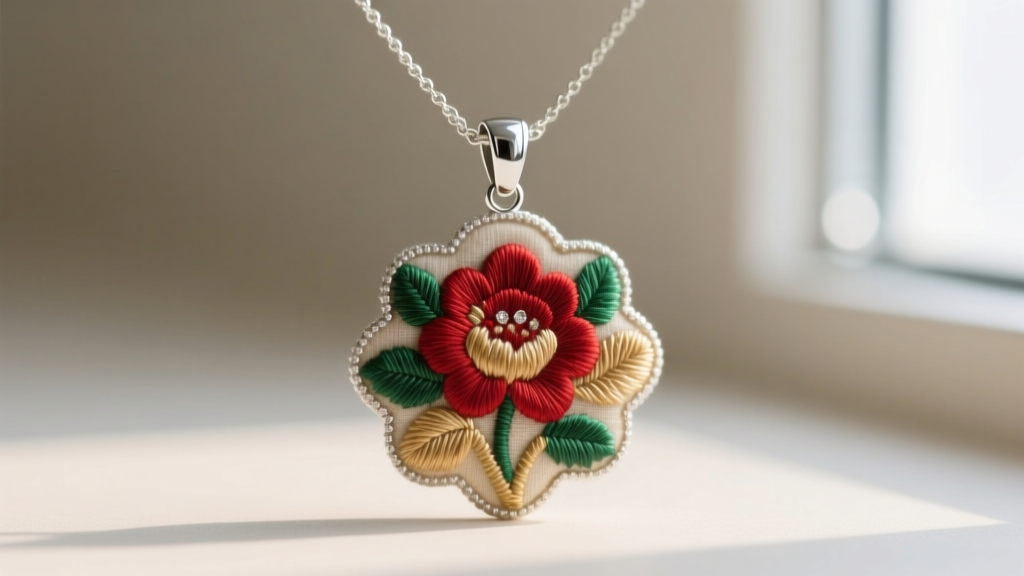
Print your floral design onto the Sulky Sticky Fabri-Solvy. Peel the backing and adhere it directly to the center of your velvet base. The adhesive is mild enough not to damage the velvet nap but strong enough to prevent shifting during the stitching process. For a classic look, design a single, oversized bloom (like a peony or ranunculus) flanked by two smaller buds, ensuring the top of the design leaves at least 3/8 of an inch clear for the hardware bail.
Step 3: Executing the Stitches
Begin with the leaves using a long-and-short stitch with DMC stranded cotton in varying shades of olive and forest green. This technique creates a smooth, painted gradient effect. For the flower petals, switch to 100% silk thread. Use a satin stitch for small petals, keeping your stitches perfectly parallel to mimic the natural striations of flower petals. For larger petals, employ the needle-weaving technique (woven detached buttonhole stitch) to create raised, three-dimensional petals that literally stand off the fabric surface.
For the center of the flower, use French knots with metallic goldwork purl wire. Cut tiny 2mm snippets of the purl, thread them onto your silk thread like beads, and secure them tightly. This mimics the textured pollen of a real flower and adds a luxurious metallic glint. Once stitching is complete, submerge the piece in lukewarm water to dissolve the Fabri-Solvy, then let it dry flat under a heavy book to prevent warping.
Hardware Integration and Chain Selection
The most common point of failure in textile jewelry is the connection between the fabric and the metal chain. You cannot simply sew a jump ring through the fabric; the friction will eventually saw through the threads.
Instead, use an 18-gauge sterling silver glue-on pendant bail. First, cut a piece of Ultrasuede to the exact shape of your pendant back. Apply G-S Hypo Cement around the perimeter of the embroidered piece and press the Ultrasuede backing into place. Once dry, use a micro-sander or fine-grit sandpaper to lightly scuff the pad of the metal bail. Apply a micro-drop of E6000 to the bail pad and press it firmly onto the top center of the Ultrasuede backing. Clamp it lightly with a silicone-tipped jewelry clamp and let it cure for 24 hours.
For the chain, select a 1.5mm to 2.0mm sterling silver or gold-filled cable chain. Thicker chains will visually overpower the delicate embroidery, while thinner chains (under 1.0mm) may snap under the weight of the stiffened base. Suppliers like Rio Grande offer excellent dead-soft cable chains that drape beautifully without kinking.
Troubleshooting Common Embroidery Jewelry Issues
"The secret to flawless textile jewelry lies not in the complexity of the stitch, but in the tension of the thread and the rigidity of the base." — Master Embroidery Artisans
- Issue: Fabric Puckering Around Petals.
Solution: This occurs when thread tension is too tight, pulling the velvet into the Peltex. Always use a laying tool to keep silk threads flat, and consciously relax your grip. If puckering happens, gently steam the back of the piece (never the velvet nap directly) and press it face-down on a plush towel. - Issue: Frayed Edges on the Pendant.
Solution: If your velvet or silk edges begin to unravel during the cutting process, apply a microscopic line of clear Fray Check or use a micro-torch to quickly seal synthetic-blend backing fabrics before applying the Ultrasuede. - Issue: Bail Detaching During Wear.
Solution: Adhesive failure is almost always due to poor surface preparation. The Ultrasuede backing must be completely free of dust, lint, and oils. Wipe the scuffed metal bail with rubbing alcohol before applying the E6000 adhesive.
Styling and Maintenance
A flower embroidery necklace is a statement piece that thrives when paired with complementary necklines. The rigid, structured nature of the pendant sits best against a sweetheart neckline, a deep V-neck, or a crisp, buttoned-up collared shirt where the pendant can rest flat against the sternum. Avoid wearing it with high-necked, heavily textured garments like chunky knit turtlenecks, which will compete with the intricate threadwork and cause unnecessary friction.
For maintenance, never submerge the finished necklace in water. The Peltex base, while water-resistant, can soften if soaked, and the metal hardware may tarnish. Instead, use a soft, dry makeup brush to gently sweep dust out of the embroidered crevices. Store the necklace flat in a lined jewelry box with a silica gel packet to control ambient humidity, ensuring the silk threads retain their vibrant luster and the velvet base remains perfectly taut for years to come. For more thread care and colorfastness information, refer to the official guides provided by DMC.
By treating your textile work with the same structural rigor as fine metalsmithing, your flower embroidery necklace will transcend the realm of simple crafts and become a lasting, wearable heirloom.


