How to Craft a High-End Plastic Bead Necklace: Step-by-Step
Learn how to craft a durable, high-end plastic bead necklace. Step-by-step guide on selecting acrylics, stringing materials, and professional finishing.

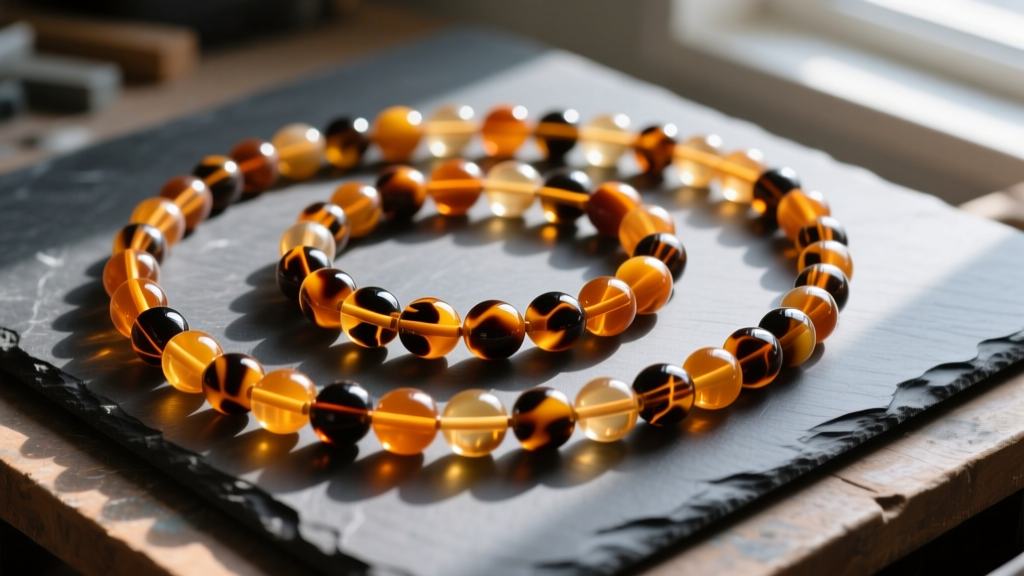
The Renaissance of the Plastic Bead Necklace
When most people hear the term "plastic bead necklace," they immediately picture cheap, mass-produced craft projects from the 1990s. However, in 2026, the landscape of polymer jewelry has completely transformed. High-fashion houses and independent artisans alike are embracing advanced polymers—like cast acrylic, UV-cured resin, and aerospace-grade polycarbonate—to create bold, lightweight, and luxurious statement pieces. Crafting a high-end plastic bead necklace requires moving beyond basic elastic stringing and understanding the material science, weight distribution, and professional finishing techniques that separate boutique-quality jewelry from costume bin fillers.
This comprehensive guide will walk you through the exact steps to design, string, and finish a durable plastic bead necklace that drapes beautifully and withstands daily wear.
Material Selection: Beyond the Craft Aisle
The foundation of any premium necklace is the bead material. Not all plastics are created equal. Cheap polystyrene beads suffer from mold lines, poor UV resistance, and brittle drill holes. To achieve a designer look, you must source high-grade polymers.
Polymer Comparison Chart
| Material | Best For | Weight | Durability & UV Resistance | Price Range (per 12mm bead) |
|---|---|---|---|---|
| Polystyrene (PS) | Children's crafts, temporary wear | Very Light | Poor; yellows and cracks quickly | $0.02 - $0.05 |
| Cast Acrylic (PMMA / Lucite) | Vintage replicas, high-clarity gems | Light | Excellent; highly UV stable, polishable | $0.40 - $1.20 |
| UV-Cured Resin | Organic shapes, embedded inclusions | Medium | Good; can scratch, requires careful storage | $1.50 - $4.00 |
| Polycarbonate (PC) | Geometric, impact-resistant statement pieces | Medium-Heavy | Exceptional; virtually shatterproof | $0.80 - $2.50 |
For a luxurious drape and glass-like clarity, cast acrylic (often branded as Lucite) is the gold standard. It can be polished if scratched and holds intricate carved details beautifully. For chunky, modern, geometric designs, polycarbonate offers unmatched durability.
Choosing the Right Stringing Foundation
The most common failure point in a plastic bead necklace is the stringing material. Heavy acrylic and resin beads have sharp internal drill holes that can saw through standard cotton or cheap nylon threads over time. Furthermore, plastics expand and contract with temperature changes, requiring a foundation with specific tension properties.
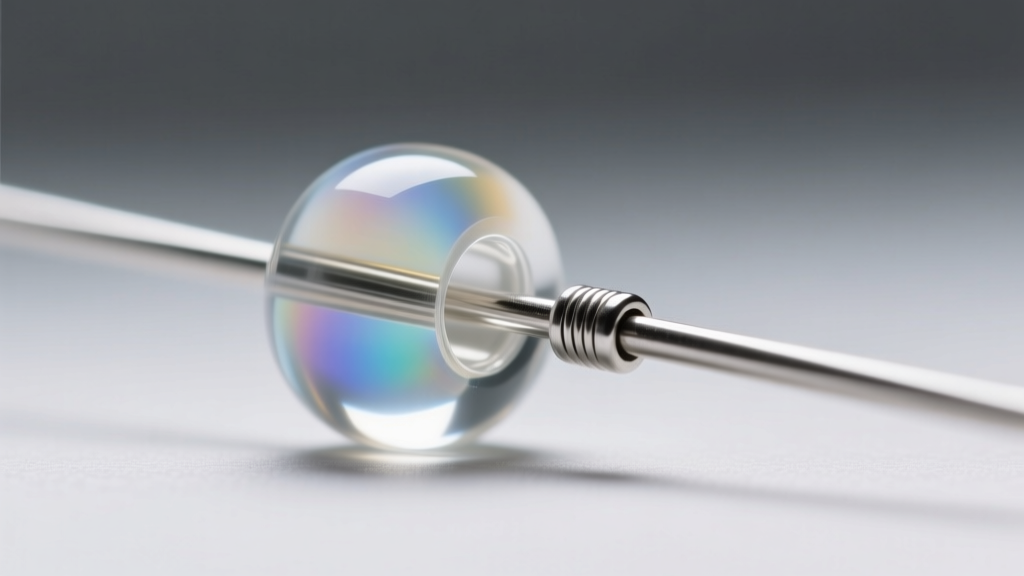
- 49-Strand Micro-Wire (0.018" diameter): The industry standard for heavy statement beads. Brands like Beadalon offer stainless steel wires coated in nylon that resist kinking and survive the sharp edges of acrylic drill holes.
- Size D or E Nylon Thread: Ideal if you are knotting between beads (e.g., a graduated acrylic pearl necklace). Use a double strand and a beading needle.
- Avoid Elastic: Stretch cord degrades rapidly when exposed to the oils in human skin and the friction of heavy plastic beads. It sags over time, ruining the drape of a high-end piece.
Step-by-Step: Stringing and Tension Management
Proper tension is what gives a necklace its professional drape. Too tight, and the necklace will kink and resist laying flat against the collarbone. Too loose, and the stringing wire will show between the beads.
- Design Layout: Arrange your beads on a flocked bead board. For a standard 18-inch princess length, use a mix of 14mm focal beads and 8mm spacer beads to manage weight distribution.
- Prepare the Wire: Cut a length of 49-strand 0.018" beading wire that is 4 inches longer than your desired finished length. This excess is crucial for the finishing process.
- The First Crimp: Thread a 2mm sterling silver or gold-filled crimp tube, followed by a wire guardian (French wire) and half of your clasp. Loop the wire back through the crimp tube and the first two beads.
- Stringing with Tension Control: As you add beads, gently pull the tail wire to ensure the beads are snug but not compressed. Pro Tip: Hold the necklace up by the clasp in a "U" shape periodically. The beads should shift slightly. If they are locked rigidly in place, the wire is too tight.
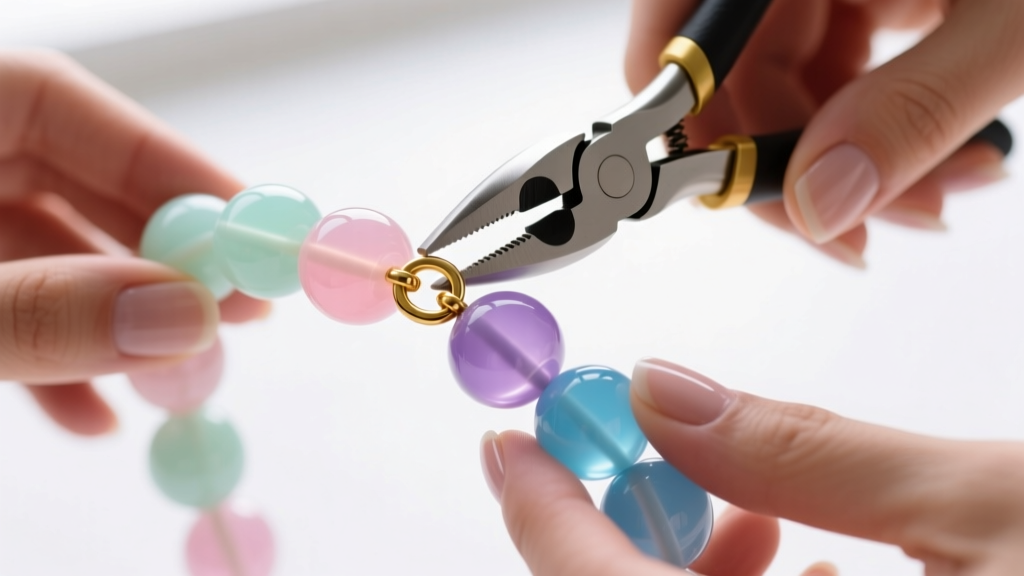
- The Final Crimp: Once all beads are strung, add a crimp tube and the other half of the clasp. Use a specialized crimping plier to fold and round the crimp tube, securing the clasp while leaving a tiny millimeter of "breathing room" so the necklace can flex.
Professional Finishing: Hiding the Mechanics
A true hallmark of a designer plastic bead necklace is the absence of visible, messy crimps or frayed wire ends.
"The difference between a craft project and a boutique piece is entirely in the finishing. Never leave a raw crimp tube exposed on a high-end necklace; always use a crimp cover or integrate the crimp inside a large-hole metal spacer bead."
To finish your piece, use crimp covers. These are small, C-shaped metal findings that snap over the flattened crimp tube. Using nylon-jaw pliers, gently squeeze the cover closed. It will look exactly like a seamless, round metal bead, seamlessly blending into your design. Finally, use flush cutters to trim the excess wire tail as close to the last bead as possible, ensuring no sharp metal pokes the wearer's skin.
Care and Maintenance for Longevity
While advanced polymers are durable, they have specific chemical vulnerabilities. To ensure your plastic bead necklace lasts for decades, you must understand how to care for it.
- Chemical Avoidance: Never clean acrylic or resin beads with alcohol, acetone, or ammonia-based glass cleaners. These solvents will cause micro-crazing (tiny internal fractures) that turn the plastic cloudy and brittle. Instead, use a damp microfiber cloth with a drop of mild dish soap.
- UV Storage: While cast acrylic is highly UV resistant, certain dyed resins can fade if left in direct, harsh sunlight for extended periods. Store the necklace in a drawer or a jewelry box lined with anti-tarnish cloth.
- Temperature Extremes: Avoid leaving the necklace in a hot car. Extreme heat can cause the plastic beads to expand at a different rate than the metal stringing wire, potentially warping the drape or stressing the crimps.
Final Thoughts
Mastering the art of the plastic bead necklace is about respecting the material. By upgrading from basic craft beads to cast acrylics, utilizing professional 49-strand micro-wire, and executing flawless crimp finishes, you elevate a simple concept into a wearable work of art. Whether you are designing for your own wardrobe or launching a jewelry line, these structural techniques ensure your pieces are as durable as they are beautiful. For further reading on professional stringing supplies and metal findings, jewelry suppliers like Rio Grande offer extensive technical guides on wire gauges and crimping mechanics.


