How to Craft and Style Authentic Percy Jackson Necklace Beads
Learn how to craft, paint, and string authentic Percy Jackson necklace beads. Step-by-step guide to materials, sealing, and everyday styling.

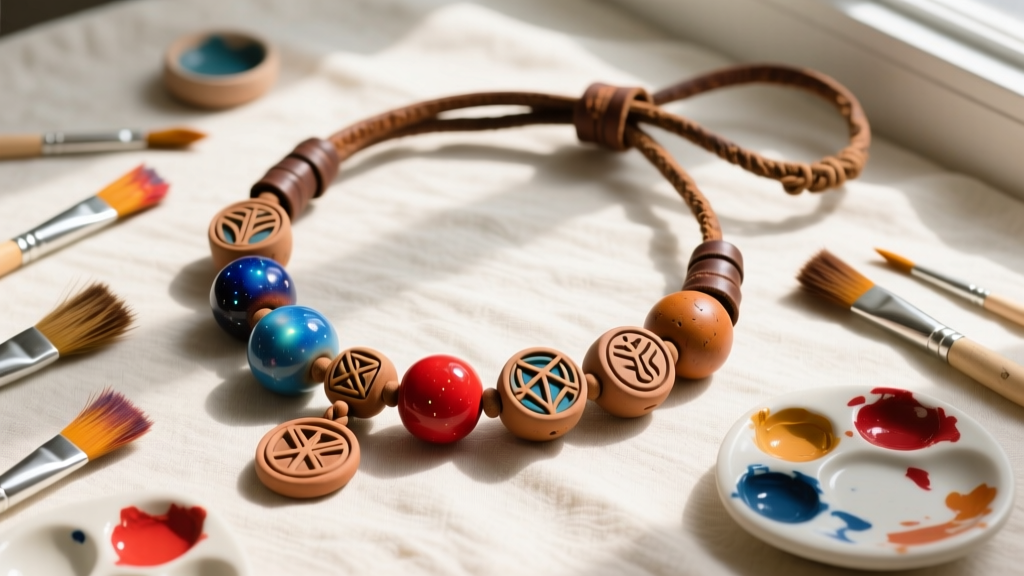
For fans of the beloved fantasy series, the Camp Half-Blood bead necklace is more than just a piece of jewelry; it is a rite of passage. Each bead represents a year of survival, a conquered quest, and a distinct mythological identity. While mass-produced plastic replicas are widely available, crafting your own Percy Jackson necklace beads from polymer clay offers a level of authenticity, weight, and personalization that factory-made trinkets simply cannot match. Whether you are preparing for a convention, celebrating a Disney+ series premiere, or simply want a subtle nod to your favorite demigod, this comprehensive guide will walk you through sculpting, painting, stringing, and styling your own bespoke bead necklace.
The Anatomy of a Camp Half-Blood Necklace
Before diving into the crafting process, it is essential to understand the canonical rules established in Rick Riordan's official lore. According to the books, campers receive one painted clay bead for every year they attend Camp Half-Blood. The bead is strung on a leather cord, and the designs typically reflect the most significant event of that summer—ranging from a golden fleece or a trident, to a labyrinth or a Greek warship. The beads are meant to look slightly rustic, hand-painted, and worn from years of monster-fighting and campfire songs. Embracing this imperfect, organic aesthetic is the key to creating a truly authentic piece of fandom jewelry.
Materials Needed: Beyond Basic Craft Supplies
To ensure your beads survive daily wear, moisture, and friction, you must select jewelry-grade materials. Do not use cheap, brittle air-dry clays; they will shatter upon impact. Instead, opt for high-quality polymer clays that cure into a durable, slightly flexible plastic.
| Material | Best For | Durability | Price Range |
|---|---|---|---|
| Sculpey Premo | Detailed painting & strength | High | $2.50 - $3.50 / block |
| Fimo Professional | Crisp edges & carving | Very High | $3.00 - $4.00 / block |
| 2mm Leather Cord | Authentic rustic look | Medium (degrades with water) | $8.00 / spool |
| 1.5mm Waxed Cotton | Water resistance & longevity | High | $5.00 / spool |
You will also need a dedicated clay rolling pin, a sharp craft blade, fine-grit sandpaper (400 to 600 grit), acrylic paints, and a water-based polyurethane sealant or UV resin for the final protective coat.
Step-by-Step: Sculpting and Baking the Beads
Step 1: Conditioning and Shaping
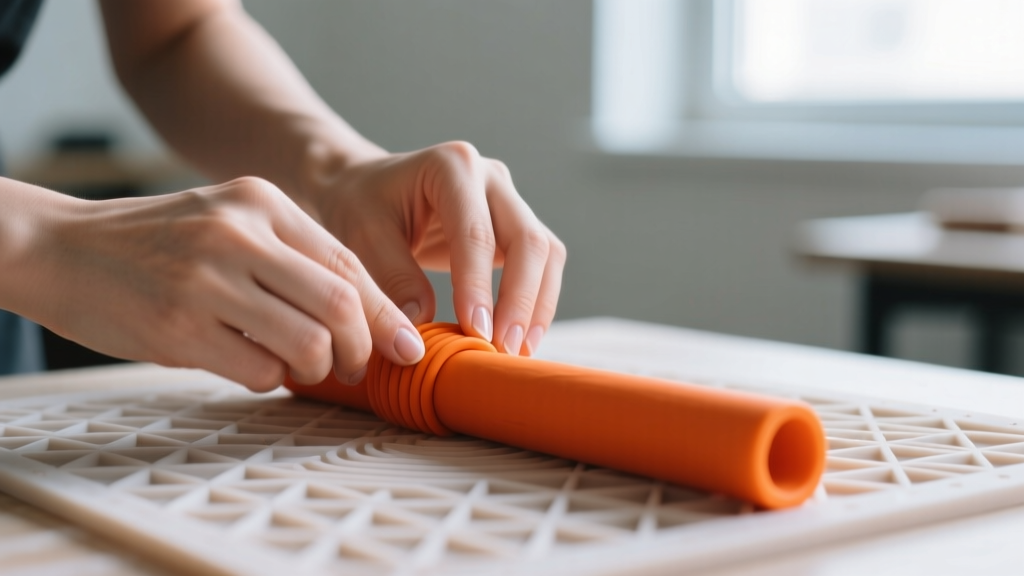
Begin by conditioning your polymer clay. Knead the Sculpey Premo or Fimo in your hands until it is warm, soft, and pliable. Roll the clay into a uniform cylinder about half an inch in diameter. Using your craft blade, slice the cylinder into individual beads, each approximately one-quarter inch thick. Use a needle tool or a thick jewelry wire to pierce a hole through the center of each bead. Ensure the hole is slightly wider than your chosen cord (e.g., if using a 2mm cord, make a 2.5mm hole to account for slight clay shrinkage during baking).
Step 2: Baking for Durability
Baking polymer clay incorrectly is the most common cause of bead failure. Underbaked clay is brittle and will snap; overbaked clay will scorch and weaken. Always follow the official Sculpey baking guide. For Premo, bake at 275°F (135°C) for 15 minutes per quarter-inch of thickness. Use an independent oven thermometer to verify the temperature, as standard kitchen ovens often fluctuate wildly. Once baked, allow the beads to cool completely on the baking tray before handling. They will harden as they reach room temperature.
Step-by-Step: Painting and Sealing for Longevity
Once your beads are cool, lightly sand the surfaces with 600-grit sandpaper to create a slight tooth for the paint to adhere to. Wipe away any dust with a damp cloth.
- Base Coat: Apply a thin layer of gesso or a white acrylic base coat. This prevents the clay color from muddying your final design.
- Detailing: Using fine-tipped acrylic paints and detail brushes (size 0 or 00), paint your chosen camp symbols. If you make a mistake, simply wipe it away with a damp cotton swab before the paint dries.
- Weathering: To achieve that authentic, battle-worn Camp Half-Blood look, dilute a tiny amount of brown or black acrylic paint with water. Wash it over the bead and immediately wipe it off with a paper towel. The dark wash will settle into the grooves and edges, creating instant antiquing.
- Sealing: Paint alone will chip and peel from polymer clay due to skin oils and friction. You must seal the beads. Apply two thin coats of a water-based polyurethane varnish (like Varathane) or cure a thin layer of UV resin. Avoid aerosol spray sealants, as they often react poorly with polymer clay and remain tacky.
Stringing Techniques: Leather vs. Waxed Cotton
The cord you choose dictates both the aesthetic and the lifespan of your necklace. Genuine 2mm leather cord offers the most screen-accurate, rustic appearance, but it is vulnerable to water damage and will eventually stretch or snap if worn in the shower. Waxed cotton cord is highly water-resistant, incredibly strong, and mimics the look of leather when knotted.
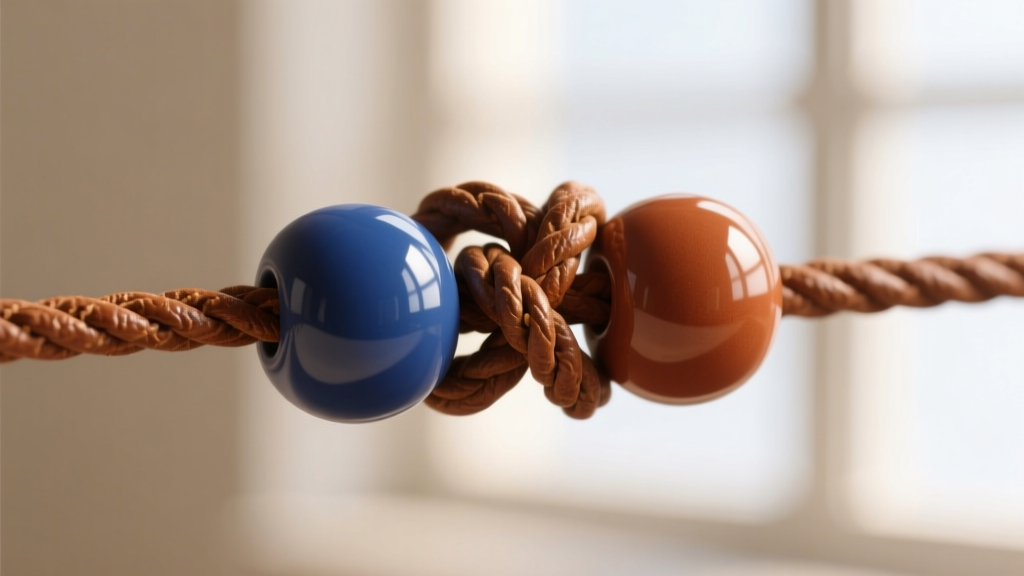
To string the beads, cut a length of cord roughly 36 inches long. Thread your beads on in chronological order, starting from the center and working outwards, or simply cluster them in the middle. To secure the beads in place and prevent them from sliding all the way around your neck, tie a simple overhand knot on either side of the bead cluster. For the closure, avoid metal clasps, which ruin the rustic illusion. Instead, use a sliding macrame square knot. Cut a separate 6-inch piece of 1mm cord, lay it over the two main cord ends, and tie a series of square knots around them. This creates an adjustable closure that allows you to wear the necklace anywhere from a 16-inch choker length to a 24-inch sweater length.
How to Style Percy Jackson Necklace Beads for Everyday Wear
The challenge with fandom jewelry is wearing it in a way that feels like a cohesive fashion statement rather than a Halloween costume. The key to styling your Percy Jackson necklace beads for everyday wear lies in contrast and layering.
The Layering Strategy
A solitary leather cord with clay beads can sometimes look too much like pure cosplay. To elevate the piece, integrate it into a mixed-metal, multi-texture layering stack. Pair your rustic bead necklace with a 20-inch sterling silver rolo chain or an oxidized silver pendant necklace. The juxtaposition of the earthy, hand-painted clay against refined, polished silver creates a sophisticated, bohemian aesthetic that hints at your fandom without screaming it. According to jewelry styling experts at Fire Mountain Gems, mixing organic materials like clay and leather with precious metals is a hallmark of advanced, intentional jewelry design.
Neckline Pairings
Because the beads have a chunky, three-dimensional profile, they require the right canvas. Avoid high, ruffled collars that will compete with the texture of the beads. Instead, opt for:
- Crew Neck Tees: A plain white or heather grey crew neck tee provides a clean, minimalist backdrop that allows the painted symbols on the beads to pop.
- V-Neck Sweaters: Adjust the sliding knot so the beads rest just inside the V-line of the sweater. This draws the eye downward and elongates the neck.
- Dungarees and Overalls: For a playful, camp-ready aesthetic, wear the beads over a denim jacket or paired with canvas overalls, leaning into the utilitarian, outdoorsy vibe of Camp Half-Blood.
True fandom style isn't about wearing a costume; it's about weaving the lore into your personal aesthetic through texture, symbolism, and intentional styling.
Maintenance and Care
To ensure your handmade beads last for years, proper maintenance is required. Never wear your polymer clay and leather necklace in the pool, the ocean, or the shower. Chlorine and saltwater can degrade the polyurethane sealant and dry out the leather cord, leading to cracking. When not in use, store the necklace flat in a jewelry box or hang it on a wooden peg. If the leather cord begins to look dry or frayed, simply unthread the beads, condition the leather with a small amount of mink oil, or re-string them onto a fresh piece of waxed cotton. With the right materials and care, your Camp Half-Blood necklace will remain a durable, stylish testament to your demigod legacy.


