Creative Beaded Necklace Ideas: A Step-by-Step DIY Guide
Discover creative beaded necklace ideas with our step-by-step DIY guide. Learn wire gauges, crimping techniques, and modern bead trends.

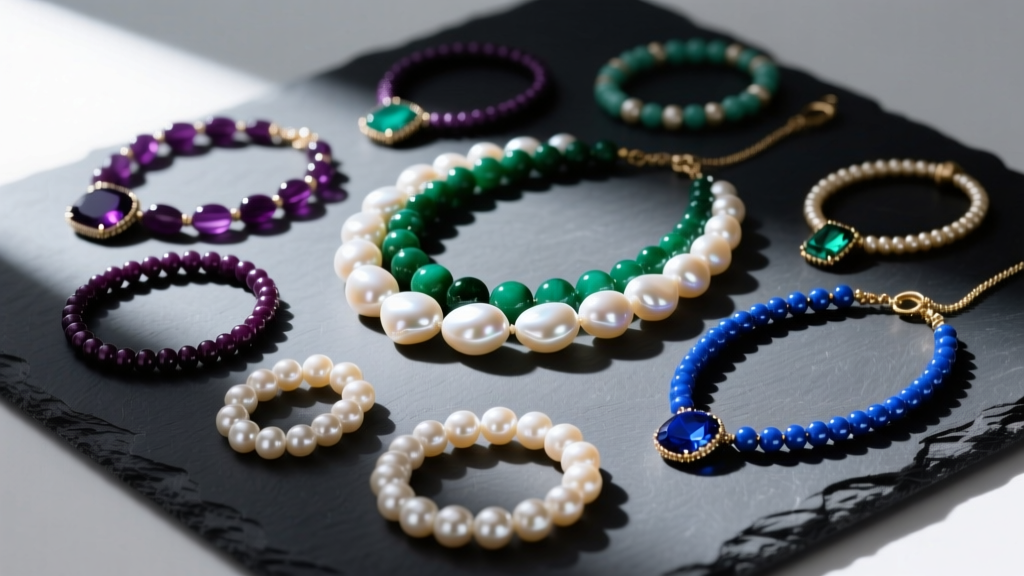
The Renaissance of Artisanal Beadwork in 2026
In 2026, the jewelry landscape has decisively shifted away from mass-produced, homogenized fast fashion toward tactile, bespoke craftsmanship. When exploring modern beaded necklace ideas, today's designers and hobbyists are prioritizing organic textures, asymmetrical layouts, and high-performance stringing materials. Whether you are stringing rare baroque pearls or weaving microscopic seed beads, mastering the structural engineering of a necklace is just as critical as the aesthetic design. This comprehensive guide will walk you through the material science of stringing mediums, professional finishing techniques, and three step-by-step projects to elevate your jewelry-making repertoire.
Material Science: Choosing the Right Stringing Medium
The most common point of failure in beaded jewelry is the stringing material. Selecting the correct wire or thread dictates the drape, durability, and lifespan of your piece. According to the Beadalon Stringing Guide, nylon-coated stainless steel wire is the industry standard for gemstone and glass bead stringing, but the strand count and diameter must be matched to your specific beads.
Wire Strand Counts and Diameters
- 7-Strand Wire: The most economical but least flexible. It has a high memory (tendency to kink) and is best reserved for rigid, structured collars or heavy, large-holed lampwork beads.
- 19-Strand Wire: A mid-tier option offering a balance of flexibility and cost. Ideal for standard glass beads and lightweight gemstone chips.
- 49-Strand Wire: The professional standard. Composed of 49 micro-strands of stainless steel encased in a nylon sheath, it offers a supple, fabric-like drape and exceptional kink resistance. Use a .015" diameter for pearls and seed beads, a .018" diameter for standard gemstones, and a .024" diameter for heavy metal beads or large-holed dichroic glass.
Alternative Threads for Advanced Weaving
For projects requiring multiple passes through a single bead (like right-angle weave or peyote stitch), wire is impossible. Instead, use thermally bonded threads like WildFire or Silamide. WildFire's polyethylene core is waterproof, stretch-resistant, and can be cut with standard scissors without fraying, making it perfect for intricate seed beadwork.
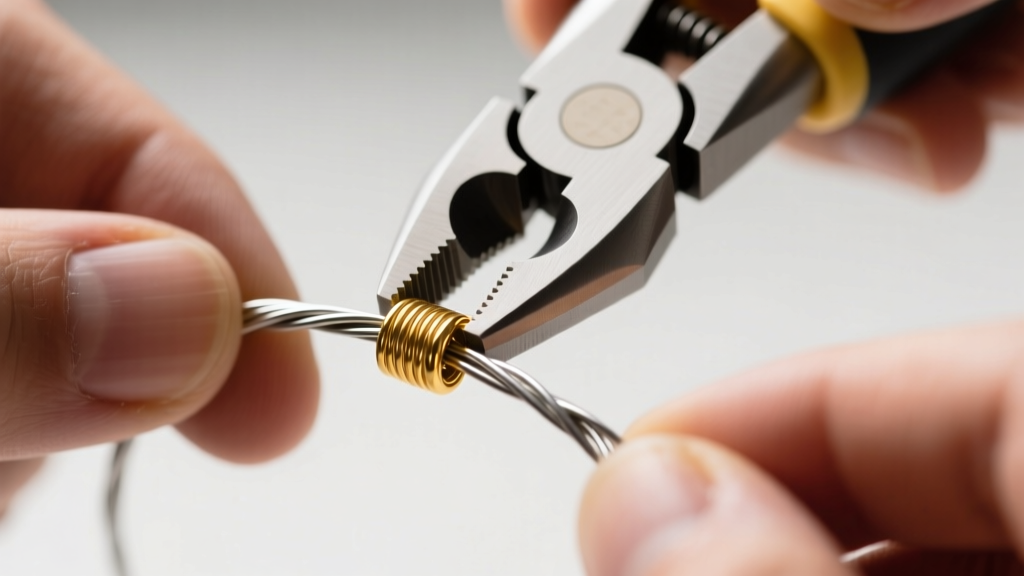
Stringing Material Comparison Chart
| Material Type | Best Application | Tensile Strength | Pros & Cons |
|---|---|---|---|
| 49-Strand SS Wire (.018") | Gemstones, Glass, Crystal | ~40 lbs | Pros: Superior drape, kink-resistant. Cons: Cannot be knotted, requires crimping. |
| WildFire Thread (.006") | Seed Beads, Pearls, Weaving | ~10 lbs | Pros: Thermally bonded, no fraying. Cons: Lower weight limit, requires needle. |
| Griffin Silk Cord (Size 2) | Traditional Pearl Knotting | ~12 lbs | Pros: Classic aesthetic, allows knotting. Cons: Degrades with moisture/oils over time. |
| Stretch Magic (1.0mm) | Slip-on Bracelets, Casual | Variable | Pros: No clasp needed. Cons: Degrades in UV light, prone to snapping. |
3 Step-by-Step Beaded Necklace Ideas
Let's apply these materials to three distinct, trend-forward designs. These projects range from beginner-friendly to intermediate, showcasing the versatility of modern beadwork.
Project 1: The Asymmetrical Baroque Pearl Choker
The 2026 trend cycle heavily favors imperfect, organic shapes. This 15-inch choker juxtaposes high-luster baroque pearls with matte gold spacer beads, creating an off-center focal point.
- Materials: 49-strand .015" nylon-coated wire, 15 freshwater baroque pearls (approx. 8x10mm), 14k gold-filled 3mm corrugated spacer beads, a 2x2mm sterling silver crimp tube, a lobster clasp, and a wire guardian.
- Step 1: Cut a 20-inch length of wire. Thread on the wire guardian, followed by the lobster clasp. Pass the wire back through the guardian and down through a crimp tube.
- Step 2: Pass the wire back through the crimp tube, leaving a 1-inch tail. Use a micro-crimper to flatten and fold the crimp tube, securing the clasp.
- Step 3: String the pearls and gold beads in an asymmetrical pattern: group three pearls and five gold beads on the left side, leaving the right side predominantly bare with only sparse gold spacers.
- Step 4: Finish the opposite end with a wire guardian and a soldered jump ring. Trim any excess tail wire flush with the crimp.
Project 2: The Multi-Strand Seed Bead Lariat
Lariats offer dynamic movement and require no traditional clasp. This design uses Miyuki Delica 11/0 cylinder beads for a uniform, metallic rope effect.
- Materials: WildFire .006" thermally bonded thread, beading needle (size 10), Miyuki Delica 11/0 (galvanized silver and matte black), and a 15mm sterling silver end cap.
- Step 2: Cut a 40-inch length of WildFire. Thread the needle and string 60 inches of alternating silver and black Delicas, leaving a 6-inch tail.
- Step 3: Pass the needle back through the entire rope to create a continuous loop, then branch off to create a Y-shaped drop by adding 40 additional beads to one end.
- Step 4: Secure the ends by passing the thread back through the last 10 beads multiple times, then tie a half-hitch knot between beads before trimming. The thermal bond of the WildFire will melt slightly with friction, locking the knot in place.
Project 3: The Gemstone Chip Waterfall Pendant
This design utilizes the GIA Gem Encyclopedia's classifications of translucent stones to create a cascading color effect. We will use faceted aquamarine and apatite chips.
- Materials: 49-strand .018" wire, 60 faceted gemstone chips (5-8mm), 2mm sterling silver round beads, a sterling silver teardrop pendant bail, and crimp covers.
- Step 1: Cut a 24-inch length of wire. Secure a wire guardian and jump ring at one end using a 2x2mm crimp tube.
- Step 2: Begin stringing the gemstone chips, interspersing a single 2mm silver round bead every third chip to prevent the irregular chips from grinding against one another.
- Step 3: At the center point of the necklace, thread the wire through the teardrop pendant bail, then continue the symmetrical pattern up the other side.
- Step 4: Secure the clasp end. To elevate the finish, place a 3mm sterling silver crimp cover over the flattened crimp bead and gently squeeze it shut with chain-nose pliers, mimicking the look of a seamless metal bead.
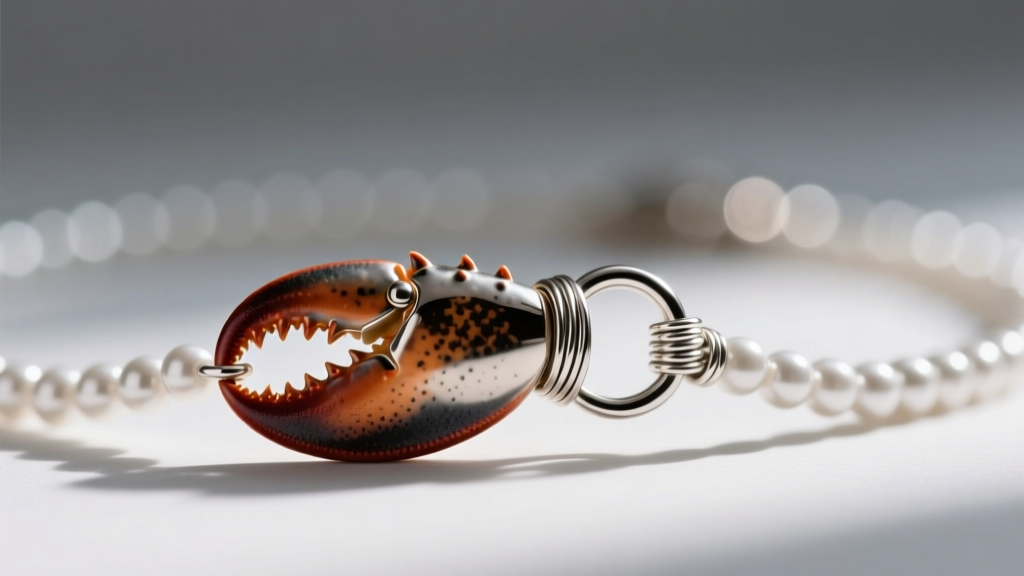
Mastering the Crimp: A Foolproof Technique
According to the Fire Mountain Gems Encyclopedia, improper crimping is the leading cause of bead loss. A crimp bead must bite into the nylon coating of the wire without severing the steel core. Always use a dedicated micro-crimper tool, never flat-nose pliers, which simply flatten the metal and allow the wire to slip.
The Two-Step Crimping Process
- The U-Shape: Place the crimp tube in the back notch (the U-shaped notch) of the crimping pliers. Squeeze firmly to compress the tube into a U-shape, forcing the wire into the grooves.
- The Fold: Rotate the crimp 90 degrees and place it in the front notch (the rounded dimple). Squeeze again to fold the U-shape in half onto itself, creating a clean, rounded bead that securely locks the wires inside.
Finishing Details and Clasp Selection
The back of your necklace is just as important as the front. When exploring high-end beaded necklace ideas, notice how luxury brands finish their endpoints. Always use wire guardians (also known as French wire or bullion) where the wire loops through the clasp. The constant friction of a jump ring will eventually saw through a nylon-coated wire; a wire guardian provides a hardened metal track that protects the structural integrity of the loop. Furthermore, always use soldered jump rings rather than split rings for the clasp connection. A split ring can be pulled apart by the weight of heavy gemstones, whereas a soldered ring remains permanently closed, ensuring your bespoke creation remains secure for years to come.


