How to Dateline the Necklace: Beginner Guide to Vintage Eras
Learn how to dateline the necklace in your collection. Discover clasp types, hallmarks, and material clues to identify vintage and antique jewelry eras.
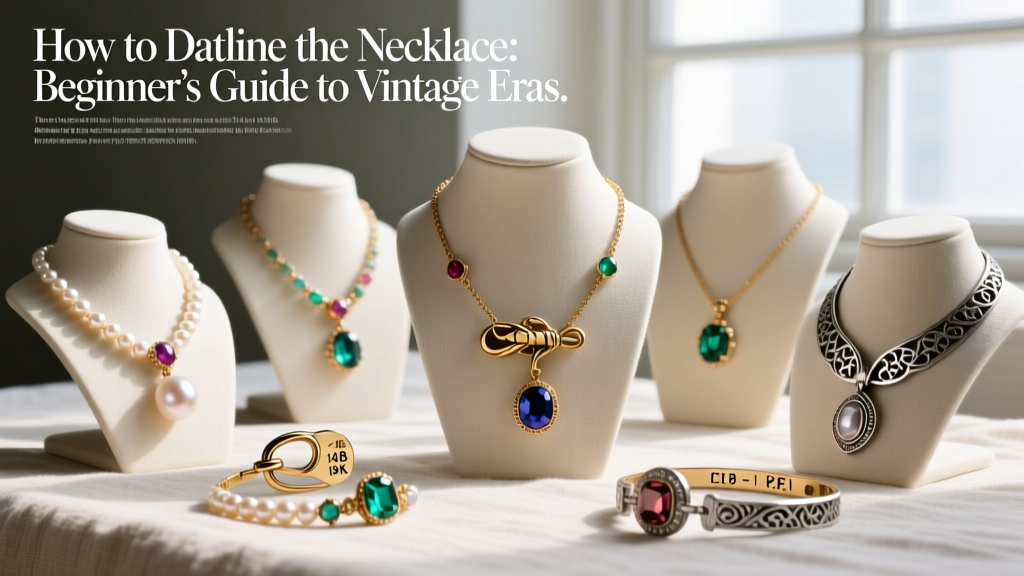
In the current 2026 market, where vintage revival trends and estate jewelry hunting dominate the fashion landscape, knowing how to accurately dateline the necklace you are buying is your best defense against sophisticated reproductions. Whether you are sifting through a local antique mall or bidding on an online auction, establishing a precise chronological origin—the dateline—of a piece transforms you from a casual shopper into an informed collector.
But what exactly does it mean to dateline a piece of jewelry, and how can a beginner do it without expensive gemological equipment? This guide breaks down the mechanical, material, and structural clues left behind by decades of jewelry manufacturing.
What Does It Mean to Dateline the Necklace?
When appraisers and historians dateline the necklace, they are cross-referencing physical evidence on the piece against known historical manufacturing timelines. It is the process of moving beyond vague terms like old or vintage and pinning a piece down to a specific era, such as the Art Deco period (1920-1935) or the Retro era (1935-1950).
According to the Victoria and Albert Museum's jewelry archives, the transition from hand-forged to machine-stamped links in the late 19th century fundamentally altered the drape and tensile strength of chain necklaces. Recognizing these subtle shifts is the first step in authentication.
The Clasp Test: Decoding Hardware by Decade
The clasp is often the most telling component of a vintage necklace. Because clasps endure the most mechanical stress, they were frequently replaced if broken. However, an original, unaltered clasp is a time capsule. Here is how to read the hardware.
| Clasp Type | Era of Prominence | Key Identifying Feature |
|---|---|---|
| C-Clasp | Pre-1900 to 1910s | No locking mechanism; pin rests in a C-shaped wire catch |
| Trombone Clasp | Pre-1950 (European) | Push-pull friction tube mechanism over a straight pin |
| Spring Ring | 1920s to Present | Internal coil spring; originally patented in 1914 |
| Lobster Claw | 1970s to Present | Spring-loaded lever with a solid, heavy cast body |
| Box Clasp with Figure-8 | Mid-Century Fine Jewelry | V-shaped wire safety catch over a folding tongue lock |
Expert Tip: If you are examining a piece that claims to be from the Victorian era (1837-1901) but features a modern lobster claw or a standard spring ring clasp, the clasp has either been replaced due to wear, or the piece is a modern reproduction. Always check the jump ring connecting the clasp to the chain; if the solder marks look bright and new, a replacement has likely occurred.
Hallmarks and Maker's Marks: The DNA of Jewelry
Hallmarks are microscopic stamps that reveal metal purity, origin, and sometimes the exact year of manufacture. In the United States, the National Gold and Silver Stamping Act of 1906 mandated that any item stamped with a karat mark (like 14K) must also bear the maker's trademark. Therefore, a US necklace stamped 14K without a maker's mark is almost certainly pre-1906 or a violation of federal law.
Decoding International Purity Marks
- 925: Sterling silver. Standardized globally, but heavily used in US and Mexican jewelry post-1970s.
- 585: 14-karat gold. The standard European mark, particularly common in German and Italian pieces.
- 375: 9-karat gold. Standard in the UK and Australia, but rarely sold as solid gold in the US market.
- 750: 18-karat gold. High-purity gold, standard in French and high-end Italian jewelry.
For deep-dives into specific maker's marks and regional assay office symbols, the Lang Antiques Jewelry University remains an indispensable, authoritative database for collectors and appraisers.
Material Shifts: From Bakelite to Platinum
The materials used in a necklace are directly tied to global economic and wartime events. Understanding these historical bottlenecks is crucial when you dateline the necklace.
The Wartime Platinum Ban (1940s)
During World War II, platinum was classified as a strategic military metal. In 1942, the US government banned its use in jewelry. If you encounter a heavy, white-metal necklace from this era, it is likely palladium or white gold, not platinum. Palladium was used as a substitute but was eventually abandoned post-war because it was difficult to cast and brittle. A white-metal piece from the 1940s that tests as platinum is highly suspect and likely misdated.
The Rise of Gold-Filled and Rolled Gold
During the Great Depression and the post-war boom, solid gold was prohibitively expensive for many. Manufacturers turned to gold-filled (GF) and rolled gold plate (RGP) techniques. Look for stamps like 1/20 14K GF. This means the item is composed of 5% solid 14k gold by weight, mechanically bonded to a brass core. Unlike modern micro-plating which flakes in months, vintage gold-filled necklaces from the 1930s and 40s often survive for a century without wearing through to the base metal.
Chain Link Profiles: A Visual Timeline
The way a chain is constructed offers massive clues about its age. Before the widespread adoption of automated chain-making machines in the 1930s, links were individually hand-cut, formed, and soldered.
Hand-Soldered Links (Pre-1930s): Look closely at the jump rings. You will see a tiny, distinct blob of solder where the link was closed. The links may be slightly asymmetrical, and the chain will have a heavier, more fluid drape.
Machine-Stamped Links (Post-1940s): Modern machine-made chains, like standard cable or curb chains, are often stamped and pinched closed without individual soldering on every single link. They are uniform, lighter, and have a stiffer drape.
Common Beginner Mistakes When Dating Necklaces
Even with a keen eye, beginners often fall into predictable traps. Avoid these common errors to protect your wallet and your collection:
- Trusting the Patina Blindly: A dark, oxidized tarnish in the crevices of a silver necklace is often cited as proof of age. However, modern forgers use liver of sulfur to artificially age metal in minutes. Always look for wear patterns (like thinning on the back of a pendant where it rubbed against the skin) rather than just surface darkness.
- Assuming Bakelite is Always Valuable: While carved Bakelite from the 1930s is highly collectible, many beginners mistake later, mass-produced Lucite or modern cellulose acetate for Bakelite. Always use the Simichrome polish test or the hot-water smell test (Bakelite smells sharply of formaldehyde when heated) to verify.
- Ignoring the Findings: A pendant might be a genuine 1890s antique, but if it hangs on a bright, laser-welded 2020s stainless steel rope chain, the overall value and structural integrity of the wearable piece are compromised. Always dateline the entire assembly, not just the focal point.
Conclusion
Learning how to dateline the necklace is a rewarding skill that bridges history, metallurgy, and fashion. By paying close attention to the evolution of clasps, the legal requirements of hallmarks, and the geopolitical influences on metal availability, you can read the hidden biography of any piece of jewelry. The next time you pick up a vintage chain or pendant, let the hardware and the stamps tell you their true story.