How to Design a Custom Mother Jewelry Necklace: Step-by-Step
Learn how to design a custom mother jewelry necklace with our step-by-step guide covering metals, chain styles, birthstones, and engraving.

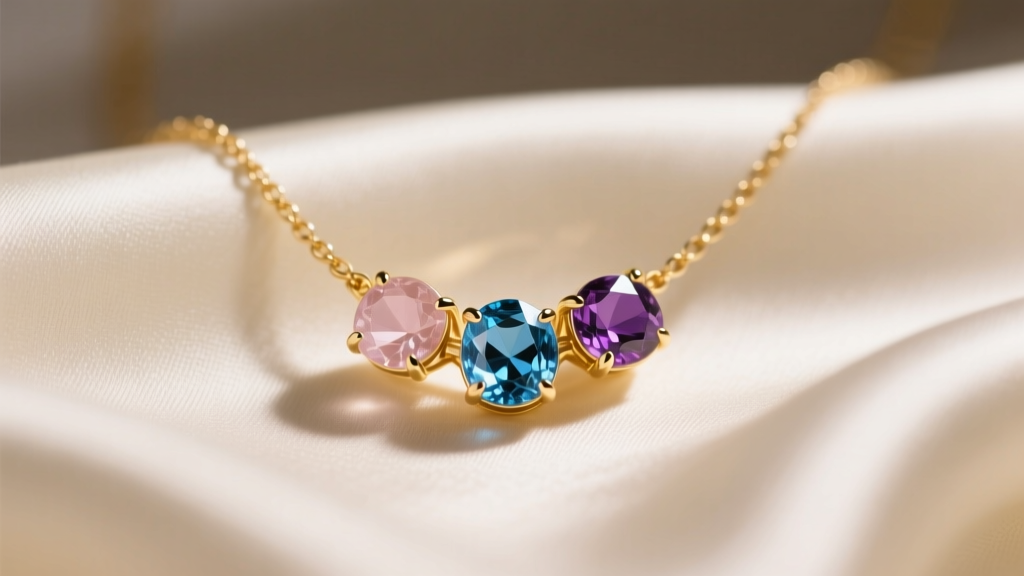
Designing a custom mother jewelry necklace is a profound way to celebrate family bonds, blending deep sentimental value with everyday wearable elegance. Unlike off-the-shelf pieces, a bespoke necklace allows you to control every metallurgical and gemological variable, ensuring the final piece withstands the rigors of daily life while accurately representing your unique family story. Whether you are commissioning a piece from a master jeweler or assembling components yourself, understanding the structural nuances of jewelry design is critical. This comprehensive, step-by-step guide will walk you through selecting the optimal base metals, chain architectures, gemstone settings, and personalization techniques to create a flawless mother jewelry necklace.
Step 1: Select the Optimal Base Metal for Daily Wear
The foundation of any enduring mother jewelry necklace is its base metal. Because mothers often lead active lifestyles—frequently lifting children, managing household tasks, and navigating busy schedules—the metal must balance aesthetic warmth with structural integrity and hypoallergenic properties.
14k vs. 18k Gold
Gold purity is measured in karats, with 24k being pure gold. However, pure gold is too soft for daily wear jewelry. According to the Jewelers of America, 14k gold (58.5% pure gold alloyed with metals like copper, silver, and zinc) is the industry standard for durability. It offers excellent tensile strength and resists scratching, making it ideal for the chains and pendant bails of a mother jewelry necklace. Conversely, 18k gold (75% pure gold) provides a richer, more saturated yellow hue but is noticeably softer and more prone to deformation over time.
Platinum and Palladium
For those with severe nickel sensitivities or a preference for a white metal that will never require rhodium plating, platinum is the ultimate choice. Platinum alloys used in jewelry are typically 95% pure, making them naturally hypoallergenic. While platinum is denser and heavier than gold, it possesses a unique property: when scratched, the metal is displaced rather than lost, allowing it to be polished to a like-new finish indefinitely.
Step 2: Engineer the Chain Architecture
The chain is the structural backbone of your mother jewelry necklace. Selecting the wrong chain style can lead to frequent tangling, premature wear at the link joints, or catastrophic failure if the chain cannot support the weight of the pendant. Below is a technical comparison of popular chain styles to help you match the chain to your pendant's weight.
| Chain Style | Tensile Strength | Best For | Average Price (18" 14k) |
|---|---|---|---|
| Cable Chain | Low-Medium | Lightweight pendants (under 5 grams) | $85 - $150 |
| Rolo Chain | High | Medium to heavy pendants (5g - 15g) | $140 - $280 |
| Figaro Chain | Medium-High | Standalone wear or moderate pendants | $160 - $320 |
| Box Chain | Medium | Geometric pendants; prone to kinking if bent | $120 - $250 |
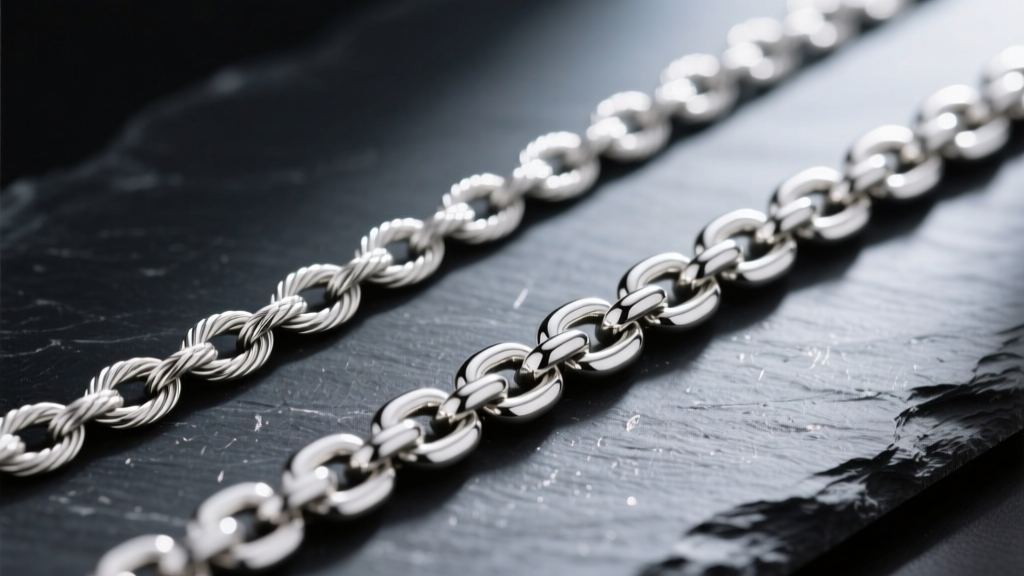
Pro Tip: Always opt for a chain length between 16 and 18 inches for a standard mother jewelry necklace. An 18-inch chain ensures the pendant rests comfortably on the sternum, avoiding the higher neckline of typical maternal wardrobes and reducing the risk of the pendant being grabbed by small hands.
Step 3: Integrate Birthstones with Proper Gemological Settings
Incorporating children's birthstones is the hallmark of a classic mother jewelry necklace. However, not all gemstones possess the physical hardness required for unprotected, daily-wear settings. You must consult the Mohs Hardness Scale to determine the appropriate setting style for each stone.
Prong vs. Bezel Settings
Stones with a Mohs hardness of 8 or higher—such as sapphires (9), rubies (9), and diamonds (10)—can safely be set in traditional prong settings. Prongs allow maximum light return, enhancing the stone's brilliance. However, if your design includes softer stones like opal (5.5-6.5), pearl (2.5-4.5), or turquoise (5-6), you must utilize a bezel setting. The GIA Gem Encyclopedia notes that bezel settings, where a continuous metal rim encircles the gemstone's girdle, protect the vulnerable edges from chipping and shield the stone from direct impacts and chemical exposures.
Birthstone Durability Quick-Reference
- January (Garnet): Mohs 6.5-7.5. Requires protective settings if worn daily.
- April (Diamond): Mohs 10. Excellent for all setting types, including exposed prongs.
- July (Ruby): Mohs 9. Highly durable, second only to diamond.
- October (Opal): Mohs 5.5-6.5. Contains water; requires solid bezel and avoidance of ultrasonic cleaners.
Step 4: Personalize with Precision Engraving
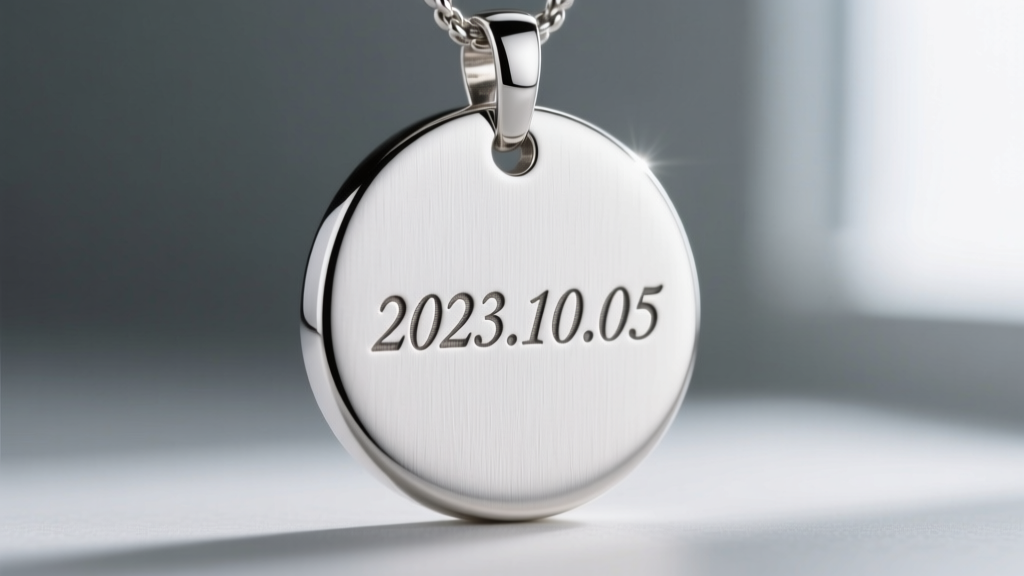
Engraving transforms a beautiful piece of jewelry into a one-of-a-kind heirloom. When designing a mother jewelry necklace, you generally have two engraving methods at your disposal: laser engraving and hand engraving.
Laser Engraving
Laser engraving uses focused light cavitation to vaporize microscopic layers of metal. This method is ideal for intricate fonts, exact replicas of a child's handwriting, or even miniature fingerprints. Because the laser does not apply physical pressure to the metal, it is the safest method for hollow or delicate pendant backs. The depth is typically shallow (around 0.05mm), meaning it will not compromise the structural integrity of a thin 1mm pendant base.
Hand Engraving
Hand engraving involves a master artisan using hardened steel gravers to physically carve into the metal. This technique creates deeper, wider grooves that catch the light beautifully, offering a traditional, artisanal look. Hand engraving is best suited for solid, thick metal pieces (at least 1.5mm thick) and is typically limited to classic script or block lettering due to the physical constraints of the tools.
Step 5: Final Assembly and Quality Assurance
The final step in creating a reliable mother jewelry necklace is ensuring the assembly hardware is fail-proof. The most common point of failure in any necklace is the jump ring—the small circular loop that connects the pendant to the chain.
Soldered vs. Unsoldered Jump Rings
Never use an unsoldered jump ring to attach a valuable pendant. Unsoldered rings have a tiny slit where the wire ends meet; under tension, this slit can pull apart, resulting in the loss of the pendant. Always insist on a soldered jump ring, where the seam is fused shut with a lower-temperature metal alloy, creating a continuous, unbreakable circle.
Clasp Selection
For the chain clasp, avoid spring ring clasps for anything heavier than 5 grams, as their internal springs are prone to fatigue and failure. Instead, utilize a lobster clasp, which features a robust, spring-loaded lever mechanism that offers superior security. For mothers who may struggle with small clasps due to dexterity issues or nursing schedules, a high-grade magnetic neodymium clasp with a secondary safety latch provides an excellent, user-friendly alternative without sacrificing security.
Conclusion
Designing a custom mother jewelry necklace requires a careful balance of emotional significance and material science. By selecting a durable 14k gold or platinum base, matching the chain's tensile strength to the pendant's weight, utilizing protective bezel settings for softer birthstones, and ensuring all jump rings are properly soldered, you create more than just an accessory. You engineer a resilient, beautiful heirloom capable of withstanding the beautiful chaos of motherhood while keeping family close to the heart.


