How to Make an Adjustable Necklace: 2026 DIY Trend Guide
Discover how to make an adjustable necklace using 2026 trending sliding knots and tension beads. Master cord selection, knotting, and layering techniques.

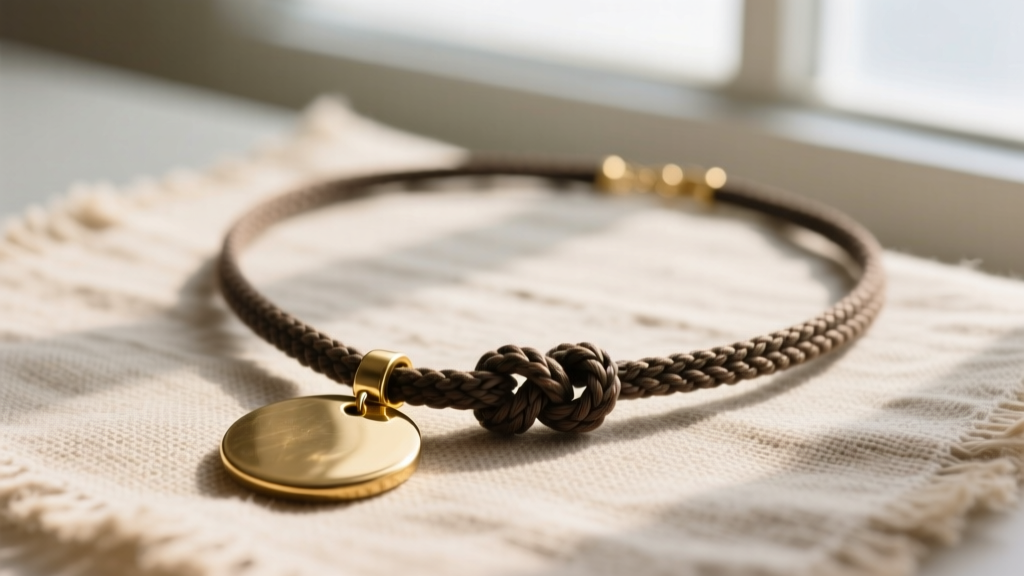
The 2026 Shift: Why Adjustable Necklaces Dominate Layering Trends
Learning how to make an adjustable necklace is no longer just a beginner's craft project; it has become a cornerstone of the 2026 slow-fashion and modular jewelry movement. As asymmetric necklines and deep-V silhouettes continue to dominate contemporary runways, the demand for versatile, length-customizable jewelry has skyrocketed. According to Vogue's recent trend forecasting, the modern consumer prioritizes modular pieces that can transition seamlessly from a 14-inch choker to a 24-inch matinee length without requiring multiple distinct purchases.
From a style analysis perspective, the adjustable necklace bridges the gap between bespoke luxury and everyday utility. By utilizing friction-based sliding knots or minimalist silicone tension beads, designers and DIY enthusiasts are creating pieces that adapt to the wearer's anatomy and outfit in real-time. This guide breaks down the material science, structural mechanics, and styling frameworks required to craft high-end adjustable necklaces that withstand daily wear.
Material Science: Selecting the Right Cord and Hardware
The success of any adjustable mechanism relies entirely on the coefficient of friction between the cord and the knot or bead. A cord that is too slick will cause the necklace to slip and drop; a cord that is too fibrous will fray and lock up, making adjustment impossible. When sourcing materials, you must match the cord diameter to the pendant's bail size and the desired tensile strength.
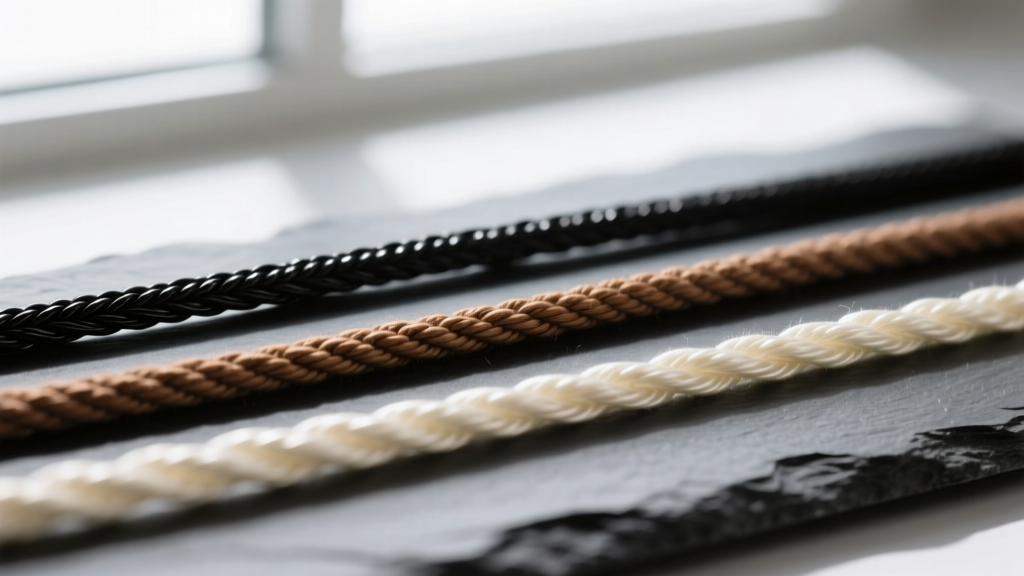
According to the material specialists at Fire Mountain Gems, selecting the correct beading cord involves balancing flexibility with abrasion resistance. Below is a comparative analysis of the top three cord materials used in professional adjustable jewelry making.
| Cord Material | Optimal Diameter | Friction Coefficient | Best Adjustment Mechanism | Durability & Care |
|---|---|---|---|---|
| Waxed Cotton | 1.0mm - 1.5mm | High | Macramé Square Knot | High; susceptible to water damage and body oils over time. |
| C-Lon Nylon | 0.9mm - 1.2mm | Medium | Sliding Knot / Tension Bead | Excellent; waterproof, UV resistant, ends can be heat-sealed. |
| Griffin Silk (Size F) | 0.35mm - 0.50mm | Low | Silicone Tension Bead | Delicate; requires G-S Hypo Cement, degrades with moisture. |
Step-by-Step: How to Make an Adjustable Necklace with a Sliding Knot
The macramé sliding square knot remains the gold standard for adjustable cord necklaces. It provides a secure, tactile grip that allows the wearer to pull the cords apart to loosen, and pull the knot itself to tighten. Here is the professional methodology for executing a flawless 4-wrap square knot.
The Macramé Square Knot Method
- Preparation: Cut a 40-inch length of 1mm C-Lon nylon cord. Thread your chosen pendant onto the center. Overlap the two ends of the cord by about 4 inches to form the main necklace loop.
- The Anchor Cord: Take a separate 12-inch piece of the same cord (the working cord). Lay it horizontally across the overlapped main cords, forming a cross.
- The Knotting Sequence: Bring the right side of the working cord over the main cords and under the left side of the working cord. Then, take the left side under the main cords and up through the loop on the right. Pull tight. This is one half-knot.
- Alternating Wraps: Reverse the direction. Left over, right under. Pull tight. You must alternate directions to create a flat square knot rather than a spiraling half-hitch.
- Completion: Repeat this alternating sequence for 4 to 6 wraps. The knot should be roughly 1/2 inch long.
- Finishing: Trim the working cord ends close to the knot. Because C-Lon is nylon, use a precision butane lighter to briefly melt the ends, pressing them flat against the knot with a metal spoon to prevent unraveling.
The Silicone Tension Bead Alternative
For a hyper-modern, minimalist aesthetic that aligns with 2026's 'quiet luxury' trend, many jewelers are abandoning knots in favor of silicone tension beads. This method is particularly useful for delicate silk or thin nylon cords where a bulky macramé knot would ruin the visual flow.
To execute this, thread a 2mm inner-diameter silicone-lined metal bead onto both ends of the cord. The silicone core grips the cord via sheer friction. Simply push the bead up to tighten the necklace into a choker, or slide it down to create a lariat effect. The critical failure mode here is using a bead with an inner diameter larger than 1.5x the cord thickness, which results in immediate slippage.

Troubleshooting Common DIY Failure Modes
Even experienced jewelers encounter structural issues when crafting adjustable pieces. Understanding these failure modes ensures your creations are durable enough for retail or daily wear.
- Knot Slippage: If your square knot slides down the cord when pulled, your cord is too slick (common with pure silk or Teflon-coated threads). Solution: Switch to waxed cotton or apply a micro-drop of beeswax to the main cords before knotting to increase surface friction.
- Cord Fraying at the Bail: Heavy stone pendants (like agate or jasper) often have rough, unpolished drill holes that act like saw blades on nylon cords. Solution: Always use a wire-wrapped bail or insert a flush-fit metal eyelet into the stone's drill hole to protect the structural integrity of the cord.
- Adhesive Failure on Silk: Super glue (cyanoacrylate) dries brittle and will shatter when the silk cord bends, creating sharp edges that cut the fibers. Solution: Only use flexible, jewelry-grade adhesives like G-S Hypo Cement for natural fiber cords.
- Asymmetrical Sliding: If one side of the necklace pulls tighter than the other, the cord thickness is inconsistent. Always purchase cord from a single dye-lot batch to ensure uniform extrusion.
Styling Your Adjustable Piece for Modern Necklines
The true value of learning how to make an adjustable necklace lies in its styling versatility. In 2026, the 'layered lariat' look is highly prevalent. By adjusting the sliding knot, a single piece can serve multiple functions in a capsule wardrobe.
"The adjustable necklace is the ultimate democratizing piece in jewelry design. It removes the anxiety of sizing and allows the wearer to become the stylist, adapting the piece to the exact geometry of their collarbone and neckline." — Elara Vance, Lead Trend Forecaster at the Global Jewelry Institute
Length Mapping Guide
- 14" - 16" (Choker/Collar): Slide the knot to the base of the neck. Ideal for off-the-shoulder tops, boat necks, and balancing heavy, oversized blazers.
- 18" - 20" (Princess): The standard resting point on the collarbone. Perfect for crew necks, casual tees, and anchoring a multi-chain layering stack.
- 22" - 24" (Matinee): Slide the knot to the lower sternum. Essential for deep V-necks, turtlenecks, and business-casual button-downs where the pendant needs to sit below the top button.
- 28"+ (Opera/Lariat): Fully extended. Wear it long and loose over maxi dresses, or wrap it twice around the neck for a complex, textured choker effect without needing a clasp.
Final Thoughts on Customization and Sustainability
Mastering the adjustable necklace is an exercise in both engineering and aesthetics. By understanding the friction dynamics of C-Lon nylon, the structural requirements of the square knot, and the styling demands of contemporary fashion, you elevate a simple DIY project into a highly functional, trend-responsive accessory. As the jewelry industry continues to pivot toward sustainable, multi-use garments and accessories, the ability to craft and style modular, adjustable pieces will remain an invaluable skill for designers and collectors alike. For further reading on knotting techniques and material care, The Spruce Crafts offers an excellent visual database of advanced macramé variations to expand your repertoire.


