How to Make a Beaded Stone Necklace: Pro Stringing Guide
Learn how to make a beaded stone necklace with professional jewelry techniques. Master wire selection, crimping, and finishing heavy gemstones.

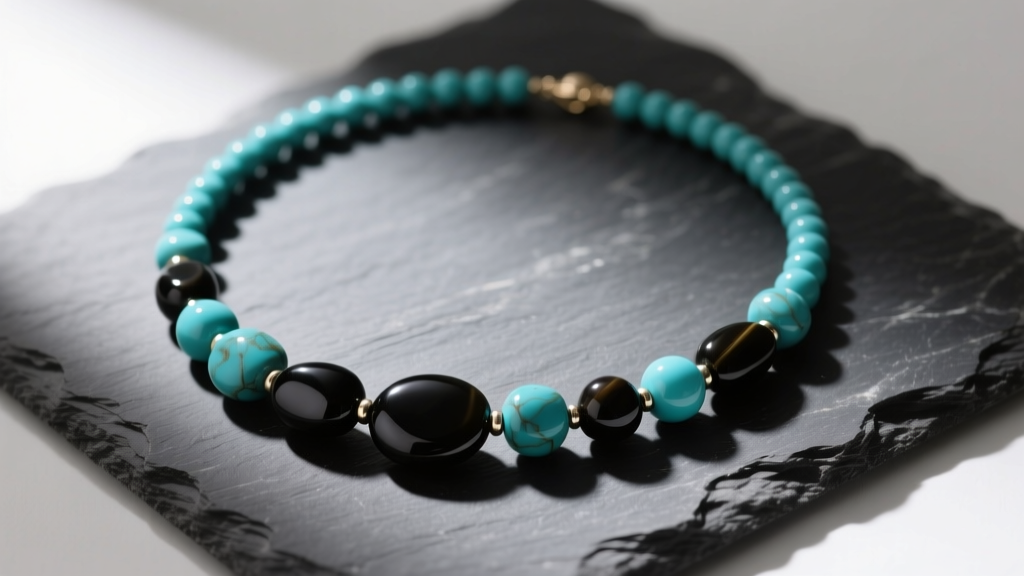
The Architecture of a Professional Beaded Stone Necklace
Creating a high-quality beaded stone necklace requires far more than simply threading rocks onto a piece of string. In 2026, the shift toward ethically sourced, unheated, and raw gemstones means jewelry makers are frequently working with heavier, irregularly shaped beads that demand serious structural integrity. A professional-grade beaded stone necklace must balance tensile strength, fluid drape, and friction management. If you use the wrong stringing material or skip crucial finishing steps, the necklace will inevitably snap, kink, or suffer from internal bead abrasion.
This comprehensive guide moves beyond basic craft-store tutorials. We will cover the exact metallurgy of stringing wires, the physics of gemstone friction, and the precision crimping techniques used by master jewelers to secure heavy stones like jasper, agate, and lapis lazuli.
Material Selection: Wire vs. Thread for Gemstones
The most common point of failure in DIY jewelry is selecting a stringing material that cannot handle the sheer weight and sharp internal edges of stone beads. While silk thread is traditional for pearls, it will quickly fray when pulled through the drilled holes of quartz or turquoise. For a beaded stone necklace, multi-strand nylon-coated stainless steel wire is the undisputed industry standard.
| Stringing Material | Best Used For | Tensile Strength | Pros & Cons |
|---|---|---|---|
| 49-Strand Nylon-Coated Wire (.019") | Heavy stones (Jasper, Agate, Onyx) | 20-30 lbs | Highly kink-resistant, professional drape, expensive |
| 19-Strand Nylon-Coated Wire (.018") | Medium stones (Turquoise, Jade) | 15-20 lbs | Good drape, slightly prone to kinking if bent sharply |
| 7-Strand Wire (.024") | Large, heavy focal beads | 25-40 lbs | Very stiff, poor drape for small beads, highly durable |
| Size F Silk Thread | Pearls, Opals, Soft Amber | N/A (Knotting required) | Traditional, degrades over time, requires needle threading |
According to the Soft Flex Company, a leading manufacturer of beading wire, the 49-strand configuration provides the most supple drape because the 49 individual micro-cables distribute the bending stress evenly. When designing a beaded stone necklace, always default to a .019" diameter 49-strand wire unless your beads have exceptionally small drill holes (under 0.8mm).
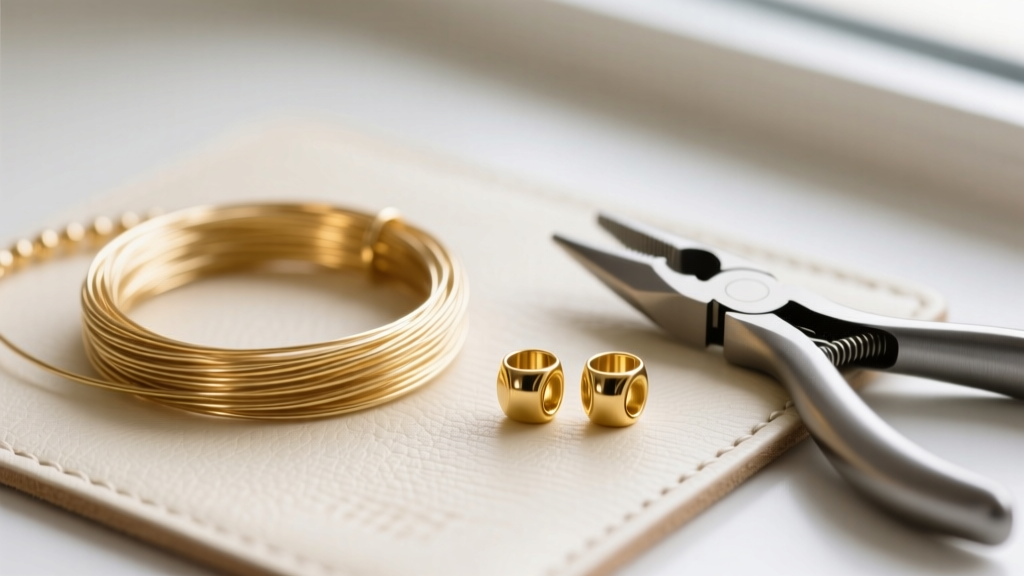
Step 1: Gemstone Hardness and Layout Planning
Before you cut your wire, you must plan your bead layout with the Mohs Scale of Mineral Hardness in mind. Gemstones of varying hardness levels will interact destructively if placed directly next to one another. For example, if you place a smooth quartz bead (Mohs 7) directly next to a polished turquoise bead (Mohs 5-6), the quartz will act like sandpaper. Over months of wear, the friction will literally drill a concave divot into the softer turquoise, ruining the stone and weakening the necklace.
The Spacer Bead Rule
To prevent Mohs-scale friction, separate stones of differing hardness with metal spacer beads. A 2mm 14k gold-filled or sterling silver spacer bead provides a smooth, uniform barrier that protects softer stones. Always group stones of similar hardness together in your layout sequence.
Step 2: Measuring and Cutting the Stringing Wire
The math behind necklace lengths is critical for achieving the right drape. A standard princess-length necklace sits at 18 inches. However, you never cut your wire to the exact finished length. You must account for the clasp, the crimp tubes, the wire protectors, and the essential "slack" required for the necklace to curve around the human neck.
- Finished Length: 18 inches
- Clasp and Findings: Adds ~0.75 inches
- Working Slack: Add 4 to 6 inches for crimping and tension management
- Total Wire Cut Length: 23 to 24 inches
Always use flush cutters designed for jewelry wire. Standard household scissors will crush the nylon coating of the beading wire, creating a frayed, sharp tip that is nearly impossible to thread through small stone beads.
Step 3: The First Crimp and Clasp Attachment
Securing the first end of your beaded stone necklace dictates the longevity of the entire piece. Never use round "crimp beads"; they flatten unpredictably and often crack under the pressure of heavy stones. Always use 2x2mm seamless metal crimp tubes. Sterling silver or gold-filled tubes are malleable enough to fold securely, whereas cheap base-metal tubes will snap or slice the wire.
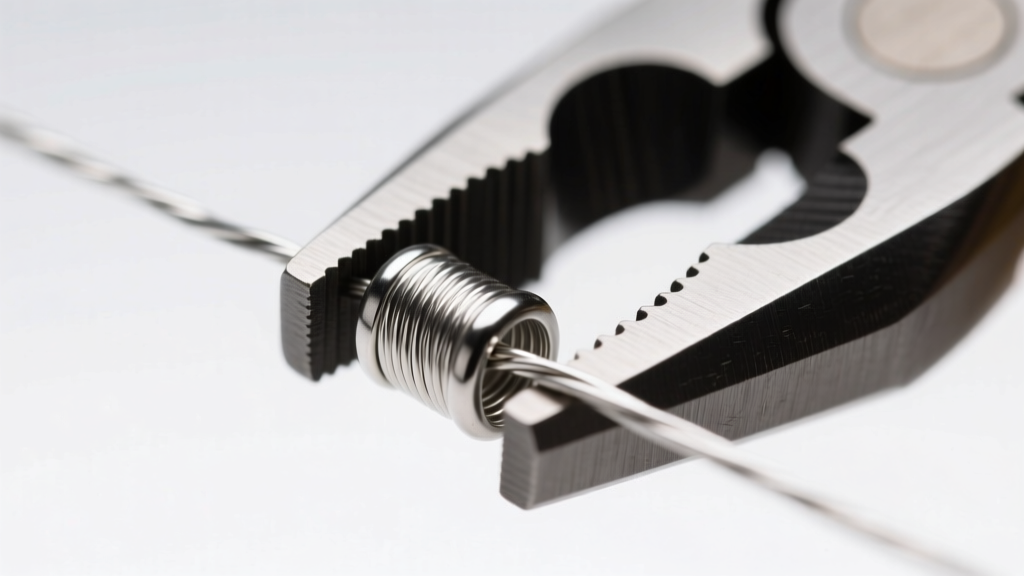
The Micro-Crimping Technique
- Thread the Wire: Pass the wire through a wire protector (French wire), then through the loop of your clasp, and back through the wire protector.
- Position the Crimp: Slide a 2x2mm crimp tube onto the wire, ensuring both the main length and the 2-inch tail pass cleanly through the center. Leave a 1/8-inch gap between the crimp tube and the wire protector to allow the clasp to move freely.
- The First Squeeze: Place the crimp tube in the second notch (the U-shaped notch) of your micro crimping pliers. Squeeze firmly to fold the tube in half, trapping the two wires in separate channels.
- The Second Squeeze: Rotate the folded tube 90 degrees and place it in the first notch (the rounded notch) of the pliers. Squeeze to fold the U-shape in on itself, creating a perfectly rounded, bead-like finish.
Step 4: Stringing and Managing Drape Tension
As you string your stone beads, the most critical mistake beginners make is pulling the wire too tight. Stones are rigid; wire is flexible. If you string a beaded stone necklace with zero slack, the necklace will be stiff, stick out awkwardly from the collarbone, and place immense sheer stress on the crimp tubes.
Pro Tip: To test your tension, lay the partially strung necklace on a flat surface. It should form a relaxed, fluid teardrop shape. If it holds a rigid circle or resists bending, your wire is too tight. Loosen the beads and introduce micro-slack between each stone.
Use a bead stopper or a piece of low-tack painter's tape on the tail end of your wire to prevent heavy stones from sliding off and crashing onto the floor while you work. Gravity is the enemy of an unsecured beaded stone necklace layout.
Step 5: Securing the Finish with Wire Protectors
When you reach the final bead, it is time to attach the second half of the clasp. Before threading the wire through the jump ring or lobster claw, you must slide on a wire protector (also known as a French wire or bullion). This tiny, horseshoe-shaped metal finding is non-negotiable for heavy gemstone necklaces.
Without a wire protector, the metal loop of the clasp will rub directly against the nylon coating of your beading wire every time the wearer moves. Over time, this friction acts like a saw, slicing through the nylon and exposing the steel core, which will eventually snap. The wire protector takes the brunt of the metal-on-metal friction, ensuring the necklace lasts for decades. After threading the wire protector and clasp, slide on your final crimp tube, pull the tail wire snug (but not tight), and repeat the micro-crimping process. Finally, use flush cutters to trim the tail wire as close to the crimp tube as possible, and tuck the remaining 1mm nub into the hole of the adjacent stone bead.
Troubleshooting Common Beaded Stone Necklace Failures
Even experienced jewelers encounter structural issues when working with natural materials. Here is how to troubleshoot the most common failures documented by Fire Mountain Gems and other industry educators:
- The Necklace is Stiff and Kinks: You used a wire with too few strands (like 7-strand) or strung the beads too tightly. For future designs, upgrade to 49-strand wire and consciously add slack during the stringing phase.
- The Crimp Tube Keeps Slipping: This happens when the wire diameter is too small for the crimp tube, or the pliers are not fully compressing the metal. Ensure you are using a 2x2mm tube for .019" wire, and apply maximum force with high-quality micro crimping pliers.
- Internal Bead Chipping: If you notice stone dust around the drill holes, the beads were likely drilled with rough, unpolished interiors. To fix this, run a diamond bead reamer through the holes before stringing to smooth the internal channels and protect your wire from internal abrasion.
Mastering the art of the beaded stone necklace requires patience, precision tools, and an understanding of material science. By respecting the hardness of your gemstones and executing flawless crimp connections, you elevate your jewelry from a temporary craft project to a lasting, professional-grade accessory.


