The Ultimate DIY Charm Necklace Budget & Value Guide
Learn how to build a high-quality DIY charm necklace on a budget. We compare metal grades, clasp costs, and jump ring gauges for maximum value.

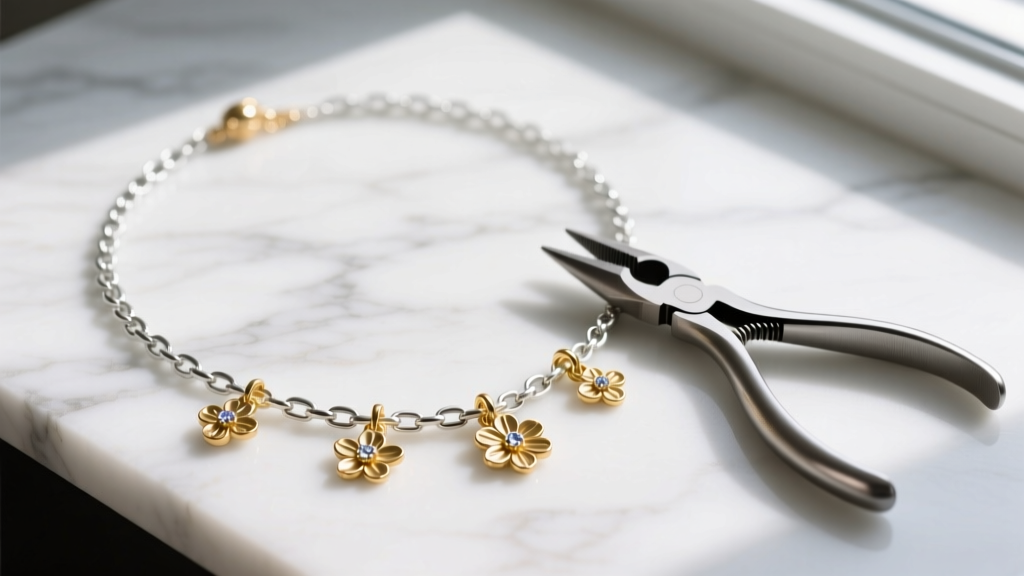
The True Cost of Building a DIY Charm Necklace
Building a DIY charm necklace is often romanticized as a cheap weekend craft, but true jewelry makers know that "budget" should never mean "disposable." When you set out to design a personalized charm necklace, the initial allure of low-cost base metals and mass-plated findings quickly fades when clasps snap, chains tangle, and charms lose their finish within a month. The secret to a successful DIY jewelry project lies in understanding the difference between cheap and value. By strategically allocating your budget toward high-wear components like the chain and clasp, while sourcing intelligently for the charms themselves, you can create a piece that rivals fine jewelry boutiques at a fraction of the retail markup. This guide breaks down the exact material grades, hardware specifications, and pricing tiers you need to know to build a heirloom-quality charm necklace without overspending.
Chain Selection: Where to Spend and Where to Save
The chain is the structural foundation of your necklace. A common mistake among beginners is choosing a chain based solely on visual delicacy, only to find it cannot support the weight of multiple charms. For charm necklaces, the Rolo chain is the undisputed industry standard. Rolo chains feature uniform, round links that allow jump rings to sit flat and charms to hang straight without twisting. In contrast, Cable chains (which use oval links) are prone to tangling, and Box chains have sharp interior corners that can snag and wear down the jump rings attaching your charms.
When shopping for sterling silver (925) chains, look for "dead soft" or "half-hard" temper ratings if you plan to cut and resize the chain yourself. A standard 18-inch rolo chain with a wire thickness of 1.5mm to 2.0mm offers the perfect balance of durability and drape for a charm necklace weighing between 10 and 25 grams.
| Chain Style | Link Geometry | Charm Compatibility | Avg. Cost (18" 925 Silver) |
|---|---|---|---|
| Rolo | Round / Uniform | Excellent (Hangs straight) | $22 - $38 |
| Cable | Oval / Uniform | Fair (Prone to twisting) | $15 - $28 |
| Figaro | Patterned (3:1) | Poor (Uneven charm spacing) | $25 - $45 |
| Box | Square / Geometric | Very Poor (Snags hardware) | $30 - $55 |
Sourcing Charms: Solid Gold vs. Vermeil vs. Plated
Charms are where you can express your personal style, but they are also where budget shoppers often get trapped by misleading marketing terminology. To maximize value, you must understand the legal and chemical differences between gold finishes. According to the Federal Trade Commission (FTC) Jewelry Guides, the term "Gold Plated" can be applied to a microscopic layer of gold over any base metal, including brass or copper. These pieces will inevitably oxidize and turn your skin green as the base metal is exposed to sweat and friction.
For a high-value DIY build, insist on Gold Vermeil (pronounced ver-MAY). By definition, vermeil must have a base of solid sterling silver (925) and be plated with a minimum of 2.5 microns of 10k, 14k, or 18k gold. This thick layer of gold over a precious metal base ensures that even if the charm experiences minor wear over the years, the underlying silver will not corrode or cause allergic reactions. You can source high-quality vermeil charms from specialized jewelry suppliers like Rio Grande or reputable artisan casters, typically ranging from $12 to $35 per charm depending on weight and complexity.
The Jump Ring & Clasp Bottleneck
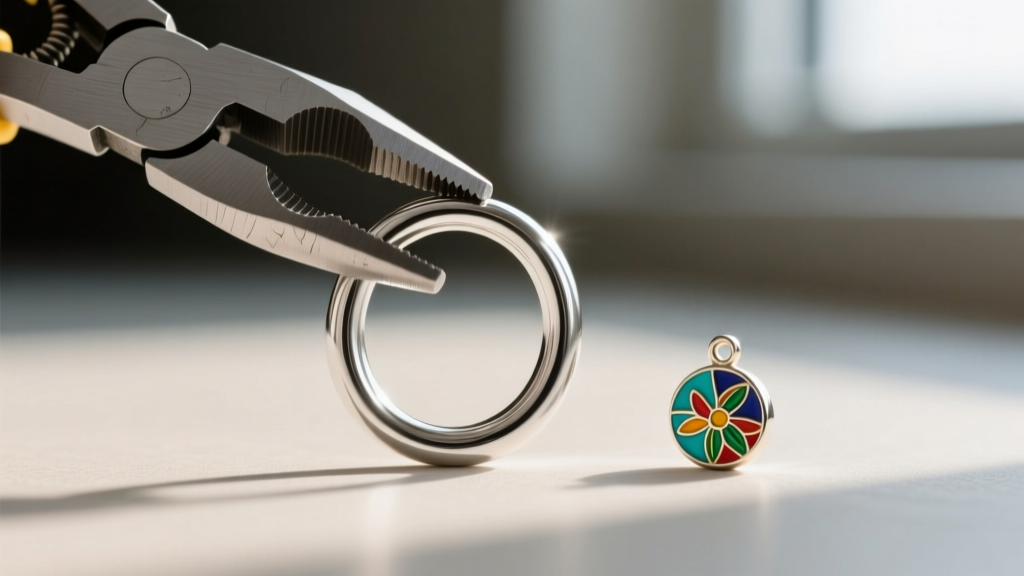
The most critical failure point on any DIY charm necklace is the jump ring. If you use a jump ring that is too thin, the weight of the charm will pull the metal apart, and you will lose your favorite pendant. Jump rings are measured by both their Inner Diameter (ID) and their American Wire Gauge (AWG).
- 20-Gauge (0.81mm): Suitable only for lightweight, hollow charms weighing under 2 grams.
- 18-Gauge (1.02mm): The sweet spot for standard DIY charm necklaces. It provides enough tensile strength to hold solid silver or vermeil charms (3g - 8g) without bending out of shape.
- 16-Gauge (1.29mm): Necessary for heavy, solid medallions or large gemstone pendants.
Always purchase soldered jump rings for the ends of your chain where the clasp attaches. Soldered rings have no seam, meaning it is physically impossible for the clasp to slip off. For attaching the charms themselves, use seamless open jump rings, ensuring you buy ones that have been machine-cut rather than saw-cut by hand, which ensures a flush, gap-free closure when twisted shut.
Pricing Breakdown: Budget vs. Value Builds
Let us look at the real-world math of assembling an 18-inch necklace with a secure clasp, five jump rings, and three distinct charms. Understanding these tiers helps you see why spending slightly more upfront yields a drastically better cost-per-wear ratio.
- The "Fast Fashion" Build ($35 - $50): Brass cable chain, gold-plated zinc alloy charms, stamped spring-ring clasp. Verdict: High risk of contact dermatitis, chain kinking, and clasp failure within 3 months.
- The "Smart Value" Build ($110 - $160): 925 Sterling Silver 2mm Rolo chain, 14k Gold Vermeil cast charms, 18-gauge sterling jump rings, cast 12mm lobster clasp. Verdict: Exceptional durability, hypoallergenic, and easily repairable. This is the target tier for serious DIYers.
- The "Fine Jewelry" Build ($600+): Solid 14k yellow gold chain and solid 14k charms. Verdict: Ultimate heirloom quality, but the high upfront cost limits the ability to experiment with different charm layouts.
Expert Assembly & Tarnish Prevention
Assembling your necklace requires the right technique to avoid work-hardening and snapping your silver hardware. Never use a single pair of pliers to pull a jump ring apart laterally like a door hinge; this permanently distorts the circle and weakens the metal. Instead, use two pairs of flat-nose or chain-nose pliers to grip the jump ring on either side of the cut, and twist one hand toward you and the other away from you. This preserves the perfect circular geometry. The Gemological Institute of America (GIA) frequently highlights proper metal handling as the primary factor in jewelry longevity.
Maintenance for Long-Term Value
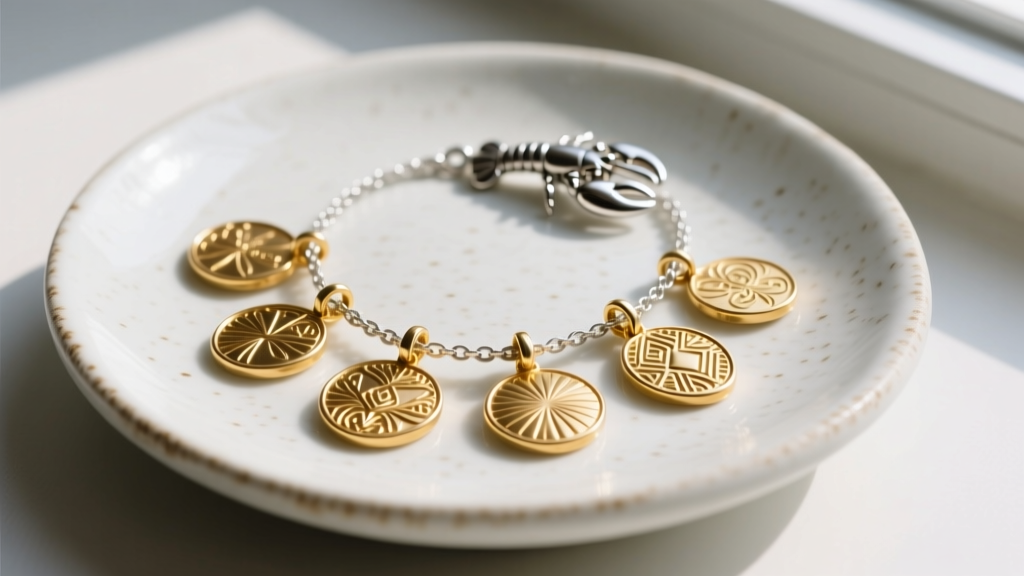
Sterling silver naturally reacts with sulfur in the air, leading to tarnish. Because charm necklaces feature intricate crevices, textured surfaces, and recessed enamel, polishing them can be tedious. To protect your investment, store your finished DIY necklace in an airtight ziplock bag with an anti-tarnish silica strip. When cleaning is required, avoid harsh liquid silver dips, which can strip the gold layer right off your vermeil charms. Instead, use a specialized impregnated polishing cloth (like a Sunshine cloth) to gently buff the bare silver chain and the high-polish edges of the charms, leaving the oxidized details in the charm crevices intact for a beautiful, contrasting finish.
Ultimately, building a DIY charm necklace on a budget is an exercise in strategic engineering. By prioritizing a robust rolo chain, adhering to strict 18-gauge hardware standards, and refusing to compromise on vermeil material grades, you create a deeply personal piece of jewelry that is built to survive the rigors of daily wear while retaining its intrinsic material value.


