Stunning DIY Charm Necklace Ideas: Step-by-Step Guide
Discover stunning DIY charm necklace ideas with our step-by-step assembly guide. Learn about jump ring gauges, chain types, and mixed-metal trends.

The Evolution of the Charm Necklace
The charm necklace has undergone a massive renaissance. Moving far beyond the uniform, mass-produced link bracelets of the early 2000s, the 2026 jewelry landscape favors curated, asymmetrical, and deeply personal storytelling. Creating your own charm necklace allows you to control the visual weight, metallurgy, and narrative of the piece. However, transitioning from a craft-store hobbyist to a creator of professional-grade jewelry requires an understanding of metal temper, gauge sizing, and structural integrity. In this comprehensive guide, we will explore stunning DIY charm necklace ideas and provide a masterclass in assembly techniques that ensure your creations last a lifetime.
5 Stunning DIY Charm Necklace Ideas
Before picking up your pliers, you need a design direction. Here are five high-end concepts that dominate current bespoke jewelry trends:
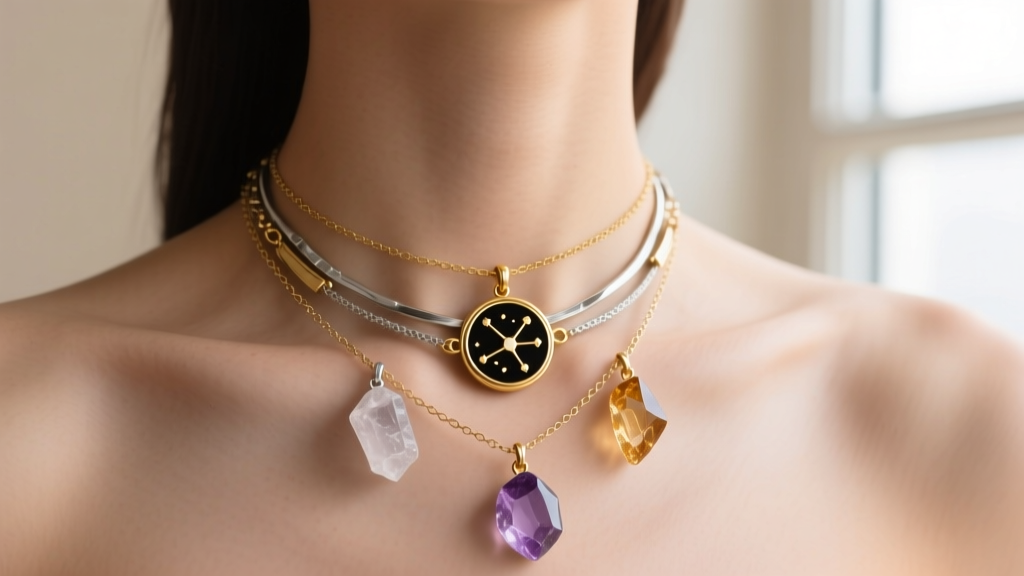
- The Asymmetrical Mixed-Metal Storyteller: Combine a 14k gold-filled rolo chain with sterling silver charms, anchoring the design with a single, off-center rose gold focal piece. The mix of warm and cool tones creates a collected-over-time aesthetic.
- The Raw Earth & Celestial Layer: Pair uncut, electroformed gemstone drops with delicate moon phase and star map charms. Use a darkened oxidized silver chain to make the raw crystal inclusions pop.
- The Heirloom Upcycle: Repurpose vintage brooches, watch fobs, or antique skeleton keys. By attaching a glue-on pinch bail to the back of a brooch, you can convert a static vintage piece into a swinging focal charm.
- The Micro-Text Layer: Utilize tiny, 5mm stamped initial or word charms interspersed with bead links on a delicate 16-gauge cable chain. This creates a subtle, readable necklace that sits perfectly at the collarbone.
- The Botanical Press: Embed real, sustainably foraged dried flowers into small glass bezel charms, capping them with brass or copper filigree lids for a dark-academia aesthetic.
Material Science: Selecting Metals and Gauges
The most common point of failure in DIY jewelry is the jump ring. If the wire is too soft or the gauge is too thin, a heavy charm will pull the ring open, resulting in a lost pendant. According to metallurgy guidelines from Rio Grande, understanding wire temper is crucial. 'Dead soft' wire is easy to bend but will deform under weight, while 'half hard' wire offers the structural memory needed for jump rings and clasp attachments.
Furthermore, the Aspect Ratio (AR)—the relationship between the wire gauge and the inner diameter (ID) of the ring—dictates how securely a charm will hang. A high AR means a thin wire and a large hole, which can slip through the links of a chunky chain. A low AR provides a tight, secure loop.
Component Sizing Chart
| Component | Recommended Gauge | Inner Diameter (ID) | Best Use Case |
|---|---|---|---|
| Standard Jump Ring | 20g (0.81mm) | 4.0mm | Attaching lightweight charms to delicate cable chains |
| Heavy Duty Jump Ring | 18g (1.02mm) | 5.0mm | Securing heavy focal pendants or connecting clasps |
| Chain Link (Rolo) | 18g to 16g | Varies | Base chain for heavy charm loads; prevents kinking |
| Split Ring | 22g (0.64mm) | 5.0mm | Permanent charm attachment without soldering |
Essential Tools for Professional Assembly
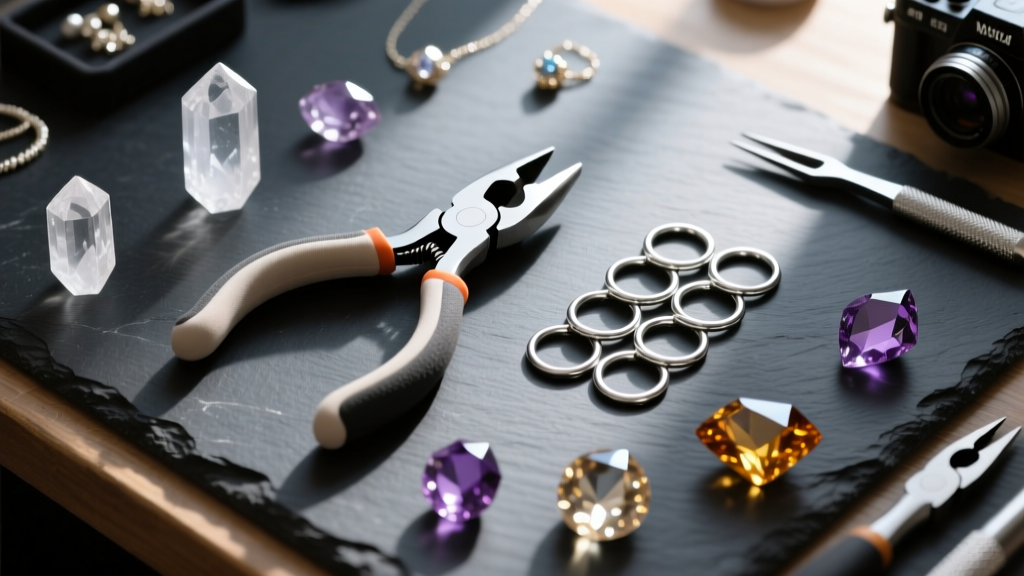
To execute these DIY charm necklace ideas without marring your metals, you must invest in the right tools. Standard hardware-store pliers will leave deep, permanent teeth marks on soft silver and gold-filled components.
- Nylon-Jaw Pliers: Essential for closing jump rings and shaping wire without scratching the metal finish.
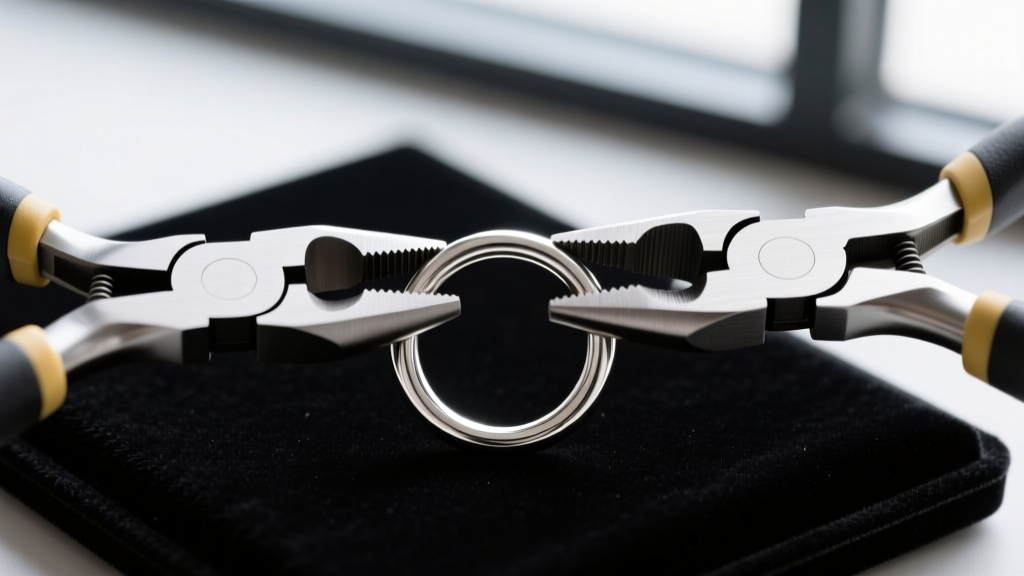
- Flat-Nose Pliers (2 pairs): Used in tandem to open and close jump rings with the opposing twist method.
- Flush Cutters: For trimming wire or chain links cleanly, leaving a flat edge rather than a sharp pinch.
- Beveling Mat or V-Board: A grooved workspace that prevents round charms and jump rings from rolling off your desk.
Step-by-Step Assembly: The Opposing Twist Method
Attaching a charm seems simple, but pulling a jump ring apart laterally (like opening a door) permanently distorts the circle, making it impossible to close flush. The correct technique, endorsed by instructors at Fire Mountain Gems, is the opposing twist.
- Grip the Ring: Hold the jump ring with two pairs of flat-nose pliers, positioning the jaws on either side of the split (the cut in the wire).
- Twist, Don't Pull: Push one hand away from you while pulling the other toward you. The ring will open laterally, maintaining its perfect circular shape.
- Load the Components: Slide your charm loop onto the ring, followed by the chain link. Ensure the charm faces the correct direction before closing.
- Close and Align: Reverse the twisting motion to close the ring. Gently wiggle the ends back and forth until you hear a faint 'click' and feel the seam become completely flush. Run your fingernail over the seam; if it catches, the ring is not fully closed and will eventually snag on clothing.
Finishing Touches: Clasps and Extenders
The back of the necklace is just as important as the front. For charm necklaces, which can carry significant visual and physical weight, a standard spring ring clasp is often insufficient and frustrating to operate with one hand. Opt for a lobster clasp or a toggle clasp. Toggles are particularly excellent for charm necklaces because the weight of the charms naturally pulls the T-bar securely through the O-ring.
Pro-Tip: Always add a 2-inch extender chain to the opposite end of your clasp. This not only accommodates different necklines and layering lengths but also provides a perfect spot to attach a small brand tag or a secondary micro-charm, elevating the custom feel of your DIY piece.
When to Solder Your Jump Rings
If you are using heavy, solid gemstone pendants or creating a necklace intended for daily wear, open jump rings are a liability. Over time, friction and gravity will work the ring open. For high-end DIY pieces, consider learning basic silver soldering. Using a butane micro-torch and medium silver solder, you can permanently fuse the jump ring seams. If soldering is beyond your current skill set, substitute open jump rings with solid (soldered) jump rings or split rings (which function like miniature keychains) to guarantee the charm never detaches.
Caring for Mixed-Metal Creations
Because DIY charm necklaces often mix sterling silver, brass, and gold-filled components, they require specific storage to prevent galvanic corrosion and tarnish. Store your finished necklaces in individual ziplock bags with anti-tarnish strips. Never use liquid silver dips on necklaces featuring raw crystals, pearls, or oxidized details, as the harsh chemicals will strip the patina and damage porous stones. Instead, use a soft microfiber polishing cloth to gently buff the metal components after each wear.


