How to Build Custom Necklace Holders: A Step-by-Step Guide
Learn how to build custom necklace holders with precise spacing, anti-tarnish linings, and heavy-duty hardware to protect your fine jewelry collection.

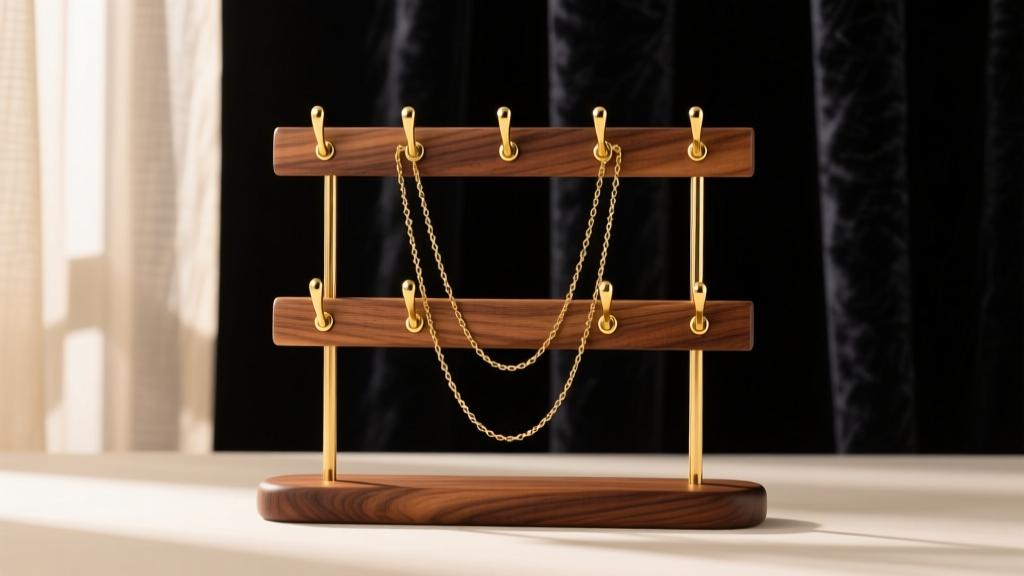
The 2026 Standard: Why Custom Necklace Holders Outperform Store-Bought
As jewelry trends in 2026 continue to favor investment-grade, heavy solid-gold chains and layered platinum pendants, the structural limitations of mass-produced acrylic and plastic jewelry stands have become glaringly obvious. Fine jewelry requires specialized storage to prevent chain tangling, clasp damage, and accelerated tarnishing. Building your own custom necklace holders allows you to engineer a storage solution tailored to the exact weight, length, and metallurgical needs of your collection.
Store-bought organizers often rely on weak adhesive hooks that fail under the weight of a 50-gram Cuban link chain, or they use untreated woods that off-gas acidic compounds, causing sterling silver to blacken prematurely. By taking a DIY approach, you control the material science and spatial geometry of your display, ensuring your pieces remain pristine and accessible.
Materials & Hardware Matrix
Before cutting any wood, it is critical to select materials that will not chemically react with precious metals. The table below outlines the best material combinations for a high-end, archival-quality necklace holder.
| Component | Recommended Material | Materials to Avoid | Why It Matters |
|---|---|---|---|
| Base Wood | Kiln-dried Walnut, Maple, or Cherry | Unsealed Oak, Cedar, Pine | Oak contains tannins and acetic acid that accelerate silver sulfide formation (tarnish). |
| Hardware Hooks | #6 Solid Brass Screw Eyes | Adhesive Command Hooks, Steel | Brass won't rust and won't scratch gold; screw eyes hold 15+ lbs in hardwood. |
| Backing Lining | Pacific Silvercloth or Treated Flannel | Standard Craft Felt, Synthetic Velvet | Treated cloths intercept airborne hydrogen sulfide before it reaches the metal. |
| Finish / Sealant | Water-based Polyurethane (Matte) | Oil-based Varnish, Wax Pastes | Oil-based finishes off-gas volatile organic compounds (VOCs) that damage pearls and opals. |
Step 1: Selecting and Prepping the Base Material
The foundation of your necklace holder must be dimensionally stable. We recommend purchasing a 1-inch thick, kiln-dried walnut board from a specialized lumber yard rather than a big-box hardware store, as big-box pine is often warped and chemically treated. Cut the board to your desired dimensions; a standard wall-mounted piece is typically 24 inches wide by 18 inches tall.
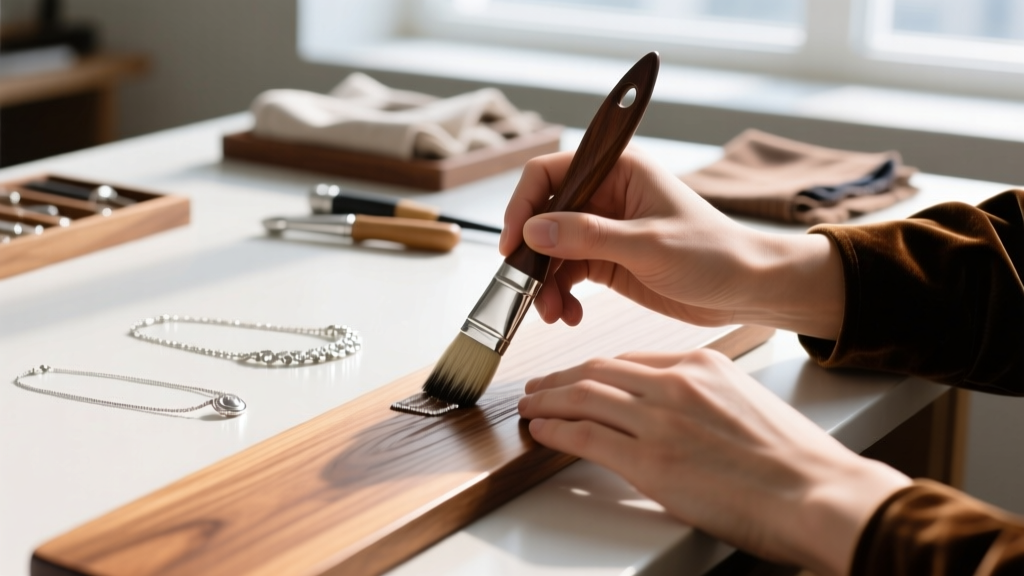
Once cut, sand the board progressively through 120, 180, and 220-grit sandpaper. This ensures a glass-smooth surface that won't snag delicate chain links like serpentine or box chains. After sanding, wipe the board with a tack cloth to remove all microscopic dust. Apply two coats of a high-quality, water-based polyurethane sealant. This locks in the wood's natural resins and creates an inert barrier between the wood and your jewelry. Allow 24 hours of curing time between coats in a low-humidity environment.
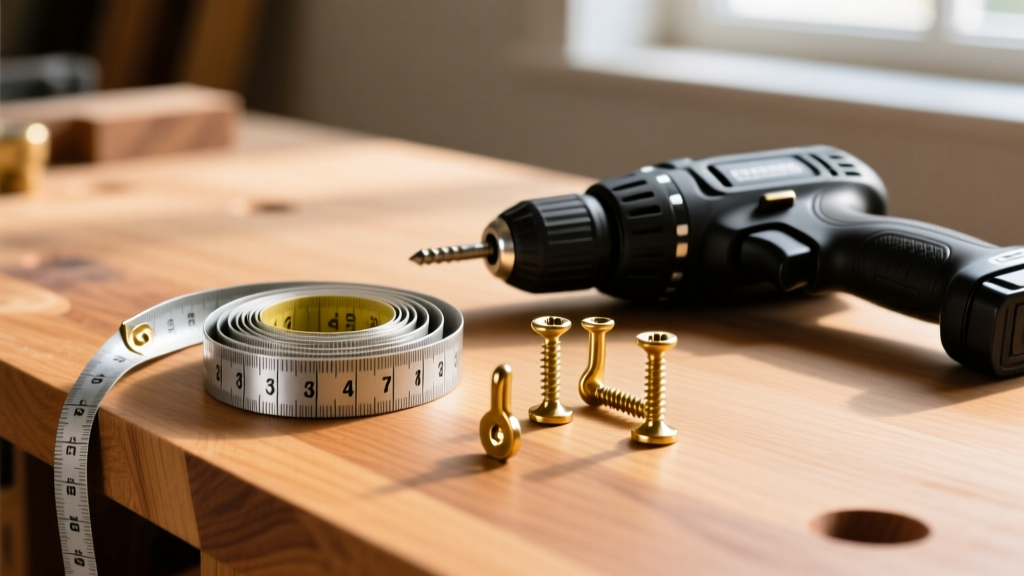
Step 2: Calculating Spacing for Different Necklace Lengths
The most common failure in DIY jewelry organization is improper spacing, which leads to overlapping chains and tangled pendants. To prevent this, you must map out your hook placement based on standard jewelry industry lengths. Use a digital caliper or a precise steel tape measure to mark your drill points.
Spacing Guidelines by Necklace Style
- Chokers & Collars (14-16 inches): Require 4 inches of horizontal width and a minimum 5-inch vertical drop from the hook above.
- Princess Length (18 inches): Require 6 inches of horizontal width and an 8-inch vertical drop.
- Matinee Length (20-24 inches): Require 8 inches of horizontal width and a 12-inch vertical drop.
- Opera Length (28-36 inches): Require 10 inches of horizontal width and an 18-inch vertical drop. Place these on the top row to allow maximum gravity-assisted hanging.
- Lariats & Rope (36+ inches): Install secondary lower hooks specifically designed to loop the excess chain, preventing it from pooling on your dresser.
When marking your grid, ensure that the heaviest chains (like thick Figaro or Cuban links) are positioned near the outer edges of the board where the wood grain and mounting anchors can best distribute the lateral stress.
Step 3: Installing the Hardware
Do not simply twist brass screw eyes directly into hardwood; this will split the wood fibers and compromise the structural integrity of the hook. Instead, use a drill press or a handheld drill with a depth stop.
- Drill Pilot Holes: Use a 3/32-inch drill bit to create pilot holes exactly 3/8-inch deep at each of your marked grid points.
- Clear the Dust: Use compressed air to blow out the wood shavings from the pilot holes. Debris left inside will prevent the screw eye from seating flush.
- Thread the Hooks: Insert the #6 solid brass screw eyes. To gain leverage without bending the brass, slide a small metal rod or a dedicated screw-eye driver through the eyelet and turn clockwise until the base of the threads sits flush against the wood surface.
- Angle for Security: For the top row holding the heaviest opera chains, angle the pilot holes slightly upward (about 5 degrees). This counteracts the downward pull of gravity and prevents the chain from slipping out of the hook.
Step 4: Adding Protective Lining to Prevent Tarnish
Tarnish on sterling silver is caused by a chemical reaction between the copper alloy in the silver and hydrogen sulfide in the ambient air. To combat this, your necklace holder should feature an active anti-tarnish backing. According to Blue Nile's jewelry care guidelines, storing silver in treated environments significantly slows the oxidation process.
Purchase a roll of Pacific Silvercloth or a similarly treated anti-tarnish flannel. This material is embedded with microscopic silver particles that act as a sacrificial anode, intercepting and absorbing airborne pollutants before they can reach your actual jewelry. Cut the cloth to the exact dimensions of your wooden board. Use a spray adhesive specifically formulated for fabrics (avoiding aerosol overspray on your sealed wood) to mount the cloth to the back of the necklace holder. This ensures that if you hang necklaces where the clasps touch the board, they rest against a chemically neutral, protective surface.
Step 5: Wall Mounting and Weight Distribution
A fully loaded custom necklace holder holding 15 to 20 solid gold and gemstone pieces can easily exceed 15 pounds. Standard drywall anchors are insufficient for this dynamic weight, especially if chains are frequently removed and replaced, which creates micro-vibrations and lateral stress.
Locate the wall studs using a magnetic stud finder. Install a French cleat system on the back of your wooden board and the corresponding wall mount. A French cleat distributes the weight evenly across a wide horizontal axis and locks the board securely against the wall. If you must mount on drywall without studs, use heavy-duty toggle bolts rated for at least 50 pounds per anchor, and ensure they are positioned directly behind the thickest part of your wooden base.
Maintenance & Environmental Control
Even with a custom-built, anti-tarnish lined holder, the ambient environment of your room plays a massive role in jewelry preservation. As noted in Jewelers Mutual storage recommendations, humidity and airborne chemicals are the enemies of fine metals and porous gemstones.
- Control Humidity: Keep the room's relative humidity below 50%. If you live in a coastal or high-humidity climate, place a few silica gel desiccant packets in small, breathable mesh pouches and pin them to the back of the wooden board.
- Avoid Chemical Exposure: Never install your necklace holder in a bathroom or near a vanity where hairspray, perfumes, and aerosolized cosmetics are used. The alcohols and propellants in these products can degrade the polyurethane finish on your wood and strip the luster from porous stones like pearls and opals.
- Pearl Precautions: According to Tiffany & Co.'s official care instructions, pearls require moisture and should not be stored in airtight environments, but they are highly susceptible to acid. Ensure your pearls hang freely on the brass hooks without resting against any treated silver cloths, as the chemical treatments meant for silver can occasionally be too harsh for delicate nacre.
Final Thoughts on Custom Organization
Building your own necklace holders is an exercise in both woodworking and gemological preservation. By respecting the material properties of hardwoods, utilizing precision spacing, and integrating anti-tarnish technologies, you create a functional piece of art that serves as a proper vault for your most cherished accessories. This customized approach not only saves you the frustration of untangling chains every morning but actively extends the lifespan and brilliance of your fine jewelry collection for decades to come.


