The Ultimate Guide to DIY Graduation Candy Necklaces
Learn how to craft, style, and preserve graduation candy necklaces. A beginner-friendly guide to making durable, photo-ready edible jewelry for seniors.

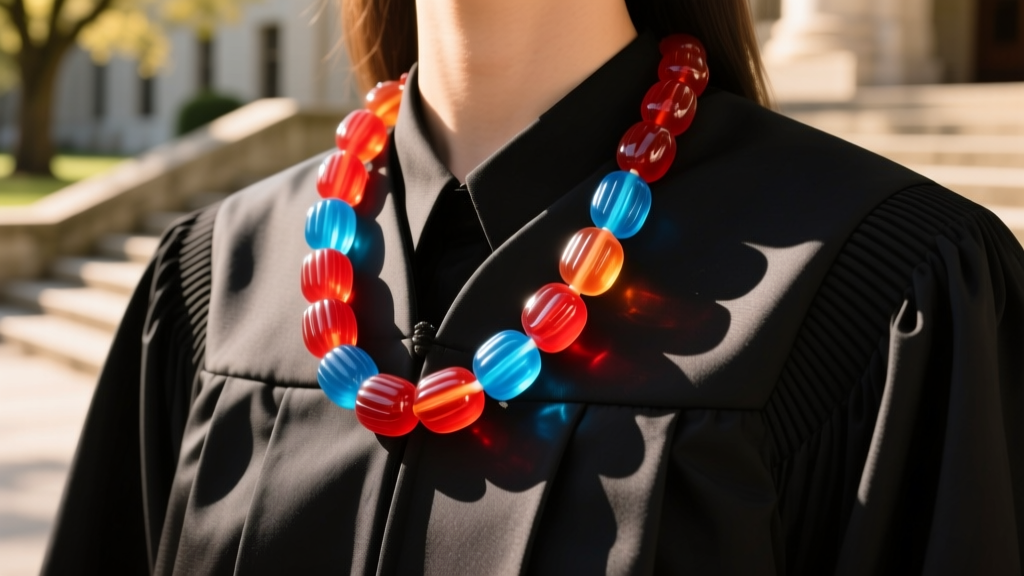
Graduation season is a time for celebrating milestones, and in recent years, a delightfully nostalgic trend has taken over senior photos and commencement ceremonies: graduation candy necklaces. What was once a simple childhood craft has evolved into a highly customizable, trendy accessory that allows graduates to showcase their school colors, personal flair, and sense of humor. However, transitioning a basic sugar craft into a durable, photo-ready piece of jewelry requires an understanding of material physics, structural integrity, and styling proportions.
This beginner-friendly explainer will walk you through the exact techniques, material grades, and preservation methods needed to create professional-looking graduation candy necklaces that won't snap during the ceremony or melt under the hot summer sun.
The Nostalgia Factor: Why Edible Jewelry is Trending
The resurgence of Y2K and childhood nostalgia in fashion has heavily influenced accessory trends leading up to 2026. Edible jewelry, specifically candy necklaces, taps into the "kidcore" aesthetic while offering a highly personalized touch for graduation. Unlike traditional pearl or gold pendants, a candy necklace is inherently playful. Seniors are using them to represent their school colors (e.g., alternating red and blue gummy beads), spell out their graduation year using alphabet-shaped candies, or simply add a pop of vibrant color against the stark black or navy of a traditional graduation gown.
From a budget perspective, crafting a high-end DIY candy necklace costs between $15 and $30 for premium materials, making it an incredibly accessible alternative to fine jewelry while still delivering a massive visual impact in graduation portraits.
Engineering a Break-Proof Candy Necklace
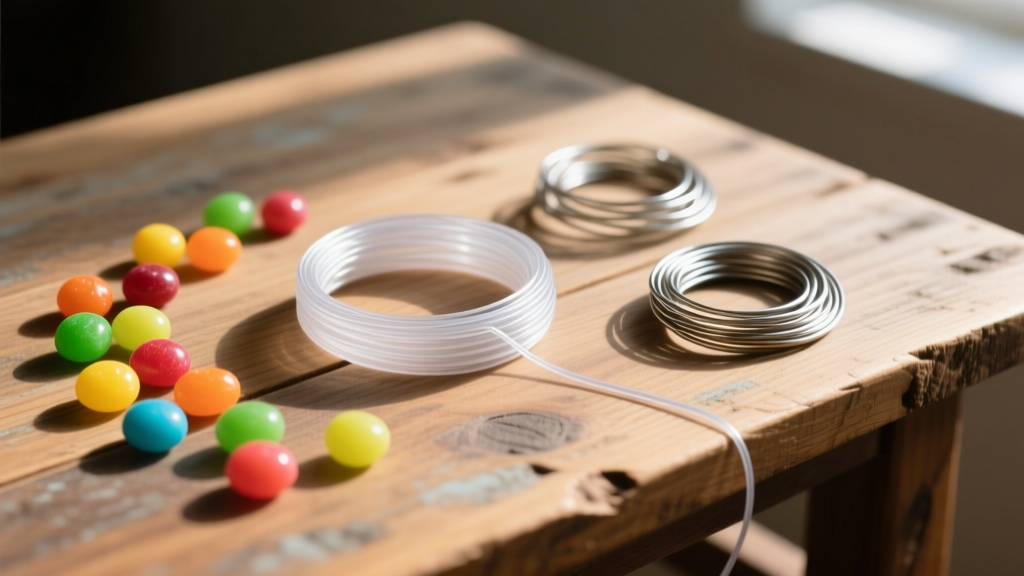
The most common failure mode for beginner candy necklaces is structural collapse. Candy is surprisingly heavy, and the sharp edges of hard candies or the dense mass of gummy beads can easily snap standard craft strings. To ensure your necklace survives the walk across the stage, you must upgrade your stringing materials.
Stringing Material Comparison
| Material | Thickness / Gauge | Tensile Strength | Best Used For |
|---|---|---|---|
| Standard Elastic Cord | 0.5mm | Low | Lightweight gummy beads only (Not recommended for heavy candy) |
| Heavy-Duty Clear Elastic | 0.8mm - 1.0mm | High | Dense gummy beads, layered hard candies, and school-color designs |
| Flexible Beading Wire | 0.019 inch (49-strand) | Very High | Sharp-edged hard candies (e.g., Jolly Ranchers) that cut through elastic |
| Floral Wire | 24-Gauge | Medium | Creating rigid, structured collar necklaces or specific pendant shapes |
For most graduation candy necklaces, a 0.8mm heavy-duty clear elastic cord is the gold standard. It provides enough stretch to slip over the head without a clasp (which can be a weak point) while possessing the tensile strength to hold 100+ grams of candy.
Step-by-Step Construction for Beginners
Building a durable necklace goes beyond simply threading candy onto a string. Follow this framework to ensure your knots hold and your spacing remains even.
- Prep Your Workspace: Lay out your candy in the exact pattern you want before stringing. If using hard candies with small holes, use a 24-gauge floral wire or a beading needle to gently clear out sugar dust that blocks the center.
- Secure the Anchor: Tie a large stopper bead or use a binder clip at the bottom of your 30-inch cord to prevent the candy from sliding off while you work.
- Thread with Tension: As you add the graduation candy necklaces beads, keep the cord taut. Gummy beads should sit flush against one another without large gaps, but avoid stretching the elastic while threading, or the necklace will sag once released.
- The Surgeon's Knot: When closing the loop, do not use a standard square knot. Use a surgeon's knot (wrapping the ends around each other twice before pulling tight) to create friction that prevents the elastic from slipping. According to The Spruce Crafts, applying a tiny dab of flexible, non-toxic jewelry glue to the knot before trimming the excess cord will guarantee it never unravels.
The Science of Preservation: Stopping the Melt
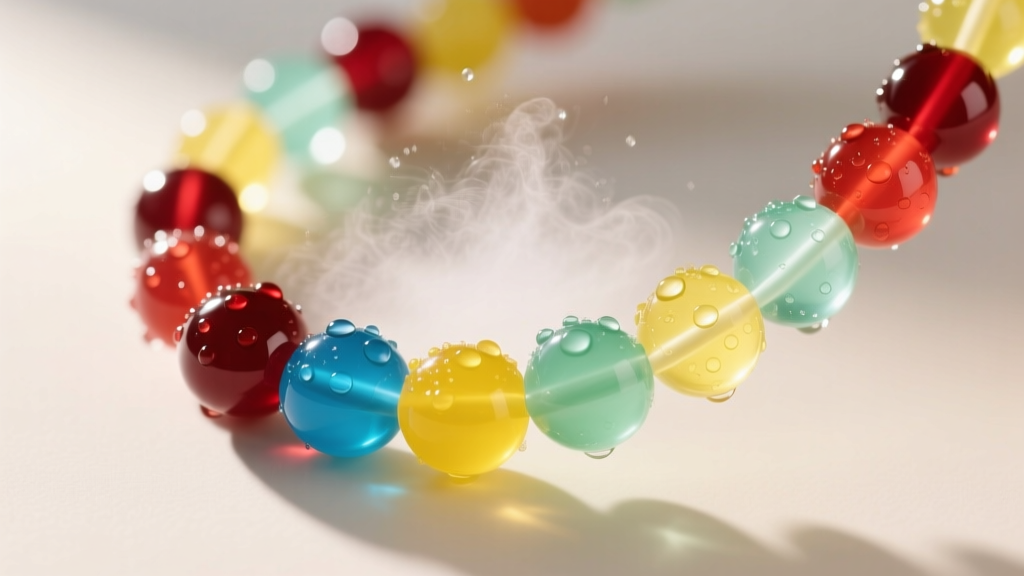
Sugar is highly hygroscopic, meaning it actively absorbs moisture from the air. On a humid graduation day, an untreated candy necklace will quickly become sticky, lose its structural integrity, and potentially stain the graduation gown. To combat this, you must seal the candy.
Food-Safe Sealants Breakdown
- Confectioner's Glaze (Edible Shellac): This is the industry standard for sealing candy. It provides a hard, glossy, moisture-resistant shell. It is entirely food-safe and won't alter the taste of the candy.
- Food-Safe Clear Acrylic Spray: Ideal if the necklace is strictly for photos and will not be eaten. It offers superior humidity resistance but must be applied in a well-ventilated area and allowed to cure for 24 hours.
- Beeswax Polish: A natural alternative that provides a matte finish and mild moisture resistance, though it can melt if left in direct, hot sunlight.
When applying any sealant, always check the FDA's guidelines on food additives and packaging to ensure the product is certified safe for human consumption if you intend to eat the necklace after the ceremony.
Styling Your Graduation Candy Necklaces
A candy necklace is a bold statement piece, and styling it correctly with graduation attire is crucial for balanced photography. Graduation gowns typically feature a deep V-neck or a wide, flat lapel.
Pro Styling Tip: Aim for a "Princess" length (18 inches) or a "Matinee" length (20 to 24 inches). A choker length (14 to 16 inches) will get swallowed by the gown's collar and the graduation stole or honor cords, whereas a longer length allows the vibrant candy colors to rest prominently against the dark fabric of the gown.
If your school requires honor cords or stoles, choose candy colors that either perfectly match the cords for a monochromatic look, or provide a stark, complementary contrast (e.g., bright yellow lemon candies against a navy blue gown and gold stole).
Troubleshooting Common Failures
Even with the best materials, beginners may encounter a few specific issues. Here is how to troubleshoot them:
- Problem: The elastic is stretching out and sagging mid-ceremony.
Solution: You likely stretched the cord while threading. Next time, thread with zero tension, or switch to a non-stretch 49-strand flexible beading wire with a secure lobster clasp. - Problem: Hard candies are cutting through the string.
Solution: The sharp edges of molded sugar are acting like tiny knives. Use flexible beading wire, or place a small, soft silicone spacer bead between every hard candy to protect the cord. - Problem: The colors are bleeding into each other.
Solution: This happens when moisture activates the food dye on the surface of the candy. You must apply a base coat of confectioner's glaze before stringing the beads, allowing them to dry completely on a wire rack to seal the dye inside.
Final Thoughts
Graduation candy necklaces are more than just a fleeting trend; they are a creative, personalized way to celebrate a massive life achievement. By treating the craft with the same respect as traditional jewelry making—focusing on tensile strength, hygroscopic preservation, and proportional styling—you can create a durable, stunning accessory that will look incredible in your 2026 graduation photos and survive long enough to be eaten during the post-ceremony celebration.


