How to Make a Do It Yourself Pearl Necklace: A Beginner's Guide
Learn how to craft a do it yourself pearl necklace with our beginner-friendly guide on silk thread sizing, knotting techniques, and pearl grading.

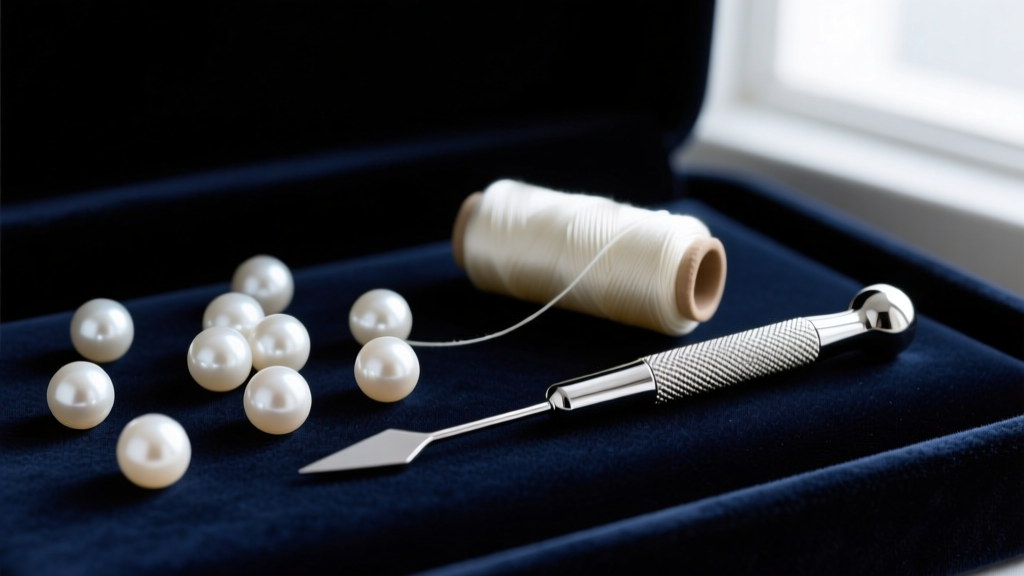
The Allure of the Hand-Knotted Pearl Strand
There is an undeniable elegance to a classic knotted pearl strand. While retail prices for high-quality, hand-knotted pearl necklaces can easily exceed $500 to $1,000, creating a do it yourself pearl necklace at home allows you to achieve the same luxurious result for a fraction of the cost. More importantly, the DIY approach gives you complete control over the pearl grade, exact necklace length, and clasp hardware.
Stringing and knotting pearls is a time-honored jewelry-making technique that serves two critical purposes: it prevents the pearls from rubbing against each other (which can damage their delicate nacre), and it ensures that if the strand breaks, you only lose one pearl instead of the entire necklace. This beginner-friendly explainer will walk you through the exact materials, grading metrics, and knotting mechanics required to craft a professional-grade strand from your own workbench.
Sourcing Pearls: Understanding Grades and Drill Holes
Before you can string a necklace, you must source the right loose pearls. For a classic strand, you will need 'full-drilled' pearls, meaning the hole passes completely through the center. Half-drilled pearls are strictly for peg-setting on rings or earring posts and cannot be used for stringing.
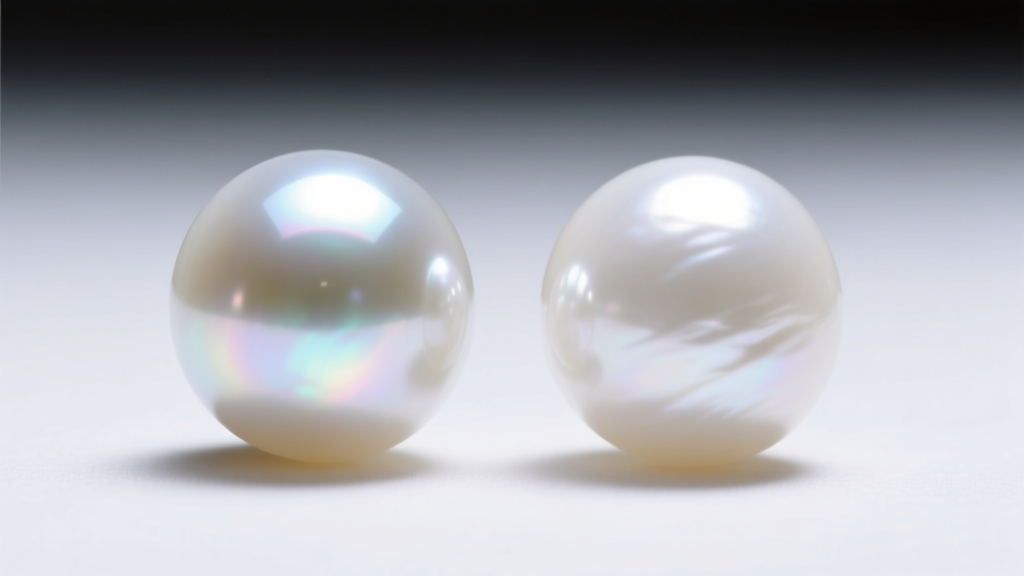
When shopping for loose pearls, you will encounter commercial grading scales (A to AAAA) or the more standardized GIA Pearl Description System. For a DIY project, understanding nacre thickness and blemish rates is crucial. According to gemological standards, high-quality Akoya pearls should have a nacre thickness of at least 0.4mm, though premium strands often exceed 0.8mm.
| Commercial Grade | Nacre Quality | Blemish Rate | Estimated DIY Cost (16-inch) |
|---|---|---|---|
| AA+ | Good, slight chalkiness | 10-15% surface blemishes | $60 - $90 |
| AAA | Very thick, high luster | Less than 5% blemishes | $120 - $180 |
| AAAA (Hanadama) | Exceptional, mirror luster | Virtually flawless | $300 - $600+ |
Pro Tip on Drill Holes: Pay close attention to the drill hole diameter. Akoya pearls typically feature small, precise drill holes (0.5mm to 0.6mm). Freshwater pearls often have larger, sometimes uneven holes (0.8mm to 1.0mm). Your hole size will dictate the thickness of the silk thread you must purchase.
Selecting the Right Silk Thread and Findings
The backbone of any do it yourself pearl necklace is 100% silk thread. Nylon or synthetic threads are too stiff and will cause the necklace to drape poorly, lacking the fluid, liquid-like movement characteristic of fine pearl jewelry. We recommend German-made Griffin silk thread, which comes pre-attached with a twisted wire needle, eliminating the frustration of threading a flimsy needle eye.
Silk Thread Sizing Chart
Griffin silk is categorized by numbered card sizes. The thread must fill approximately 70% to 80% of the pearl's drill hole. If the thread is too thin, the pearls will wobble and the knots will slip through the holes. If it is too thick, it will fray when forced through the pearl.
- Size 0 (0.20mm): For very small seed pearls (2mm - 4mm) with 0.3mm drill holes.
- Size 2 (0.30mm): The standard for 5mm - 6mm Akoya pearls with 0.5mm holes.
- Size 4 (0.35mm): Ideal for 6.5mm - 7.5mm pearls with 0.6mm holes.
- Size 6 (0.45mm): Best for 8mm+ Freshwater or Tahitian pearls with 0.8mm holes.
The Importance of French Wire (Gimp)
Beginners often tie the silk thread directly to the metal clasp. This is a critical failure point. The friction of the metal clasp rubbing against the silk will eventually saw through the thread, causing the necklace to break. To prevent this, professionals use French wire (also known as gimp or bullion). This is a microscopic, hollow, coiled wire (usually 0.3mm outer diameter) that slides over the silk thread at the clasp connection, acting as a protective metal shield.
Essential Tools for the Workbench
To execute tight, professional knots, you cannot rely on your fingers alone. You will need the following specialized tools:
- Beading Awl: A tool with a fine, tapered steel tip (0.6mm is standard). This is used to push the knot flush against the pearl.
- Pearl Reamer: A diamond-coated file used to smooth the sharp inner edges of the pearl drill holes. Sharp edges will shear your silk thread.
- Flush Cutters: For trimming the French wire and silk thread cleanly.
- Chain-Nose Pliers: For opening and closing jump rings and securing the clasp.
Never use standard hardware store wire cutters on French wire. The soft copper or silver wire will crush and deform. Use precision jewelry flush cutters to maintain the coiled shape of the gimp.
Step-by-Step: The Awl Knotting Technique
Now that your materials are prepped, it is time to begin stringing. Always work on a clean, well-lit beading mat to prevent pearls from rolling away.
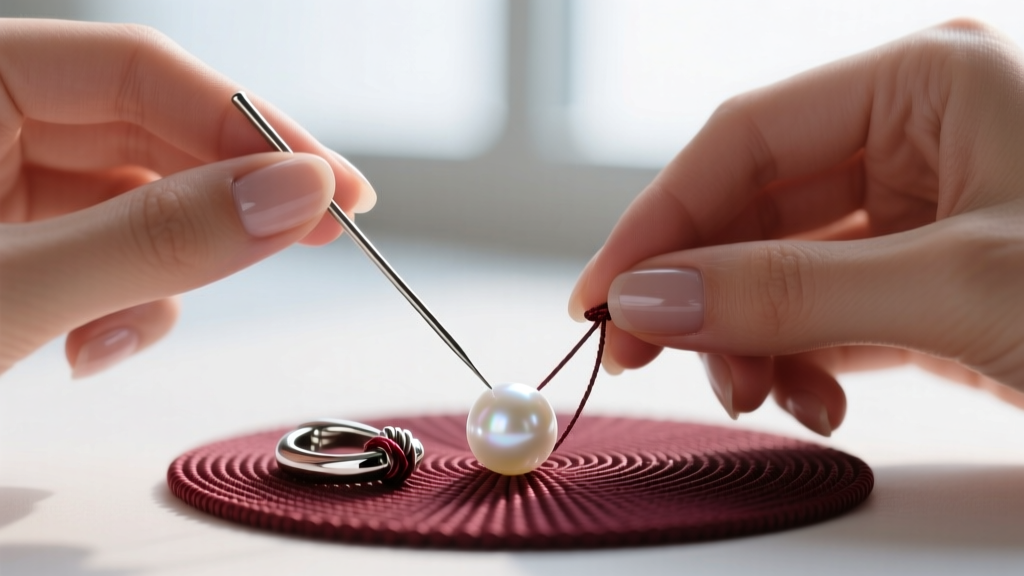
Step 1: The Clasp Assembly
Cut a 3-inch piece of French wire. Thread the silk through the jump ring attached to your clasp, then pass the needle back through the French wire, creating a small loop. Tie a simple overhand knot, but before pulling it tight, use your chain-nose pliers to gently pull the loop closed so the French wire sits neatly against the jump ring. Apply a microscopic drop of jeweler's epoxy (like G-S Hypo Cement) to the knot and let it cure for 10 minutes.
Step 2: Stringing and the First Knot
String your first three pearls onto the silk. This provides enough weight and stability to begin knotting. Take the thread and tie a loose overhand knot after the third pearl. Do not pull it tight yet.
Step 3: Sliding the Knot Flush
Insert the tip of your beading awl into the loose knot. Gently pull the silk thread taut with your non-dominant hand while using the awl to slide the knot down until it rests perfectly flush against the pearl. Remove the awl and pull the thread tight to lock the knot in place. The knot should be snug, but not so tight that it puckers the silk or cracks the pearl.
Step 4: Repeating the Process
Slide the next pearl down the thread, tie another loose overhand knot, and use the awl to push it flush. Repeat this process for the entire strand. Consistency is key; take your time to ensure every knot is identical in size and tension.
Step 5: Securing the End
Once all pearls are knotted, attach the second half of the clasp using the same French wire and jump ring method. Tie off the silk with three half-hitch knots, apply cement, and trim the excess thread with flush cutters.
Troubleshooting Common Beginner Mistakes
Even with careful preparation, beginners often encounter a few specific issues when making a do it yourself pearl necklace. Here is how to solve them:
- Gaps Between Knots and Pearls: If you notice a visible gap of silk thread between the knot and the pearl, your drill holes are likely too large for your thread size, or you failed to push the knot completely flush with the awl before tightening. Switch to a thicker silk (e.g., move from Size 4 to Size 6) if the holes are oversized.
- Fraying Silk Thread: If your silk frays as it passes through a pearl, the inner edge of the drill hole is sharp and jagged. Stop immediately. Remove the pearl and use a diamond bead reamer to gently smooth the inside of the hole under running water.
- Stiff Drape: If the finished necklace feels rigid and lacks a fluid drape, you likely pulled the knots too tightly, or you used a synthetic thread blend instead of 100% natural silk. Natural silk relaxes slightly over time, conforming to the wearer's neck.
By mastering these foundational techniques and sourcing high-quality materials, you can create heirloom-quality pearl jewelry that rivals the output of luxury boutiques. For further reading on jewelry making materials and metal findings, the Fire Mountain Gems Encyclopedia offers excellent visual references for clasp assemblies and wire wrapping.


