Hello Kitty Gold Necklace: Repair & Care Troubleshooting
Is your Hello Kitty gold necklace tarnishing or chipping? Expert troubleshooting for chain breaks, enamel damage, and counterfeit identification.

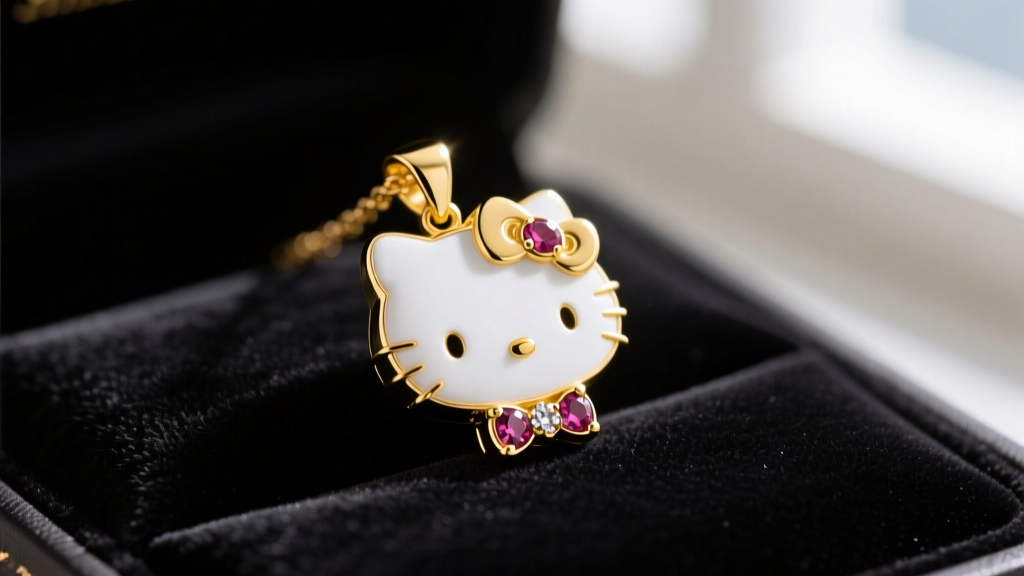
Owning a genuine hello kitty gold necklace is a statement of nostalgic luxury, blending Sanrio’s iconic character design with the enduring value of precious metals. However, because these pieces often feature intricate enamel work, delicate chain links, and micro-pavé gemstone accents, they are uniquely susceptible to specific types of wear and tear. Whether you own a vintage 18k piece from a high-end Japanese jeweler like Vendome Aoyama or a modern 14k licensed pendant, troubleshooting structural and cosmetic issues requires specialized knowledge. This guide provides actionable, expert-level solutions for the most common problems plaguing fine gold character jewelry.
The Anatomy of an Official Hello Kitty Gold Pendant
Before attempting any repairs, it is crucial to understand the metallurgical composition of your necklace. Officially licensed solid gold Hello Kitty pendants are typically cast in 10k (41.7% gold), 14k (58.5% gold), or 18k (75% gold). According to the Gemological Institute of America (GIA), the alloy metals mixed with pure gold—such as copper, silver, and zinc—dictate both the color and the structural hardness of the piece.
While 18k yellow gold offers a richer, warmer hue that beautifully contrasts with Hello Kitty’s white enamel face, it is inherently softer. This makes 18k pendants more prone to micro-scratches and structural bending if subjected to blunt force. Conversely, 14k gold is the industry sweet spot for character pendants, offering superior tensile strength to protect the delicate prongs holding gemstone eyes or bow accents in place.
Troubleshooting Common Chain & Clasp Failures
The pendant is only half the equation; the chain and clasp assembly endure the most mechanical stress. Most Hello Kitty gold necklaces are paired with 0.8mm to 1.2mm box chains or cable chains to maintain a delicate, feminine aesthetic. Unfortunately, this thin gauge introduces specific failure points.
Diagnosing and Fixing Box Chain Kinks
Box chains are notorious for snagging on hair and sweater threads. When a box chain kinks, the structural integrity of the interlocking square links is compromised. If you pull a kinked chain, the links will permanently warp and eventually snap.
- The Fix: Never pull a snag. Lay the chain flat on a microfiber cloth. Using two pairs of flat-nose jeweler's pliers (ensure the jaws are nylon-coated to prevent marring the gold), gently grasp the links on either side of the kink and apply opposing lateral pressure to un-kink the square housing.
- Advanced Repair: If a link has already snapped, standard torch soldering will leave a visible, bulky seam on a sub-1.0mm chain. You must take the piece to a bench jeweler equipped with a laser welder. Laser welding uses pinpoint light energy to fuse the gold without melting the surrounding links, preserving the chain's fluid drape.
Lobster Clasp Spring Fatigue
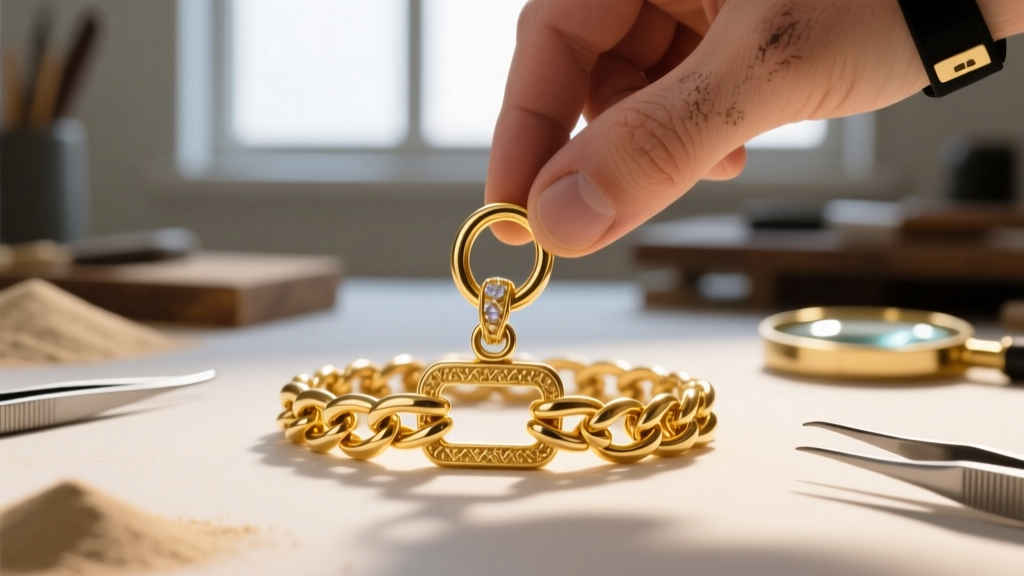
If the lever on your lobster clasp feels 'spongy' or fails to snap back into place, the internal 0.4mm spring mechanism has suffered metal fatigue. This is a critical failure point that often results in lost pendants. Do not attempt to pry the clasp open to re-tension the spring; you will compromise the gold casing. The only reliable troubleshooting step is complete clasp replacement. Have a jeweler cut off the fatigued clasp and laser-weld a new, appropriately sized 14k or 18k lobster trigger to the end ring.
Solving Enamel Chipping and Discoloration
Hello Kitty’s signature aesthetic relies heavily on enamel to create her stark white face and brightly colored bows. Troubleshooting enamel damage requires identifying which type of enamel the manufacturer used, as the repair protocols are vastly different.
| Enamel Type | Base Material | Common Failure Mode | Repair Protocol | Est. Cost |
|---|---|---|---|---|
| Cold Enamel (Epoxy) | Resin / Polymer | UV Yellowing, Peeling, Chipping | Drill out old resin, color-match new two-part epoxy | $45 - $85 |
| Vitreous Enamel | Fired Glass Powder | Shattering from thermal shock or impact | Pack new glass powder, torch-fire at 1400°F | $150 - $300+ |
| Gucci/Sanrio Lacquer | Synthetic Paint | Flaking, Solvent Dissolution | Strip with mild solvent, airbrush new lacquer | $60 - $120 |
Why You Should Never Use Superglue
A common DIY troubleshooting mistake is applying cyanoacrylate (superglue) to a chipped enamel patch. Superglue dries cloudy, yellows rapidly under UV light, and creates a chemical bond that makes professional removal nearly impossible without destroying the underlying gold texture. If your vitreous enamel shatters, store the loose glass fragments in a sealed bag and send the piece to a specialized lapidary enamel artist.
Authenticity Checks: Spotting Counterfeit Gold
The secondary market for Sanrio jewelry is flooded with sophisticated counterfeits. If you purchased your Hello Kitty gold necklace from an estate sale or an unverified online marketplace, troubleshooting its authenticity is your first priority.
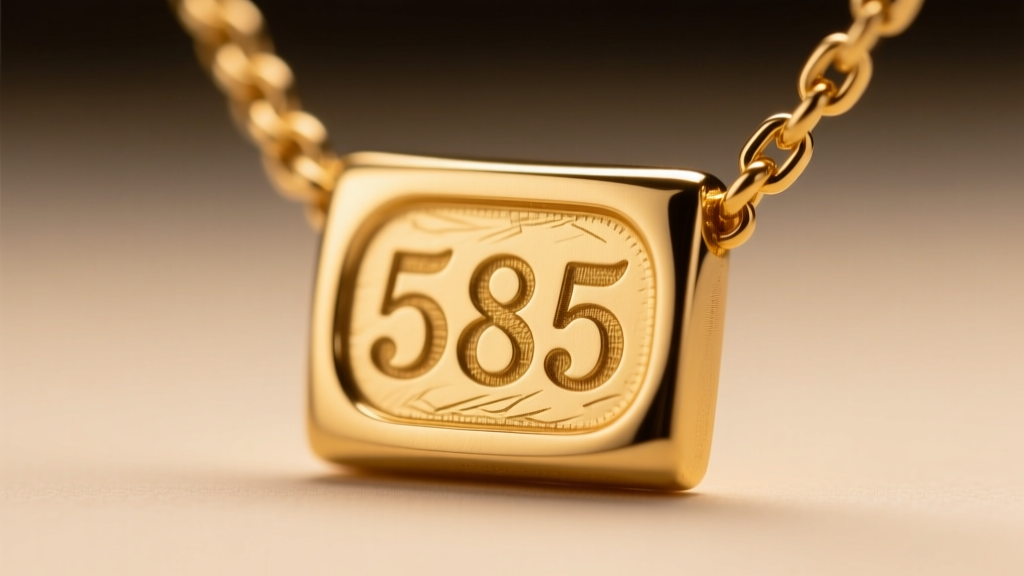
Expert Insight: Counterfeiters often stamp fake pieces with '18KGP' (Gold Plated) or '14K HGE' (Heavy Gold Electroplate). While these stamps indicate a gold surface, the core is usually brass or stainless steel. True solid gold will be stamped '14K', '18K', '585', or '750'.
To verify your piece, employ the following diagnostic steps:
- The Magnet Test: Gold is diamagnetic. Pass a strong neodymium magnet over the pendant and chain. If there is any magnetic pull, the piece contains ferrous metals and is not solid gold. (Note: The internal spring in the lobster clasp is steel and will attract the magnet; test only the chain links and pendant body).
- The Hallmark Inspection: Use a 10x jeweler's loupe to inspect the stamp on the back of the pendant or the end ring of the chain. According to the Federal Trade Commission (FTC) Jewelry Guides, official gold markings must be crisp and accompanied by a manufacturer's trademark. Blurry, shallow, or mismatched stamps are immediate red flags.
- The Ceramic Streak Test: Gently drag an inconspicuous edge of the pendant across an unglazed ceramic tile. Real gold will leave a golden-yellow streak, while gold-plated brass or copper will leave a dark, blackish-green streak.
Daily Maintenance and Preventative Protocol
Preventing damage is always more cost-effective than troubleshooting repairs. Character necklaces with complex topography—like Hello Kitty’s bow and facial contours—trap sebum, cosmetic powders, and environmental pollutants.
The Ultrasonic Cleaner Warning
Never place an enameled or micro-pavé Hello Kitty pendant in an ultrasonic jewelry cleaner. The high-frequency acoustic cavitation bubbles can easily shatter vitreous enamel and vibrate tiny gemstone accents out of their delicate bezel or prong settings.
The Safe Cleaning Method
Instead, create a cleaning bath using warm distilled water and three drops of pH-neutral, phosphate-free dish soap. Submerge the necklace for 10 minutes to loosen debris. Use an extra-soft baby toothbrush to gently agitate the crevices around the bow and the back of the pendant. Rinse thoroughly under lukewarm running water, ensuring the drain is securely plugged, and pat dry with a lint-free microfiber cloth. Store the necklace flat in an anti-tarnish flannel pouch to prevent the chain from tangling and the gold from oxidizing.


