How to Make a Light Blue Bead Necklace: Stringing Guide
Learn how to design, string, and style a custom light blue bead necklace. Step-by-step guide on wire gauges, crimping, and bead selection.

Selecting Your Light Blue Beads: Material & Grade Guide
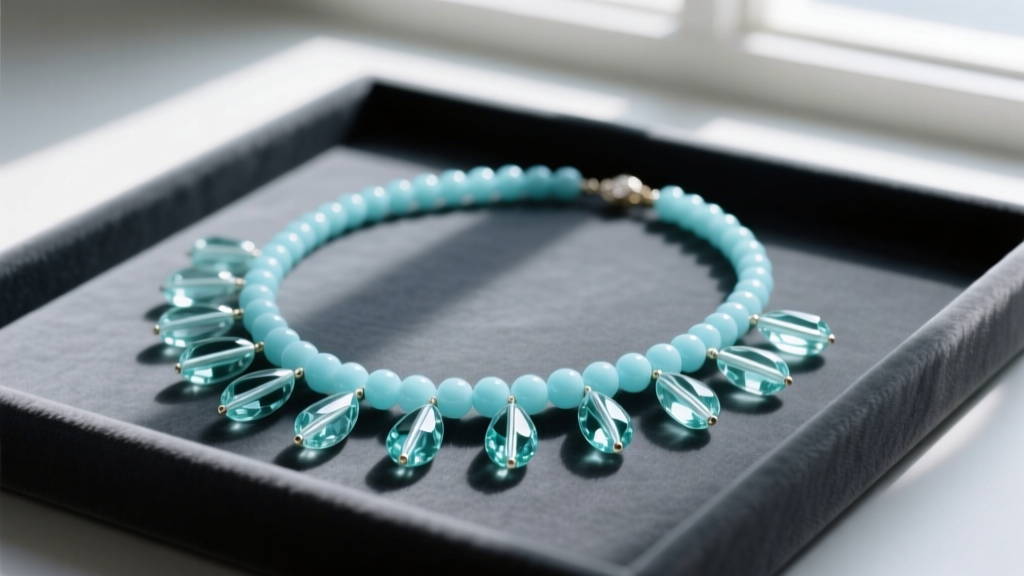
Creating a custom light blue bead necklace begins with understanding the geological and manufactured materials available. The calming, versatile hue of light blue beads makes them a staple in 2026 jewelry trends, bridging the gap between coastal summer aesthetics and quiet luxury winter layering. However, not all light blue beads are created equal. Their hardness, hole size, and weight dictate how you must string them to prevent catastrophic failure.
Gemstone Options: Aquamarine and Blue Lace Agate
Aquamarine, a beryl variety, is highly prized for its glass-like clarity and durability. According to the Gemological Institute of America (GIA), aquamarine ranks between 7.5 and 8.0 on the Mohs hardness scale. This means it resists scratching but can be brittle if struck. When sourcing aquamarine beads, look for Grade A (clean, highly saturated, faceted or smooth rondelles) versus Grade B (lighter, more inclusions, often cut as nuggets). Because gemstone drill holes are typically narrow (0.6mm to 0.8mm), you must use a fine but strong stringing material.
Blue Lace Agate, a banded chalcedony, offers a softer, opaque sky-blue appearance with white wavy inclusions. Ranking at 6.5 to 7.0 on the Mohs scale, it is slightly softer and usually features larger drill holes (0.8mm to 1.0mm), making it more forgiving for beginners.
Manufactured Options: Czech Glass and Crystal
For a more budget-friendly or highly uniform light blue bead necklace, Czech glass beads (especially in Picasso or Aurora Borealis finishes) provide exceptional color consistency. They typically feature larger, smoother holes (1.0mm+), which reduces friction and wire fatigue over time.
| Bead Material | Mohs Hardness | Avg. Hole Size | Price per 8" Strand | Best Stringing Method |
|---|---|---|---|---|
| Aquamarine (Grade A) | 7.5 - 8.0 | 0.6mm - 0.8mm | $45 - $120 | 49-Strand Wire (0.015") |
| Blue Lace Agate | 6.5 - 7.0 | 0.8mm - 1.0mm | $25 - $60 | 49-Strand Wire (0.018") |
| Czech Glass (Picasso) | 5.5 - 6.0 | 0.8mm - 1.2mm | $12 - $30 | 49-Strand or Silk Thread |
Choosing the Right Stringing Material & Hardware
The most common failure mode in DIY beaded jewelry is wire fatigue leading to snapping. For a light blue bead necklace, you need a stringing material that offers high tensile strength and flexibility.
Beading Wire: Strand Count and Diameter
Industry-standard Beadalon professional beading wire is made of stainless steel micro-strands encased in a nylon sheath. The 49-strand wire is the most flexible and drapes like silk thread, preventing the stiff, unnatural kinking seen in cheaper 7-strand or 19-strand wires.
- 0.015" (0.38mm) Diameter: Ideal for small, lightweight beads like 4mm aquamarine rondelles with tiny drill holes.
- 0.018" (0.46mm) Diameter: The versatile workhorse. Perfect for 6mm to 8mm agate or glass beads.
- 0.024" (0.61mm) Diameter: Reserved for heavy, large-format beads or chunky statement necklaces.
Findings: Crimps and Clasps
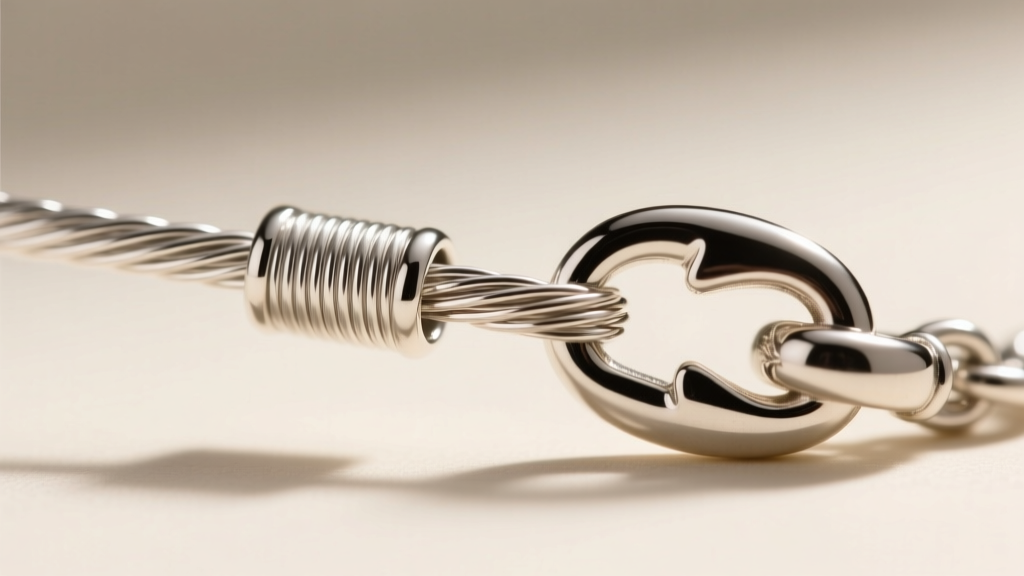
Never use round crimp beads; they are notoriously difficult to secure evenly. Instead, use 2x2mm sterling silver crimp tubes. The soft sterling silver bites into the nylon-coated wire when compressed, creating a secure lock. For clasps, a 10mm sterling silver lobster clasp is ideal for necklaces under 18 inches, while a toggle clasp is mechanically superior for heavier necklaces over 20 inches, as the weight of the beads keeps the T-bar locked in place.
Step-by-Step: Stringing and Securing Your Necklace
Follow this precise methodology to ensure your light blue bead necklace is durable, professional, and beautifully finished.
Step 1: Design Board Layout
Use a flocked bead design board to map out your pattern. If you are mixing bead sizes, place the largest beads at the center focal point and graduate down to smaller beads near the clasp. This reduces weight on the wire ends and improves the drape.
Step 2: Threading the First Crimp and Clasp
- Cut a length of 0.018" 49-strand wire about 4 inches longer than your desired finished length.
- Thread one end of the wire through a 2x2mm crimp tube, then through the jump ring of your lobster clasp.
- Loop the wire tail back through the crimp tube and the first 1.5 inches of your beads.
- Pull the wire taut, leaving no gaps between the clasp and the first bead.
Step 3: The Micro-Crimp Technique
Using micro-crimping pliers (essential for 2mm tubes), place the crimp tube in the back U-shaped notch. Squeeze firmly to create a U-channel. Move the tube to the front rounded notch, turn it 90 degrees, and squeeze again to fold the U into a tight, rounded bead. Snip the excess wire tail flush with the bead using flush cutters.
Step 4: Stringing and Finishing
String your light blue beads according to your design board layout. Once complete, thread a wire guardian (French wire) onto the end, followed by your final crimp tube and the jump ring of the tail clasp. Pull the wire tight using chain-nose pliers to eliminate any slack, crimp the tube, and snip the excess.
Troubleshooting Common Stringing Failures
Even experienced jewelers encounter hardware issues. Here is how to troubleshoot the most common problems when working with gemstone and glass beads.
Bead Hole Abrasion
Sharp-edged drill holes in lower-grade aquamarine or agate can act like tiny saws, cutting through the nylon coating of your beading wire over time. Solution: Use a diamond bead reamer to gently smooth the inside of the bead holes before stringing, or place a tiny 1mm silicone bead bumper between the gemstone and the crimp tube to absorb the friction.
Wire Kinking
If your wire kinks while pulling it through a tight bead hole, do not try to bend it back into place; the structural integrity of the micro-strands is compromised. Solution: Cut the wire at the kink and restart. To prevent this, always use a 0.015" wire for beads with holes smaller than 0.8mm.
Crimp Slippage
If your crimp tube slides down the wire when tugged, it means the metal did not bite into the nylon coating. Solution: Switch to sterling silver or argentium silver crimp tubes. Base metal or plated brass tubes are too hard and will simply crush the wire without gripping it.

How to Style and Layer Your Light Blue Bead Necklace
The true advantage of crafting your own light blue bead necklace is the ability to customize the length for specific necklines and layering configurations. In 2026, the "mixed texture" layering trend dominates, combining organic gemstone beads with polished metal chains.
Length and Neckline Pairings
- 16" (Choker/Collar): Sits tightly at the base of the neck. Ideal for open V-necks, scoop necks, or off-the-shoulder tops. Use smaller 4mm-6mm beads to avoid a bulky, choking appearance.
- 18" (Princess): Rests on the collarbone. The most versatile length, perfect for button-down shirts and crew necks. A mix of 8mm agate and silver spacer beads works beautifully here.
- 22" (Matinee): Falls between the collarbone and the bust. Excellent for layering over turtlenecks or wearing as a standalone statement piece with a simple silk blouse.
The Mixed-Metal Layering Technique
To elevate your light blue bead necklace, pair it with a 20" sterling silver or white gold satellite chain. The cool tones of silver enhance the icy, aquatic hues of aquamarine and blue lace agate. Ensure the beaded necklace is the shorter of the two layers (e.g., 16" beaded, 18" chain) to prevent the heavy beads from tangling with the delicate metal links. For a high-end finish, source your findings from reputable suppliers like Rio Grande to guarantee the silver purity and clasp tension match your premium beads.
By selecting the correct wire gauge, mastering the micro-crimp technique, and understanding the physical properties of your chosen beads, you can create a light blue bead necklace that is not only visually stunning but engineered to last a lifetime.


