Do It Yourself Necklace Hanger: Hardware Buying Guide
Discover what to buy for your do it yourself necklace hanger. Compare base materials, hook types, and anti-tarnish linings in our expert guide.
The Anatomy of a Professional Jewelry Display
Tangled chains, lost pendants, and scratched gold plating are the inevitable results of storing necklaces in a drawer or draped over a standard mirror. While commercial boutique displays offer a solution, they often come with a prohibitive price tag or are constructed from cheap, off-gassing plastics that accelerate metal tarnish. For the discerning collector, building a custom display is the ultimate solution. However, sourcing the right components for a do it yourself necklace hanger requires an understanding of material science, hardware sizing, and archival storage principles.
This buying guide cuts through the generic craft-store advice. We will explore the exact material grades, fastener specifications, and lining fabrics you need to purchase to build a hanger that rivals high-end retail fixtures in both aesthetics and functional longevity.
Base Materials: What to Buy and What to Avoid
The foundation of your display dictates its weight capacity, workability, and resistance to environmental warping. When shopping for your base, avoid standard MDF (Medium-Density Fiberboard) and extruded acrylics. MDF swells when exposed to humidity, and extruded acrylic melts and fractures when drilled. Instead, look for the following premium materials:
| Material | Best Application | Required Drill Bit | Avg. Cost (per sq ft) | Primary Failure Mode |
|---|---|---|---|---|
| Baltic Birch Plywood (1/2") | Heavy statement pieces, layered displays | Brad-point or Forstner | $8 - $12 | Edge delamination if unsealed |
| Cast Acrylic (1/4") | Modern, minimalist, floating displays | Step bit or O-flute | $15 - $22 | Micro-fractures from heat buildup |
| Powder-Coated Steel | Industrial, high-capacity wall mounts | Cobalt / Titanium HSS | $20 - $30 | Rust at unsealed drill points |
According to Wood Magazine, if you choose acrylic for a sleek, modern look, you must purchase cast acrylic rather than extruded. Cast acrylic has a higher molecular weight, allowing it to be drilled cleanly without the internal stress fractures that cause the board to snap under the weight of heavy chain necklaces.
Selecting the Right Hooks and Fasteners
The hardware store bin is where most DIY jewelry projects fail. Standard zinc-plated L-hooks or cup hooks are prone to oxidation, which can transfer rust stains directly to your silver and gold chains. Furthermore, the threads on cheap hooks are often poorly cut, leading to stripped wood or cracked acrylic.
Thread Sizes and Pilot Holes
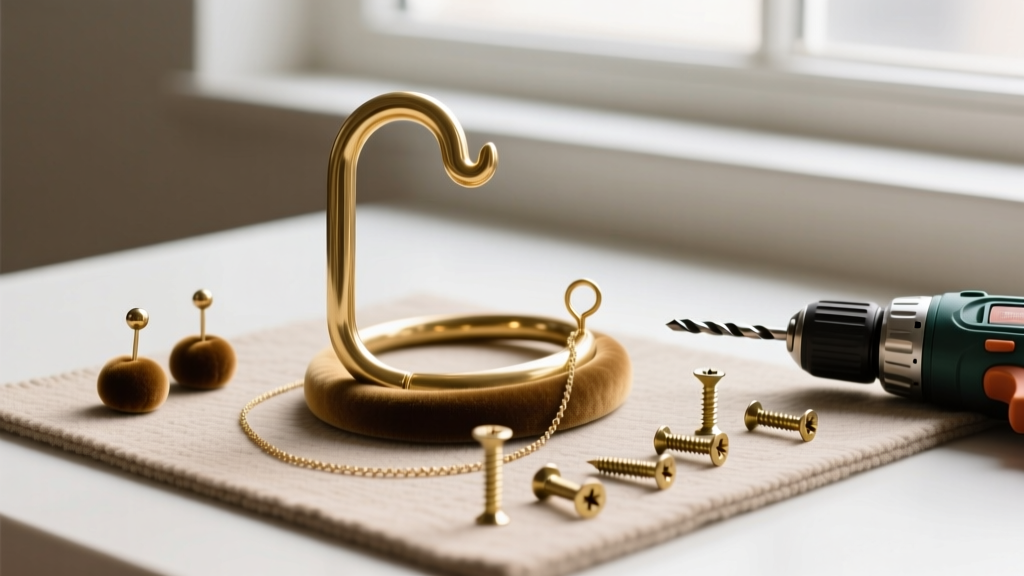
When buying L-hooks or screw-in velvet pegs, look for #4-40 or #6-32 machine screw threads. These provide superior holding power compared to standard coarse wood threads. To install them without splitting your Baltic Birch base, you must purchase a 3/32-inch brad-point drill bit to create precise pilot holes. The brad-point tip prevents the bit from wandering, ensuring your hooks are perfectly plumb and aligned.
Spacing Metrics for Different Necklace Lengths
Buy your hooks in bulk based on the specific types of necklaces you own. Use the following spacing metrics when marking your drill template:
- Chokers and Collars (14" - 16"): Space hooks 3.0 inches apart to prevent clasp overlap.
- Princess Length (18"): Space hooks 4.5 inches apart. This allows standard pendants to hang freely without tangling.
- Opera and Rope Lengths (28"+): Space hooks 6.0 to 7.0 inches apart, or install a secondary lower tier to double-wrap the chains.
Linings and Adhesives: The Hidden Tarnish Traps
A beautiful wooden hanger is useless if it chemically reacts with your jewelry. The Gemological Institute of America (GIA) notes that sulfur and acidic compounds are the primary culprits behind silver tarnish and pearl degradation. Many craft-store felts and standard wood glues off-gas these exact compounds.
What to Buy for Lining
Do not buy standard craft felt. Instead, purchase Pacific Silvercloth or archival-grade anti-tarnish flannel. These fabrics are embedded with microscopic silver particles that intercept and neutralize sulfur gases before they reach your jewelry. For the backing, buy an acid-free, lignin-free bookbinding cloth if you prefer a textured, non-metallic aesthetic.
Archival Adhesives
Avoid standard spray adhesives like 3M Super 77, which remain tacky and emit volatile organic compounds (VOCs) indefinitely. Purchase Lineco Neutral pH Adhesive or high-quality archival double-sided tape (such as 3M Scotch 415). These ensure your fabric stays bonded to the wood or acrylic base for decades without degrading or off-gassing harmful chemicals.
Sourcing Your Components: Kits vs. Individual Parts
While you can find a pre-packaged do it yourself necklace hanger kit on marketplace sites, they rarely include the premium hardware discussed above. For the best results, source your materials from specialized suppliers:
- Wood & Acrylic Bases: Local cabinet makers (for Baltic Birch offcuts) or specialized plastics suppliers like TAP Plastics.
- Brass Hardware: Marine hardware suppliers or specialized jewelry display wholesalers (e.g., Stuller or Gesswein) for solid brass, non-magnetic L-hooks.
- Linings: Conservation supply companies (like Gaylord Archival) for museum-grade anti-tarnish fabrics.
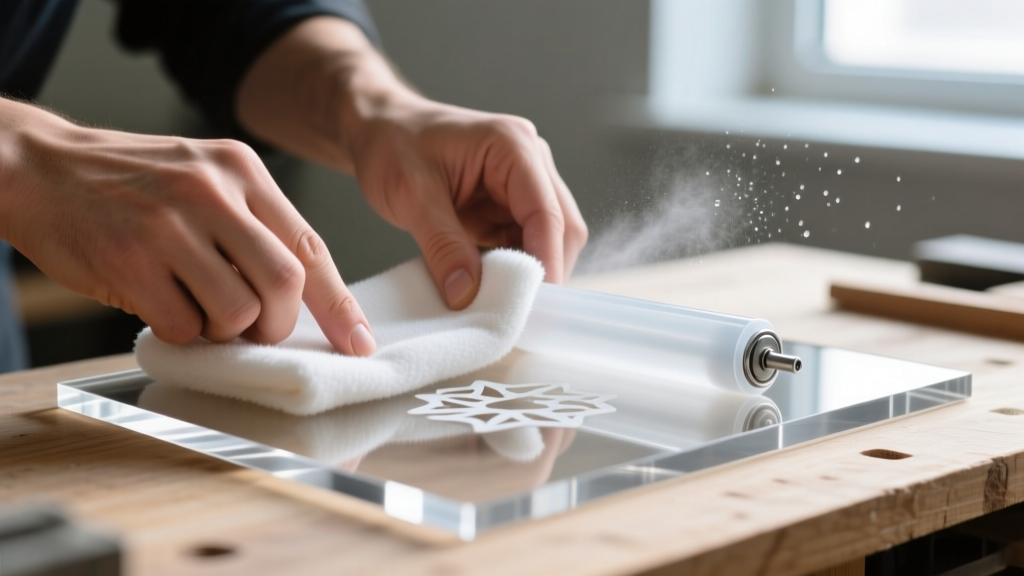
Pro-Tip for Acrylic Displays: If you are building a clear acrylic hanger, buy a set of diamond polishing pads (ranging from 50 to 3000 grit). Routing the edges of your acrylic base and polishing them to a glass-like finish elevates the piece from a simple DIY project to a luxury retail-grade display.
Final Assembly and Maintenance
Building a high-end jewelry display is an exercise in precision. By investing in cast acrylic or void-free plywood, solid brass fasteners, and museum-grade linings, your custom hanger will not only organize your collection but actively preserve it. When assembling, always dry-fit your hooks and fabrics before applying any permanent adhesive, and ensure your pilot holes are drilled perfectly perpendicular to the base. With the right materials, your custom display will serve as a functional piece of art in your dressing room for years to come.


