How to Make a Sliding Knot for Necklace: Expert Cord & Friction Guide
Master how to make a sliding knot for necklace closures with our expert guide on cord materials, friction coefficients, and fail-proof macrame techniques.

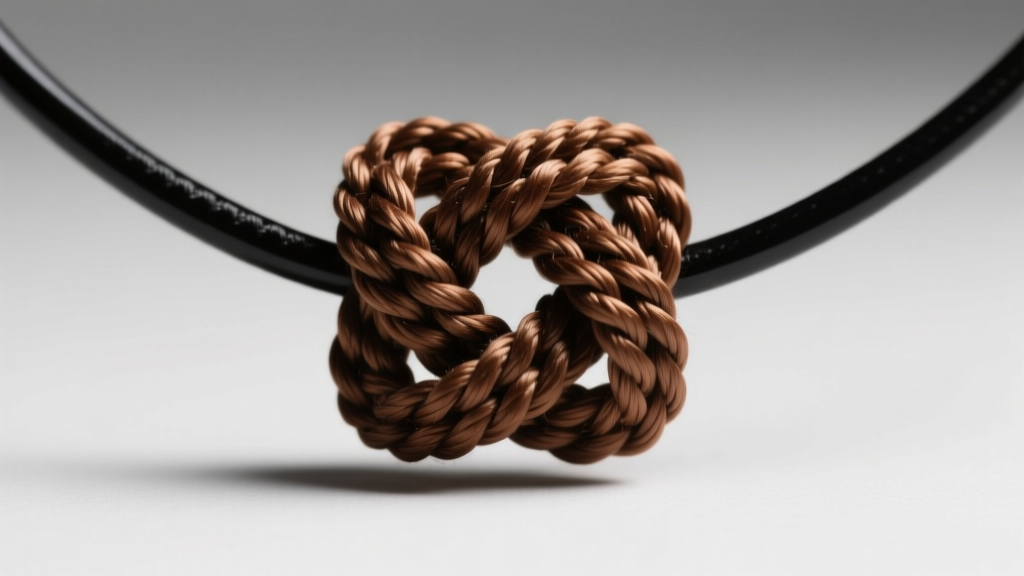
The Physics of Friction: Why Sliding Knots Fail
When learning how to make a sliding knot for necklace closures, most tutorials focus solely on the weaving pattern, ignoring the underlying physics that dictate whether the knot will hold a heavy bronze pendant or slip open and drop it. A functional sliding knot relies on the precise balance between static friction (which holds the pendant in place while worn) and kinetic friction (which allows the cord to glide when manually adjusted). If the coefficient of friction is too low, the necklace will constantly loosen under the weight of the pendant. If it is too high, the mechanism seizes, making it impossible to adjust without fraying the cord.
Professional jewelry designers do not guess when selecting materials; they engineer the closure based on the pendant's mass and the cord's surface texture. According to material testing data referenced by Fire Mountain Gems, synthetic cords like nylon and polyester offer highly consistent friction profiles, whereas natural fibers like cotton and silk are susceptible to environmental humidity, which can cause the fibers to swell and the knot to seize permanently.
Material Coefficients & Cord Selection
Choosing the right cord is the most critical step in the process. You must pair a base cord (the one that goes around the neck) with a wrapping cord (the one that forms the knot). The wrapping cord must be pliable enough to bite into the base cord but strong enough to withstand high-tension pulling.
| Cord Material | Optimal Diameter (Base/Wrap) | Friction Profile | Sealing Method | Best Application |
|---|---|---|---|---|
| Nylon (C-Lon/S-Lon) | 1.0mm / 0.5mm | High static, smooth kinetic | Thermal Melting | Heavy pendants, adjustable chokers |
| Waxed Cotton | 1.5mm / 1.0mm | Very high (prone to seizing) | Cyanoacrylate (CA) Glue | Rustic designs, lightweight beads |
| Suede/Leather | 2.0mm / 1.0mm | Variable (grain dependent) | Knotting & Glue | Chunky statement necklaces |
| Silk (Griffin) | 1.0mm / 0.5mm | Low (high slip risk) | CA Glue + Hidden Knot | Pearl strands, ultra-light pendants |
Technical Specifications: Sizing Your Cord and Beads
A common mechanical failure in DIY jewelry occurs when the ratio between the base cord and the wrapping cord is incorrect. If the wrapping cord is too thick relative to the base cord, it will not grip tightly enough, resulting in a loose, sloppy knot that slides too easily. If it is too thin, you will need an excessive number of wraps (over 15), which creates a bulky, unattractive barrel that can catch on hair or clothing.
The golden ratio for macrame sliding knots is a 3:1 or 2:1 base-to-wrap thickness ratio. For example, if you are using a 1.5mm waxed cotton base cord, your wrapping cord should be between 0.5mm and 0.75mm. Furthermore, if your design incorporates a focal bead at the bottom of the V-drop to act as a stopper, you must verify the bead's hole size. A standard 1.5mm cord requires a bead with a minimum hole diameter of 1.8mm to pass through smoothly without abrading the cord fibers, which compromises tensile strength.
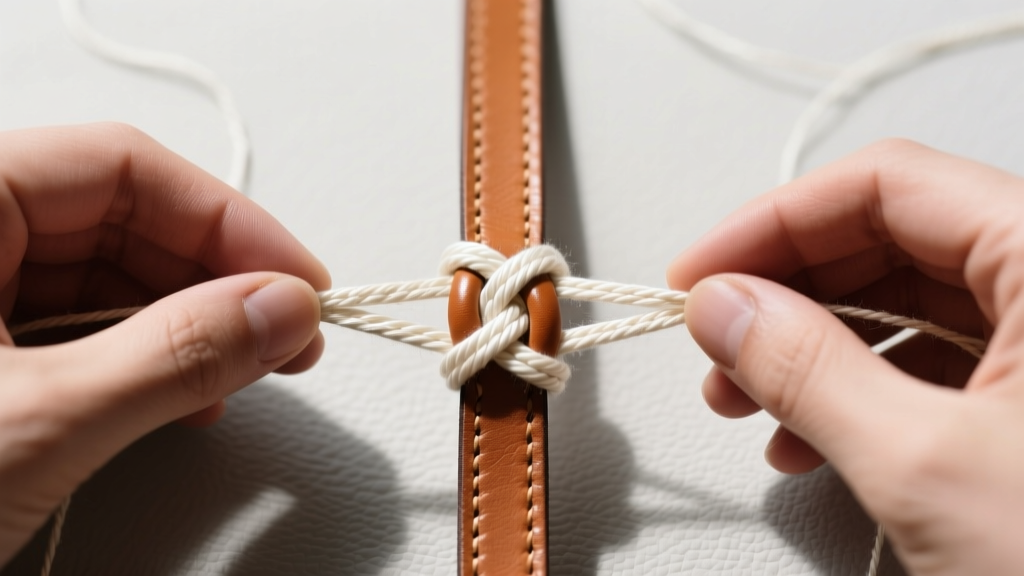
Step-by-Step: Engineering the Perfect Square Sliding Knot
The most secure and aesthetically pleasing knot for this application is the macrame square knot (alternating half-hitches). Unlike a simple wrap knot, the square knot creates a flat, symmetrical barrel that distributes tension evenly across the base cords.
The Wrapping Technique
- Anchor the Base: Lay your two base cords parallel to each other. Secure them to a macrame board or heavy clipboard to maintain a baseline tension of approximately 200 grams of pull.
- Position the Wrap: Take a 6-inch length of your wrapping cord. Lay it horizontally across the two base cords, leaving a 1.5-inch tail on the left side.
- First Half-Hitch: Take the right side of the wrapping cord, pass it under the base cords, and bring it up through the loop on the left side. Pull tight. This locks the initial position.
- Alternating Sequence: Now, take the left side of the wrapping cord, pass it under the base cords, and bring it up through the loop on the right side. Pull tight.
- Repeat for Density: Continue alternating right-under-left and left-under-right. For a 1.0mm base cord, exactly 8 to 10 complete square knots (16 to 20 half-hitches) will create a barrel approximately 12mm long, which is the optimal size for grip and ergonomics.
Locking the Mechanism
Once you reach the desired length, the structural integrity of the knot must be locked. Pull the wrapping tails tightly against the base cords. The friction of the woven nylon or cotton should hold it temporarily, but environmental factors and wear will eventually loosen it. This brings us to the finishing protocols.
Finishing Protocols: Thermal vs. Chemical Sealing
How you terminate the wrapping cord dictates the lifespan of the necklace. As noted in stringing material guidelines by Rio Grande, the chemical composition of your cord dictates your finishing method.
Thermal Melting (Synthetics Only)
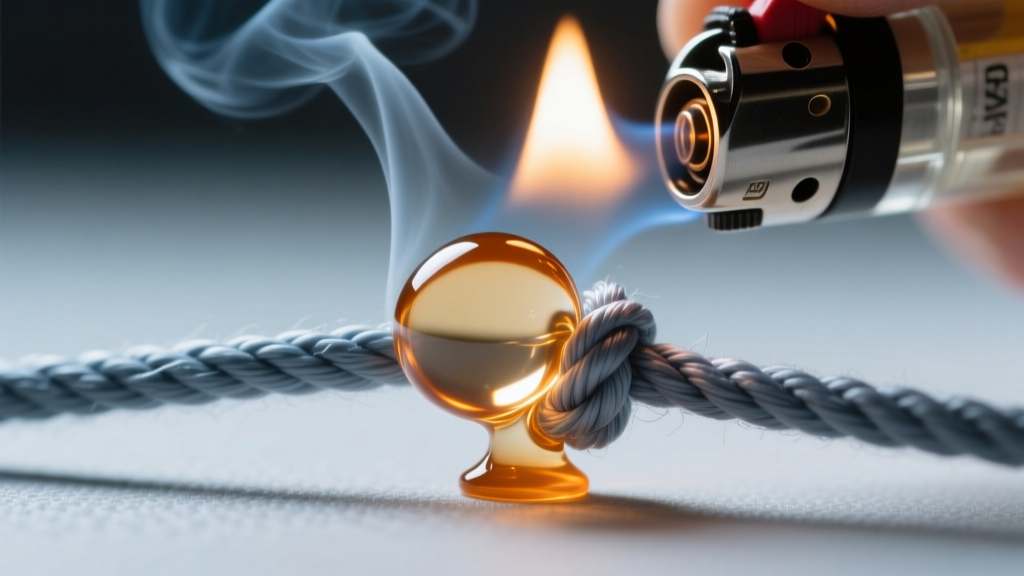
For nylon, polyester, or C-Lon cords, thermal melting is the superior method. These materials are thermoplastics that melt at approximately 250°C (482°F).
- Cut the wrapping tails leaving exactly 2mm of excess.
- Use a precision butane lighter or a specialized cord zapper tool.
- Apply the flame to the tip until it melts into a clear, spherical bead.
- Immediately press the molten bead flat against the side of the knot using a brass spoon or a silicone mat. Do not use your fingers, as the molten nylon will cause severe burns and leave fingerprint textures on the finish.
Chemical Adhesives (Naturals Only)
Cotton, silk, and leather will burn and turn to ash if exposed to a flame. For these materials, you must use a low-viscosity Cyanoacrylate (CA) glue. Apply a micro-drop of CA glue to the inside of the knot using a precision needle tip. Capillary action will draw the adhesive deep into the woven fibers, creating an unbreakable internal cast without leaving a visible, crusty residue on the surface.
Troubleshooting Common Mechanical Failures
Even with perfect technique, field testing can reveal mechanical flaws. Here is an expert troubleshooting framework for the most common sliding knot failures.
Failure Mode 1: The Knot Seizes and Will Not Slide
Diagnosis: This is almost always caused by using a heavily waxed cotton cord in a high-humidity environment, or using a wrapping cord that is too thick, creating excessive surface area contact.
Solution: Switch to an unwaxed or lightly waxed nylon cord. If you must use waxed cotton, reduce the number of square knots from 10 to 6, and gently roll the finished knot between your palms to break up the rigid wax matrix before the first use.
Failure Mode 2: The Pendant Drops Under Its Own Weight
Diagnosis: Insufficient static friction. This happens frequently when jewelers use smooth silk cords or polished leather base cords with a nylon wrap.
Solution: You must increase the bite. Add a micro-bead (like a 2mm seed bead) onto the base cords right next to the sliding knot, or switch to a textured base cord like suede. Alternatively, increase the wrap density by adding 4 more half-hitches to the barrel.
Failure Mode 3: The Wrapping Cord Frays at the Edges
Diagnosis: Improper cutting or failure to seal the ends properly. Using dull scissors crushes the synthetic fibers rather than slicing them, leading to micro-fraying that worsens with friction.
Solution: Always use flush cutters or thread-burning scissors (which cauterize as they cut) for synthetic cords. Ensure your thermal melt bead is fully flattened and fused to the adjacent cord, leaving no sharp edges to catch on the wearer's skin or clothing.
Mastering how to make a sliding knot for necklace designs is an exercise in material science as much as it is in craftsmanship. By respecting the friction coefficients of your chosen fibers, maintaining strict dimensional ratios, and executing flawless finishing protocols, you elevate a simple craft project into a piece of durable, professional-grade jewelry.


