Build a Custom DIY Necklace Organizer: Technical Guide
Master the craft of building a custom DIY necklace organizer. Learn wood acidity, archival sealing, and spatial geometry to protect fine jewelry.

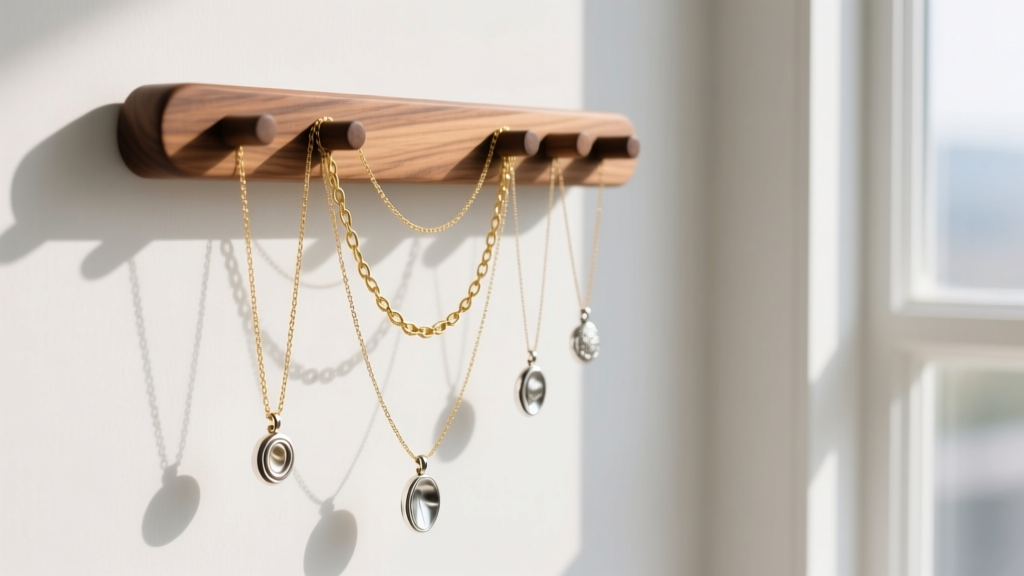
Most online tutorials for building a DIY necklace organizer focus entirely on aesthetics, treating the project as a simple weekend craft. However, from a metallurgical and archival perspective, storing fine jewelry on untreated or improperly sealed wood is a recipe for accelerated tarnish, galvanic corrosion, and physical damage. As a jewelry conservationist and woodworker, I approach the design of a necklace organizer not just as a display piece, but as a micro-climate storage vault. This guide provides the technical specifications, material science, and spatial geometry required to build an organizer that actively preserves your gold, silver, and gemstone pendants.
The Metallurgy of Storage: Why Most DIY Organizers Damage Jewelry
Silver tarnish is a chemical reaction where silver reacts with hydrogen sulfide (H2S) or sulfur dioxide (SO2) in the presence of moisture to form silver sulfide (Ag2S). While many DIYers blame ambient humidity, the hidden culprit is often the wood itself. According to the Canadian Conservation Institute, many common woods emit volatile organic compounds (VOCs), specifically acetic and formic acids, which drastically accelerate the corrosion of silver and copper alloys.
Furthermore, using standard steel hardware (like zinc-plated screw hooks) in close proximity to gold or silver chains can trigger galvanic corrosion in high-humidity environments like bathrooms or coastal bedrooms. To build a true archival-grade DIY necklace organizer, we must neutralize these chemical threats through rigorous material selection and sealing protocols.
Material Selection Matrix: Woods, Sealants, and Linings
The foundation of your organizer dictates its chemical safety. Avoid Medium Density Fiberboard (MDF) and standard plywoods at all costs; the urea-formaldehyde resins used in their manufacturing continuously off-gas corrosive acids for years. Instead, opt for solid, kiln-dried hardwoods.
| Wood Species | Acid Off-Gassing Level | Archival Suitability | Estimated Cost (Board Foot) |
|---|---|---|---|
| Red Oak | High (Tannic & Acetic) | Poor (Causes rapid silver sulfide formation) | $4.00 - $6.00 |
| Aromatic Cedar | Very High | Unacceptable (Oils degrade pearl nacre) | $5.50 - $8.00 |
| Hard Maple | Low | Excellent (Dense, easily sealed) | $7.00 - $9.50 |
| Black Walnut | Low to Moderate | Good (Requires 100% edge sealing) | $12.00 - $18.00 |
For sealing, avoid oil-based polyurethanes, which can take months to fully cure and stop off-gassing. Use a high-quality, water-based acrylic sealer like Minwax Polycrylic. Apply a minimum of three coats, paying special attention to the end-grain, which acts like a bundle of microscopic straws, absorbing ambient moisture and expelling internal wood acids.
Engineering the Layout: Load-Bearing and Spatial Geometry
A common failure mode in DIY jewelry boards is pendant overlap, which leads to chain tangling and gemstone scratching. Spatial geometry must be calculated based on the maximum lateral swing of a pendant.
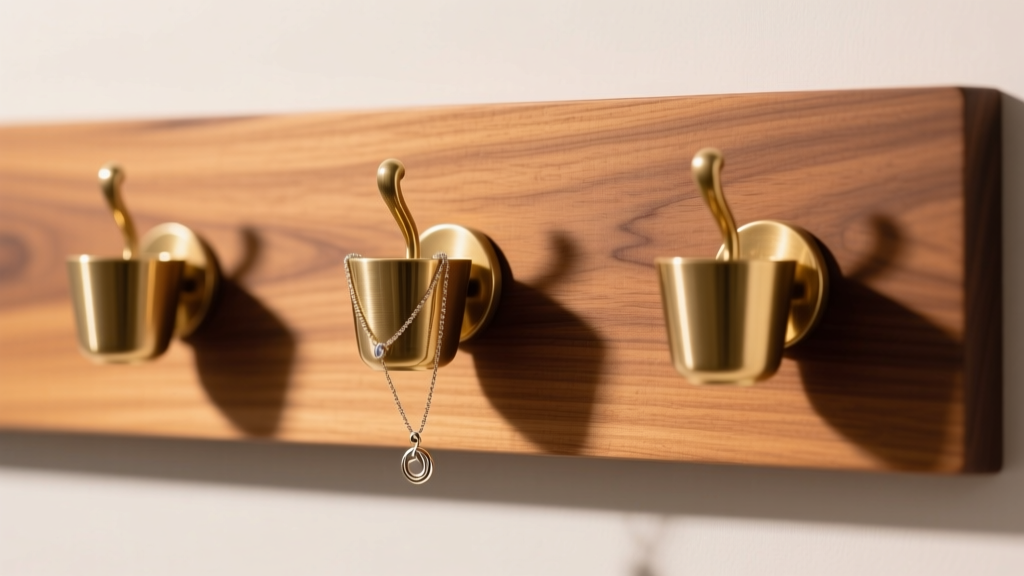
Hook Hardware Specifications
Do not use standard steel cup hooks. You must source solid brass cup hooks (typically #8 or #10 thread size, with a 1/2-inch shank). Brass is highly resistant to rust and will not induce galvanic corrosion against precious metals. Brands like Hillman offer solid brass variants that are essential for this build.
- Standard Chains (16" - 18"): Require a minimum lateral spacing of 3.5 inches between hook centers to prevent clasp tangling.
- Statement Pendants (24"+ with wide stones): Require 5.0 to 6.0 inches of lateral clearance.
- Vertical Drop Clearance: Ensure at least 22 inches of vertical space below the hook row to accommodate long opera-length chains without them resting on the shelf or floor below.
Pro-Tip: Pre-drill your hook holes using a 3/32-inch brad-point drill bit. Driving a brass screw directly into hardwood without a pilot hole will almost certainly snap the soft brass shank, leaving a broken screw embedded in your board.
Step-by-Step Assembly and Archival Sealing
Follow this precise workflow to ensure a museum-quality finish:
- Milling and Sanding: Progress through 120, 150, and 220-grit sandpaper. Finish with 320-grit for a glass-smooth surface that won't snag delicate silk cords or thin chains.
- Dust Extraction: Wipe the board down with a mineral-spirit-dampened tack cloth. Do not use water, which raises the wood grain.
- Sealing Phase 1: Apply the first coat of water-based polyurethane to the end-grain only. Let it absorb for 15 minutes, then wipe off excess.
- Sealing Phase 2: Apply two full coats to all surfaces (front, back, and edges), sanding lightly with 400-grit paper between coats.
- Hardware Installation: Mark your hole centers using a digital caliper for exact spacing. Drill pilot holes to a depth of 5/8-inch. Thread the solid brass hooks in by hand using a small dowel for leverage to avoid marring the brass.
- Archival Lining (Optional but Recommended): For ultimate protection against airborne sulfur, adhere strips of Pacific Silvercloth to the back of the board or behind the hook zone using archival-grade double-sided tape.
Mounting and Structural Integrity
A solid hardwood board loaded with heavy silver chains and gemstone pendants can easily exceed 15 pounds. Standard plastic drywall expansion anchors will fail over time due to the constant downward shear force. You must use 18-8 stainless steel toggle bolts or heavy-duty strap toggles rated for at least 50 lbs per anchor in 1/2-inch drywall. If mounting to a masonry wall, use lead sleeve anchors with stainless steel pan-head screws.
Troubleshooting Common DIY Failures
Even with careful planning, issues can arise. Here is how to diagnose and fix them:
- Failure: Clasps keep slipping off the hooks.
Diagnosis: The cup hook opening is too wide, or the board is vibrating from nearby foot traffic.
Solution: Use needle-nose pliers with rubber-dipped jaws to gently bend the tip of the brass hook inward, reducing the gap to roughly 2mm—just enough for a spring ring or lobster clasp to pass through. - Failure: Silver jewelry tarnishes despite sealing.
Diagnosis: Incomplete sealing of the wood's back panel or end-grain, allowing acidic off-gassing to wrap around the board.
Solution: Remove the board, apply two additional coats of polyurethane to the back, and mount a sheet of activated carbon fabric behind the organizer to absorb ambient VOCs. - Failure: Wood warping or bowing.
Diagnosis: Asymmetrical sealing. If you sealed the front but neglected the back, the wood absorbs moisture unevenly and cups.
Solution: Always seal all six faces of a solid wood panel with the exact same number of coats to balance the moisture vapor transmission rate (MVTR).
Conclusion
Building a DIY necklace organizer is an exercise in applied material science. By understanding the chemical interactions between wood acids, ambient humidity, and precious metals, you elevate a simple woodworking project into a professional-grade conservation tool. Invest in solid hardwoods, solid brass hardware, and meticulous sealing techniques, and your custom organizer will protect and display your necklace collection flawlessly for decades.


