2026 Gift Guide: Crafting the Perfect DIY Necklace Stand
Discover the ultimate 2026 gift guide for crafting a custom DIY necklace stand. Learn material grades, weight ratios, and occasion-matching designs.
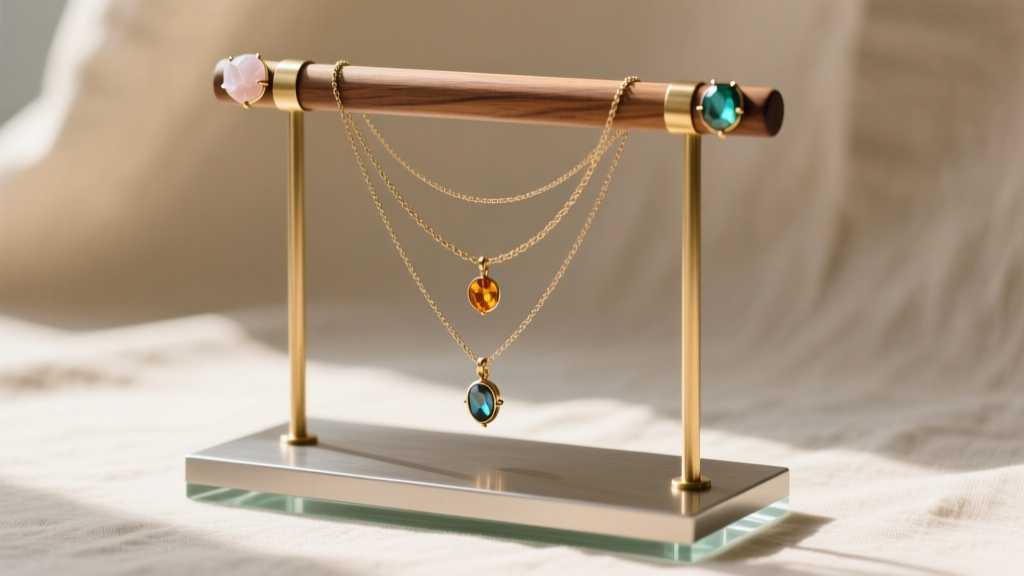
The Thoughtful Art of Gifting Custom Jewelry Storage
Gifting a beautiful piece of jewelry is a timeless gesture, but pairing it with a custom, handcrafted display elevates the present from a simple accessory to a curated experience. In our 2026 gift guide, we are focusing on the highly personal and deeply practical diy necklace stand. When you build a display tailored to your recipient's specific collection and aesthetic, you demonstrate an intimate understanding of their style.
However, crafting a functional jewelry display requires more than just gluing a dowel to a block of wood. Heavy statement chains exert lateral torque, delicate pendants require specific rod diameters to prevent snagging, and the base must possess the correct mass to prevent tipping. This guide will walk you through the engineering, material selection, and occasion-matching strategies required to build a professional-grade necklace display from scratch.
Matching the DIY Necklace Stand to the Occasion
The materials you choose should reflect the milestone you are celebrating. A display meant for a 10th wedding anniversary should communicate permanence and luxury, while a graduation gift might lean toward modern industrial minimalism.
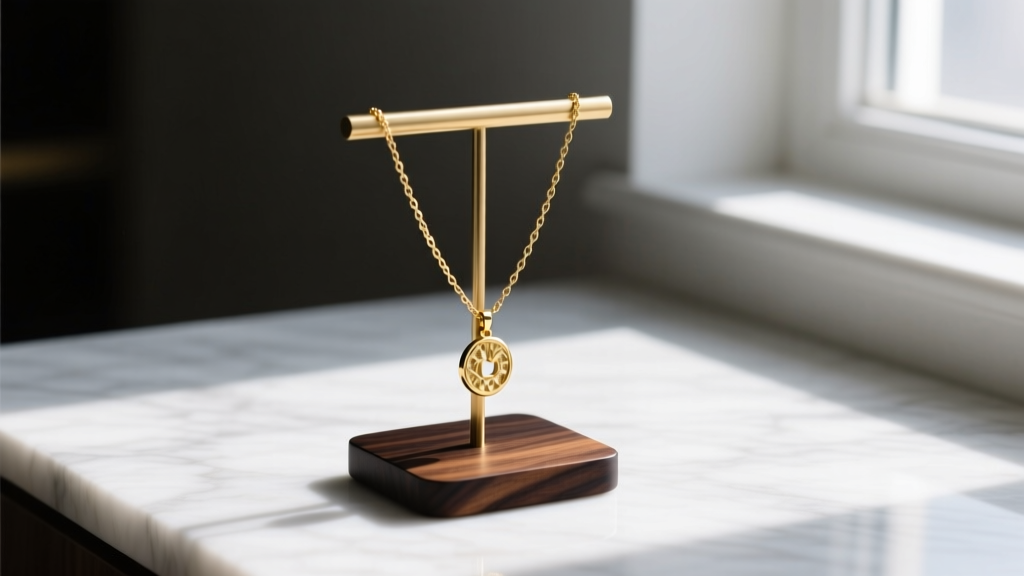
Anniversaries & Milestones: The Hardwood & Brass T-Bar
For major milestones, opt for dense, dark hardwoods paired with polished metals. Black Walnut or Wenge wood provides a rich, dark canvas that makes gold and rose-gold chains pop. Pair this with a 12-gauge solid brass rod. The warmth of the brass complements the deep brown tones of the walnut, creating a display that looks like a high-end boutique fixture. To add a tactile luxury element, line the bottom of the wooden base with a 2mm thick adhesive-backed velvet pad in charcoal or navy.
Birthdays & Graduations: The Minimalist Concrete & Copper Display
For younger recipients or those with a contemporary, eclectic style, a mixed-media approach works beautifully. Casting a base out of high-density architectural concrete provides a cool, matte-grey foundation. When paired with a bent, 10-gauge raw copper wire T-bar, the display achieves an industrial-chic aesthetic. Over time, the copper will develop a natural patina, making the stand a living piece of art that evolves alongside the wearer's jewelry collection.
Engineering Stability: Material Specs and Base Weight
The most common failure mode of a homemade jewelry display is tipping. When a heavy, 150-gram gemstone pendant is draped over one side of a T-bar, it shifts the center of gravity. To counteract this, the base must be sufficiently dense. According to The Wood Database, different wood species offer vastly different densities and Janka hardness ratings, which dictate both the weight and the durability of the base.
| Material | Janka Hardness (lbf) | Avg. Weight (lbs/in³) | Best Occasion |
|---|---|---|---|
| Black Walnut | 1,010 | 0.022 | Anniversaries, Weddings |
| Hard Maple | 1,450 | 0.026 | Everyday Wear, Birthdays |
| Architectural Concrete | N/A (Compressive) | 0.052 | Modern/Industrial Gifts |
| Acrylic (Cast) | N/A (Shore D) | 0.021 | Teen Gifts, Minimalist |
Pro-Tip: For a standard 8-inch tall wooden stand, the base should be at least 5 inches wide and 1.5 inches thick to ensure a stable footprint that resists lateral pulling.
Sizing the T-Bar: Gauge Thickness vs. Chain Types
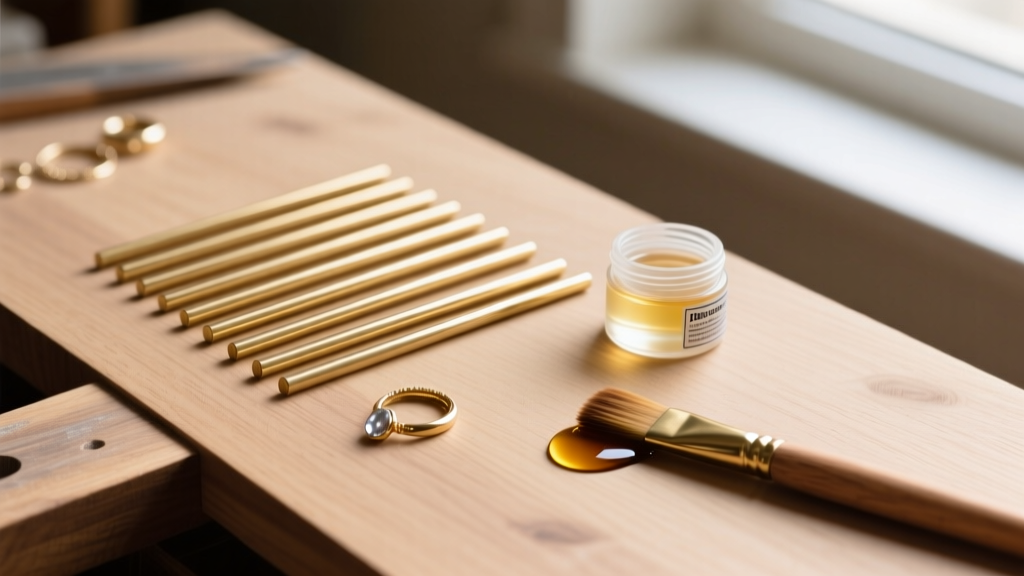
The horizontal bar of your diy necklace stand must be sized according to the chains the recipient wears most often. If the rod is too thick, delicate chains will stretch or snag; if it is too thin, heavy chains will cause the rod to bow or bend. Jewelry suppliers like Rio Grande utilize the American Wire Gauge (AWG) system, which is crucial for selecting the right metal rod.
- 12 AWG (2.05mm): Ideal for heavy statement pieces, thick Cuban link chains, and large gemstone pendants. Provides maximum structural rigidity.
- 14 AWG (1.63mm): The versatile middle-ground. Perfect for standard 2mm to 4mm rope chains, box chains, and medium-weight lockets.
- 16 AWG (1.29mm): Best reserved for delicate 1mm cable chains, thin serpent chains, and lightweight solitaire pendants.
When bending your metal rod into an inverted 'U' or 'T' shape, ensure the horizontal span is between 6 and 8 inches. This width allows standard 18-inch chains to drape naturally without bunching at the center.
Assembly and Adhesives: Avoiding Structural Failure
Do not use cyanoacrylate (standard super glue) or hot glue to attach the metal rod to the base. These adhesives are brittle and will snap under the sheer force of a heavy necklace being removed from the stand. Instead, drill a 1/2-inch deep hole into your base using a bit that matches the exact diameter of your rod. Fill the hole with a high-quality, two-part metal epoxy (such as Loctite Epoxy Metal/Concrete), insert the rod, and let it cure for a full 24 hours. This creates a bond with a shear strength exceeding 3,000 PSI, ensuring the stand will last a lifetime.
Finishing Techniques for Long-Lasting Displays
The finish you apply to a wooden base is critical for jewelry safety. Avoid standard polyurethane varnishes, which can remain slightly tacky in humid environments and potentially transfer chemicals to delicate gold vermeil or silver chains. Instead, use pure Tung oil or a hard wax oil like Rubio Monocoat. These penetrating oils cure to a hard, completely matte, and non-tacky finish that protects the wood while remaining entirely inert to precious metals.
Always sand your wooden base up to 400-grit before applying oil. This closes the wood pores, creating a glass-like surface that prevents microscopic splinters from catching on fine mesh or snake chains.
Packaging Your DIY Necklace Stand for Gifting
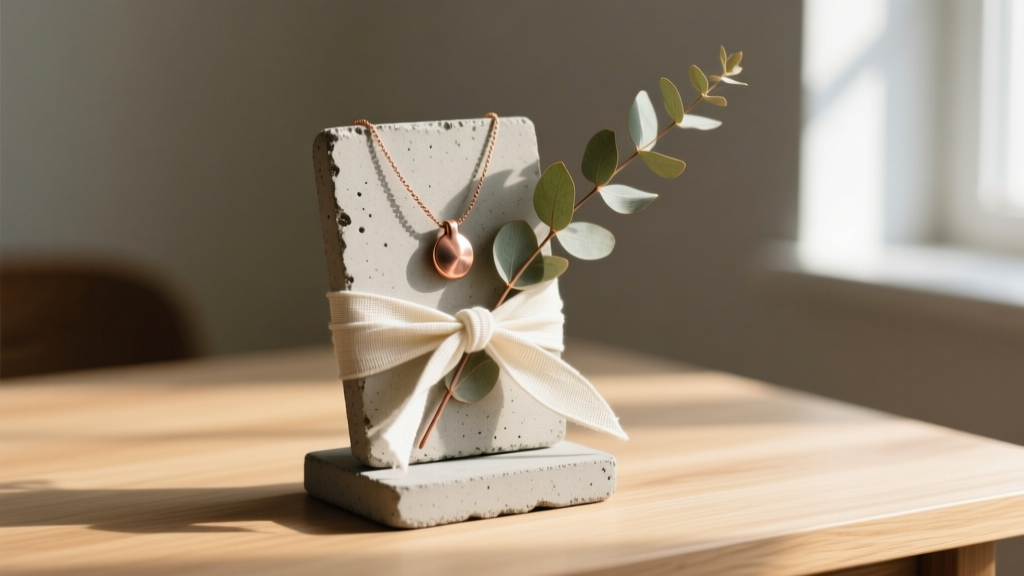
Presentation is the final step in the gifting process. Wrap the finished stand in unbleached linen or raw cotton fabric, securing it with a simple jute or silk ribbon. Tuck a sprig of dried eucalyptus or lavender under the ribbon for a subtle, luxurious fragrance. Include a small, handwritten care card explaining the materials used—such as the specific wood species and the gauge of the metal—as this highlights the bespoke nature of your gift and adds immense sentimental value.
Conclusion
Building a diy necklace stand is a rewarding project that merges woodworking, metalworking, and thoughtful gift-giving. By paying close attention to material density, wire gauges, and non-reactive finishes, you can create a functional piece of art that perfectly complements your loved one's jewelry collection. Whether for a milestone anniversary or a milestone birthday, a custom-crafted display proves that the most meaningful gifts are those built with intention and precision.


