How to Craft a Realistic Polymer Clay Cookie Necklace
Learn how to craft a realistic polymer clay cookie necklace. Step-by-step guide covering clay conditioning, baking, sealing, and hardware assembly.

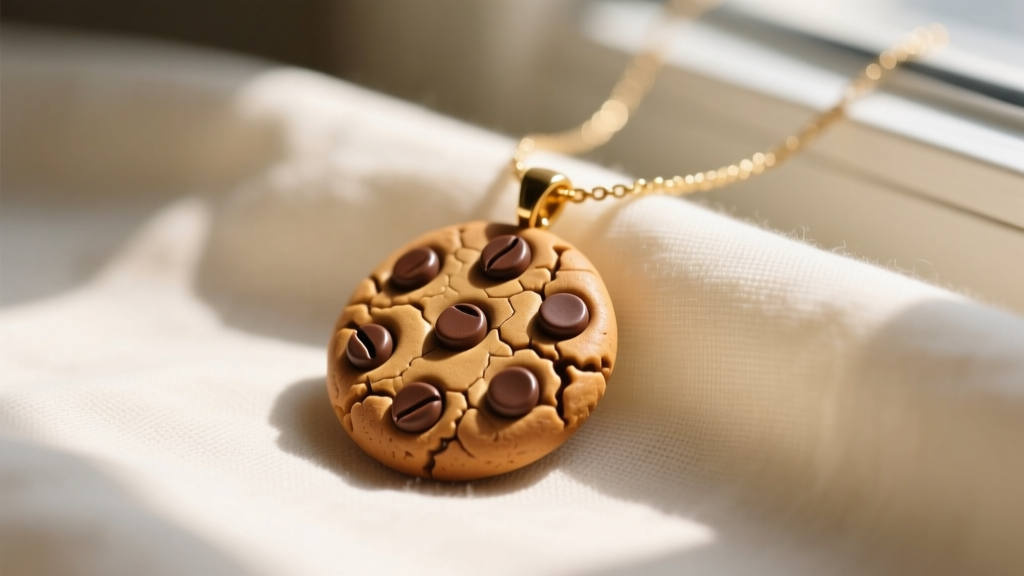
Novelty jewelry has experienced a massive renaissance in the artisan market, evolving far beyond cheap, mass-produced plastics. Today, a meticulously crafted cookie necklace is a statement piece that blends whimsical aesthetics with serious jewelry-making techniques. Whether you are designing for an indie boutique or creating a personalized gift, the difference between a child's craft project and a premium, $45-to-$85 artisan accessory lies entirely in material science, precision baking, and hardware engineering.
In this comprehensive guide, we will walk through the exact steps to sculpt, cure, seal, and assemble a hyper-realistic polymer clay cookie pendant. We will cover specific clay grades, exact oven temperatures, and the structural hardware required to ensure your necklace withstands daily wear without cracking or breaking.
Essential Materials and Hardware Specifications
Before beginning, you must select the correct polymer clay brand and jewelry hardware. Polymer clay is a PVC-based modeling material that requires precise heat to fuse its plasticizers. Using the wrong chain weight or jump ring gauge is the number one reason handmade pendants fail.
| Material / Brand | Specification / Grade | Best Application | Approx. Cost |
|---|---|---|---|
| Sculpey Premo | Professional Grade (275°F / 135°C) | Opaque, matte cookie bases with high durability | $3.50 / 2oz |
| Fimo Professional | Firm Grade (230°F / 110°C) | Crisp edges, detailed shortbread textures | $4.25 / 2oz |
| UV Resin (Hard) | Jewelry Grade (e.g., Resin Obsession) | High-gloss "glaze" or icing effects | $15.00 / 100g |
| Jump Rings | 18-Gauge (1.0mm), 5mm OD, Sterling Silver | Heavy-duty attachment to prevent pull-through | $0.40 / each |
For the chain, opt for an 18-inch sterling silver cable or box chain (1.2mm to 1.5mm width). Anything thinner will look disproportionate to a 1.25-inch cookie pendant and may snap under the weight of the clay and resin.
Step 1: Conditioning and Sculpting the Cookie Base
Start by conditioning your chosen polymer clay. Run the clay through a pasta machine on the thickest setting (usually #1) about 15 to 20 times until it is completely smooth and pliable. This aligns the polymer molecules and prevents post-bake cracking.
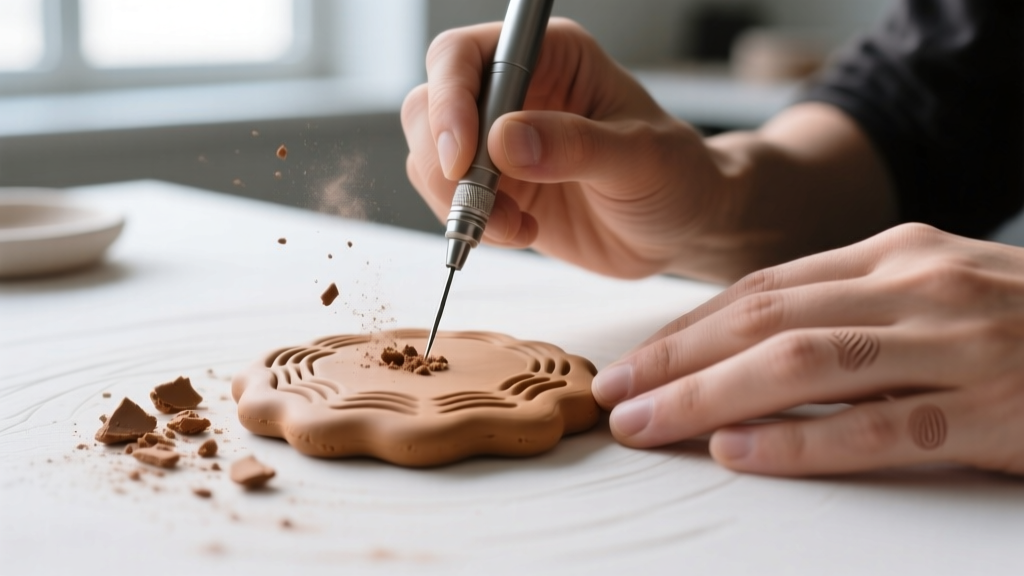
Once conditioned, cut out a 1.25-inch circle using a stainless steel clay cutter. To achieve a realistic, uneven baked edge, gently pinch the perimeter of the circle with your fingertips. For the classic chocolate chip cookie texture, crumple a small piece of aluminum foil into a tight ball and lightly press it across the surface of the clay. This creates microscopic crags and bumps that mimic real baked dough.
Next, roll tiny, irregular teardrop shapes from dark brown or black clay to serve as chocolate chips. Press them firmly into the base, using a needle tool to rough up the edges where the "chips" meet the "dough." This mechanical bond is crucial; if the chips are merely laid on top, they will pop off during the curing process.
Step 2: Precision Baking and Curing
Baking polymer clay is not like baking food; it is a chemical curing process. Underbaking results in a brittle pendant that will shatter if dropped, while overbaking will scorch the clay and release toxic hydrogen chloride gas. Always use a standalone oven thermometer to verify your oven's true temperature, as built-in dials are notoriously inaccurate.
- Temperature: Set your oven to 275°F (135°C) for Sculpey Premo.
- Time: Bake for 45 minutes. While the package says 30 minutes per 1/4 inch, artisan jewelers extend the bake time to ensure complete fusion for wearable items.
- Tenting: Create a "tent" out of aluminum foil and place it over the clay. This prevents the heating element's direct radiant heat from scorching the surface of your cookie.
Once the timer goes off, leave the pendant in the oven as it cools down to room temperature. This gradual cooling process (annealing) reduces internal stress and maximizes the clay's flexibility.
Step 3: Sealing, Glazing, and Hardware Assembly
Raw polymer clay is slightly porous and can absorb skin oils and dirt over time. Furthermore, a cookie necklace often requires a glossy finish to mimic a sugar glaze or a matte finish to look like a rustic shortbread.
For a glazed look, apply a thin layer of jewelry-grade UV resin using a silicone brush and cure it under a 36W UV lamp for 60 seconds. For a matte, realistic baked look, brush on two thin coats of water-based polyurethane (such as Varathane Crystal Clear), allowing 4 hours of dry time between coats.
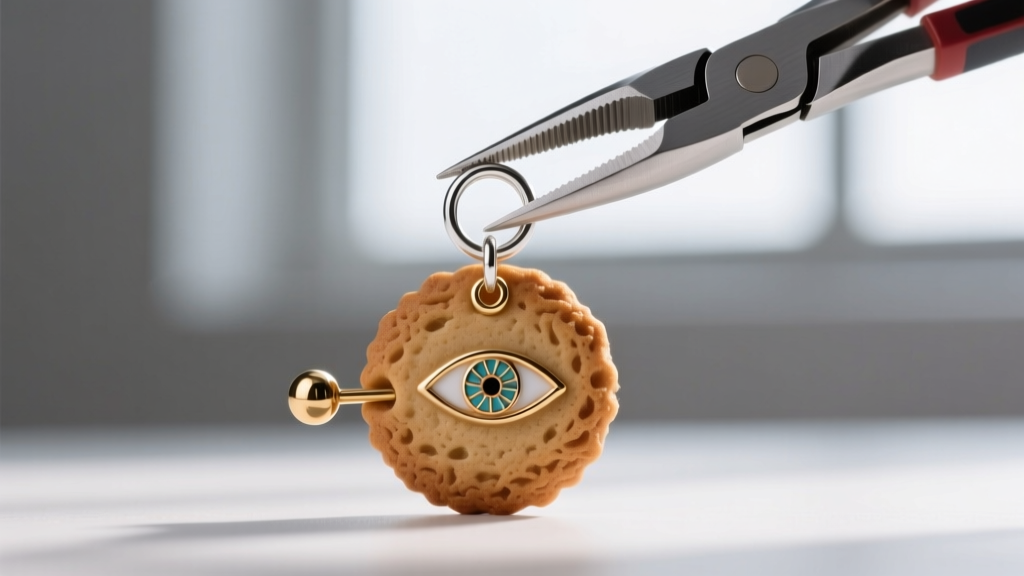
For hardware assembly, avoid gluing a metal bail directly to the clay, as cyanoacrylate (Super Glue) degrades over time and will fail. Instead, use a 1.5mm diamond core drill bit to drill a hole 3mm down from the top edge of the pendant. Thread a 5mm, 18-gauge sterling silver jump ring through the hole. According to Rio Grande's jewelry making resources, 18-gauge wire provides the necessary shear strength to support heavy clay pendants without warping or pulling through the clay body. Use two pairs of flat-nose pliers to twist the jump ring closed laterally—never pull it apart outward, which compromises the circular tension.
Troubleshooting Common Polymer Clay Failures
Even experienced jewelers encounter issues when working with polymer clay. Here is how to troubleshoot the most common failure modes:
- Brittleness and Snapping: This is almost always caused by underbaking. If your cookie snaps cleanly in half, your oven was likely running 15-20 degrees cooler than the dial indicated. Recalibrate with a thermometer and bake longer.
- Sticky Resin Finish: If your UV resin remains tacky, it either wasn't exposed to enough UV light, or the ambient humidity in your workspace was above 60%, which inhibits the curing reaction.
- Jump Ring Pull-Through: If the chain rips through the top of the cookie, your clay was rolled too thin (less than 1/8 inch) or the hole was drilled too close to the edge. Always maintain at least a 3mm margin from the edge.
Styling and Layering Your Finished Cookie Necklace
A cookie necklace is inherently playful, but it can be styled to look incredibly chic when layered correctly. The key to styling novelty pendants is to balance the whimsy with minimalist, high-quality metals.
Wear your 18-inch cookie pendant as the focal point, and layer it with a delicate 16-inch sterling silver herringbone chain and a 20-inch matte gold paperclip chain. This staggered length technique draws the eye downward and frames the pendant beautifully against a simple crew-neck t-shirt or a lightweight cashmere sweater. Avoid wearing it with busy, patterned clothing, as the intricate textures of the clay and resin need negative space to truly stand out.
By mastering these material specifications and assembly techniques, you elevate the humble cookie necklace from a simple craft into a durable, retail-ready piece of artisan jewelry that will be cherished for years to come.


