How to Make Resin Necklaces: The Ultimate DIY Gift Guide
Learn how to make resin necklaces for every occasion. This DIY gift guide covers epoxy vs. UV resin, embedments, and hardware for personalized pendants.

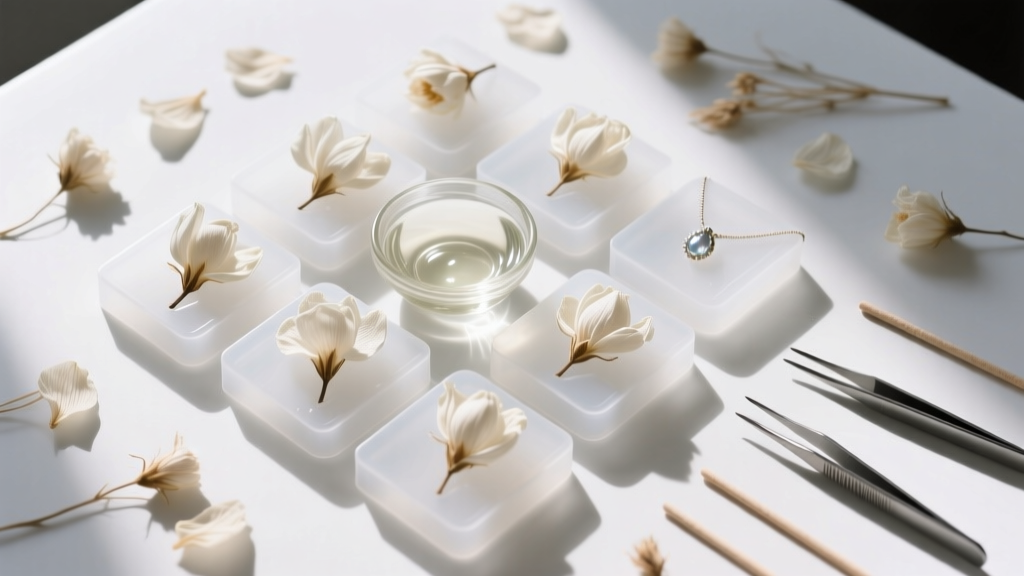
Handmade jewelry carries an emotional weight that mass-produced accessories simply cannot replicate. When you learn how to make resin necklaces, you unlock the ability to encapsulate memories, preserve fleeting moments, and craft deeply personalized gifts. Whether you are preserving a bride's wedding bouquet, embedding crushed birthstones for a milestone birthday, or creating a memorial piece, resin jewelry offers a glass-like finish that protects and highlights your chosen inclusions. This comprehensive guide will walk you through the material science, occasion-specific design strategies, and technical finishing processes required to craft professional-grade resin pendants for your loved ones.
Why Handmade Resin Pendants Make the Perfect Gift
The appeal of gifting a handmade resin necklace lies in its bespoke nature. Unlike traditional metal stamping or gemstone setting, resin acts as a transparent canvas. It allows you to suspend real-world objects—dried florals, sea glass, metallic foils, or even handwritten notes—within a durable, wearable format. From a gifting perspective, this means you can tailor the pendant to the recipient's specific life events. A 2026 trend in artisanal gifting has heavily leaned toward 'memory preservation,' where the physical embedment holds as much value as the jewelry itself. Furthermore, crafting these pieces at home allows for precise control over the scale, color palette, and chain pairing, ensuring the final necklace aligns perfectly with the recipient's personal style and neckline preferences.
Material Science: Epoxy vs. UV Resin for Jewelry
Before you begin pouring, you must select the correct resin medium. The two primary types used in jewelry making are two-part epoxy resin and UV-curing resin. Understanding their chemical behaviors is critical for avoiding cloudy finishes, sticky surfaces, or trapped micro-bubbles.
| Feature | Two-Part Epoxy Resin | UV Resin |
|---|---|---|
| Curing Mechanism | Chemical reaction (1:1 ratio) | Ultraviolet light exposure (36W+ lamp) |
| Working Time | 30-45 minutes | Unlimited (until exposed to UV) |
| Cure Time | 24 to 72 hours | 2 to 5 minutes per layer |
| Best For | Deep molds, large floral inclusions | Shallow bezels, quick layering, small charms |
| Bubble Release | Excellent (bubbles rise naturally) | Poor (thick layers trap bubbles) |
For deep pendant molds or preserving bulky items like dried roses, a high-quality, non-toxic epoxy like ArtResin is the industry standard. According to the ArtResin Jewelry Guide, maintaining an ambient room temperature between 75°F and 85°F (24°C-29°C) is vital for proper epoxy curing. Conversely, UV resin is ideal for quick, multi-layered designs in shallow metal bezels, provided you apply it in thin coats of no more than 3mm to prevent heat spikes and trapped air.
Occasion-Specific Designs: How to Make Resin Necklaces
Matching the resin design to the occasion elevates the piece from a simple craft to a cherished heirloom. Here is how to approach specific gifting scenarios.
Weddings and Anniversaries: Floral Preservation
Preserving a wedding bouquet is one of the most requested resin jewelry projects. The most critical technical hurdle is moisture. If flowers retain even a fraction of moisture, they will rot and turn brown inside the resin. You must dry the blooms using silica gel for 3 to 5 days until their moisture content is virtually zero. Once dried, seal the petals with a clear acrylic spray to prevent the resin from soaking into the plant fibers, which causes a 'wet' translucent look. For a modern 2026 aesthetic, pair these preserved floral pendants with minimalist 18-gauge sterling silver box chains to let the organic inclusions take center stage.
Milestones and Birthdays: Birthstones and Inclusions
For milestone birthdays, integrating birthstones adds a layer of personalization. Rather than using whole gemstones, which can look cluttered in small pendants, use crushed gemstone chips. You can source pre-crushed stones or carefully break them yourself using a steel mortar and pestle. Layer the crushed stones with subtle mica powder dusting to create a geode effect. Referencing the GIA Birthstone Guide ensures you are using the correct traditional or modern stones for the recipient's birth month, adding an educational and thoughtful element to your gift.
Memorials: Ashes and Sentimental Keepsakes
When creating memorial necklaces using cremation ashes or pet hair, discretion and respect are paramount. Use only a pinch of ashes (about 1/8th of a teaspoon) and mix them into a small batch of resin using a silicone stirring stick. To prevent the ashes from clumping, pre-mix them with a tiny drop of isopropyl alcohol before folding them into the resin. This creates a beautiful, starry-night suspension that honors the memory without being overtly macabre.
Sourcing the Right Hardware: Bails, Chains, and Gauges
A flawless resin pendant will look amateurish if paired with cheap, mismatched hardware. Sourcing high-quality findings from reputable suppliers like Rio Grande ensures your gift will last a lifetime. Pay close attention to the following specifications:
- Bails and Jump Rings: Use 20-gauge or 22-gauge sterling silver or gold-filled jump rings. Anything thinner (like 24-gauge) risks pulling open under the weight of a solid resin pendant.
- Chain Thickness: For standard 1-inch to 1.5-inch resin pendants, a chain width between 1.2mm and 1.5mm provides the best visual balance. Cable chains offer a classic look, while snake chains provide a sleek, modern backdrop that prevents the pendant from snagging.
- Clasps: Always upgrade to lobster clasps with a soldered catch ring. Spring ring clasps are notoriously difficult for recipients to fasten and are prone to mechanical failure.
The Pouring and Curing Process: Pro Tips
Mastering the pour is where technique separates crafters from artisans. Always measure your two-part epoxy strictly by volume, not by weight, as the densities of Part A (resin) and Part B (hardener) differ. Mix slowly for a full three minutes, scraping the sides and bottom of your mixing cup to ensure a homogenous blend. Incomplete mixing will result in a permanently tacky surface that cannot be salvaged.
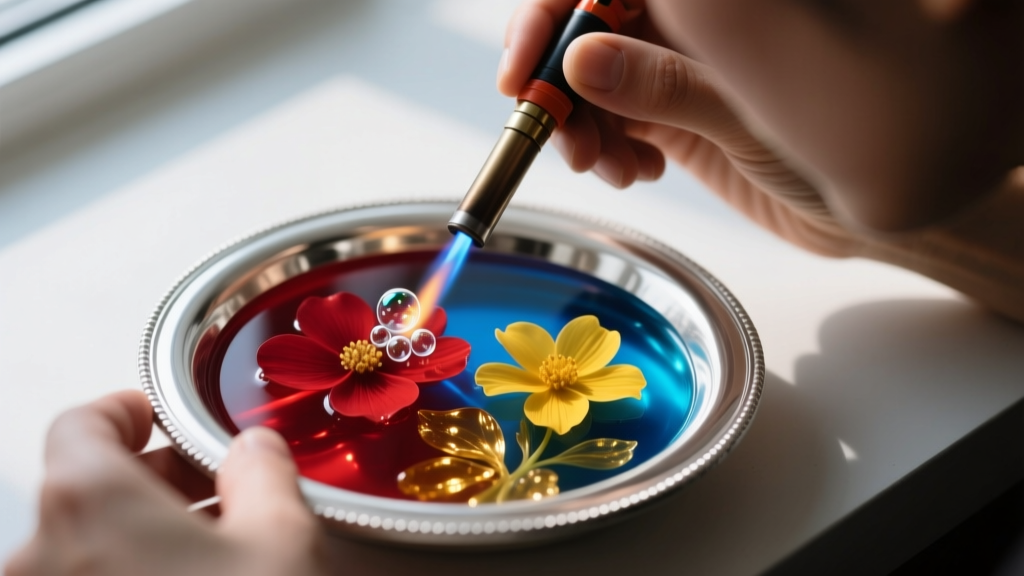
After pouring the resin into your silicone molds or bezels, use a culinary butane torch or a heat gun on a low setting to pass quickly over the surface. The heat reduces the surface tension, popping micro-bubbles that rise to the top. Allow the piece to cure in a dust-free environment; a silicone cover or an overturned cardboard box will prevent airborne dust and pet hair from ruining the glossy finish.
Sanding, Polishing, and Presentation
Once demolded, your resin pendant may have sharp edges or a matte finish from the silicone mold. To achieve a glass-like clarity, you must wet-sand the piece. Start with 400-grit wet/dry sandpaper to shape the edges, then progressively move through 600, 800, 1000, 1500, 2000, and finally 3000 grit. Keep the resin and the sandpaper continuously lubricated with water to prevent friction heat, which can melt the plastic and cause deep scratches.
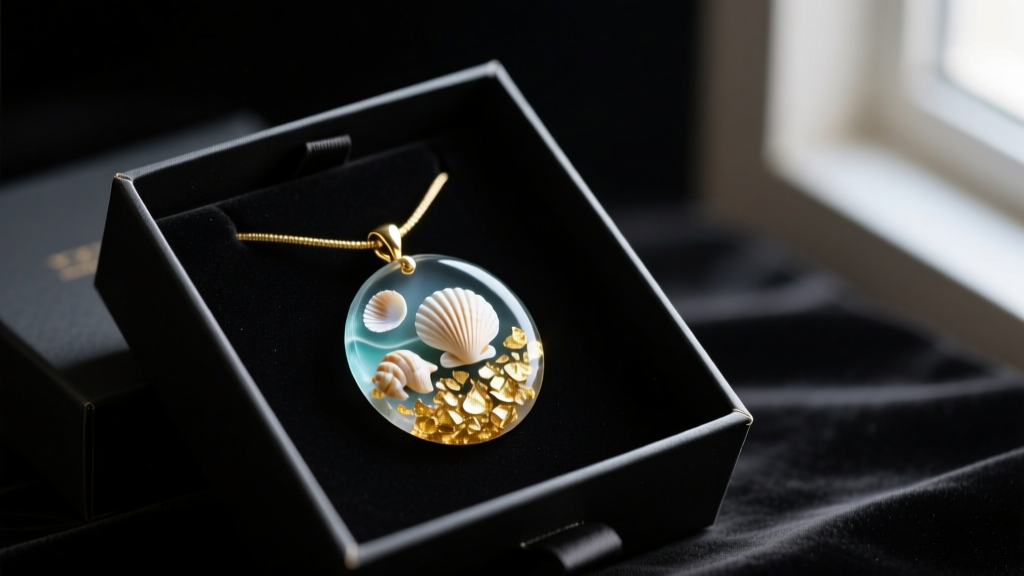
After sanding, apply a plastic polishing compound (such as Novus or a dedicated resin polish) using a microfiber cloth or a rotary tool with a felt buffing wheel. This final step restores the optical clarity of the resin. When presenting your handmade gift, avoid standard cardboard jewelry boxes. Instead, opt for a hinged velvet or suede presentation box with a specialized pendant insert that keeps the chain untangled and the resin face protected from scratches during transit.


