How to Store Necklaces Without Tangling DIY Hacks
Learn how to store necklaces without tangling DIY style. Expert tips on material-safe organization, knot prevention, and custom jewelry box builds.


The Physics of Spontaneous Knotting
Before building a storage system, it is crucial to understand why chains tangle in the first place. In 2007, physicists Dorian Raymer and Douglas Smith published a landmark study in the Proceedings of the National Academy of Sciences (PNAS) detailing the "spontaneous knotting of an agitated string." Their research proved that any flexible string between 18 and 22 inches long—the exact length of most standard princess and matinee necklaces—will almost inevitably form complex knots if left loose in a confined space and subjected to minor movement.
The physics dictate that the free ends of the chain weave through the loops created by the chain's own folds. Therefore, the foundational rule of jewelry organization is absolute: you must immobilize the chain and isolate the clasp. When learning how to store necklaces without tangling DIY builds must focus on eliminating the degrees of freedom that allow the chain ends to migrate.
Material-Specific Storage Constraints
A common mistake in DIY jewelry organization is treating all metals and gems identically. A storage solution that prevents tangles might simultaneously destroy delicate materials if environmental factors are ignored.
925 Sterling Silver and Tarnish
Sterling silver contains 7.5% copper, which reacts with sulfur compounds in the air to form black silver sulfide. If you hang silver chains on an open DIY pegboard, you are maximizing their exposure to airborne sulfur. To combat this, open-air silver storage must be supplemented with 3M Anti-Tarnish Strips replaced every six months, or the chains must be stored in a sealed environment lined with Pacific Silvercloth, which actively absorbs tarnish-causing gases.
Organic Gems: Pearls and Coral
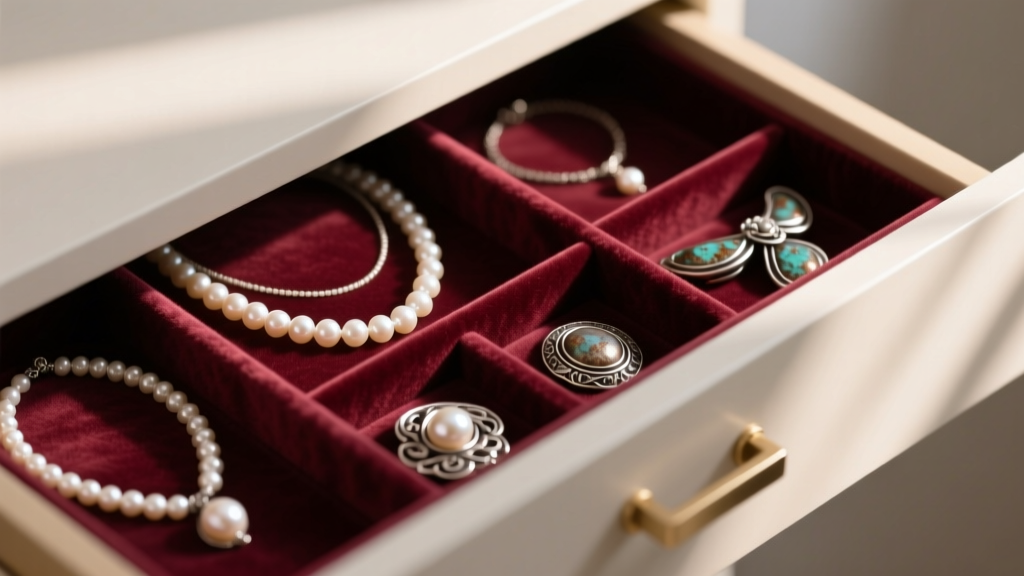
According to the Gemological Institute of America (GIA), organic gems like pearls require a specific level of ambient humidity to prevent cracking. Storing pearl necklaces in airtight plastic bags or sealed DIY acrylic boxes will dehydrate the nacre over time. Furthermore, pearls are exceptionally soft (2.5 on the Mohs scale) and will easily scratch if they swing against one another on a crowded DIY rack. They require individual, breathable cotton or linen pouches.
3 Advanced DIY Storage Builds
Forget the basic coat-hanger hack. Here are three structurally sound, material-safe DIY storage builds tailored for serious jewelry collections.
Build 1: The Corkboard & Pin Matrix
This wall-mounted solution is ideal for heavy gold chains and pendants that stretch fabric organizers.
- Materials: 1/2-inch thick high-density corkboard, D-ring hangers, and stainless steel push pins (avoid brass pins, which can react with some metals and leave green residue).
- Dimensions: Cut the cork to 24x18 inches. Map out a grid with 2.5 inches of horizontal spacing between pins to prevent wider pendant chains from overlapping.
- Execution: Secure the cork to a wooden backing board for wall stability. Push the stainless steel pins in at a slight 15-degree upward angle. This upward tilt uses gravity to keep the chain's clasp loop securely seated on the pin, preventing it from slipping off during minor room vibrations.
Build 2: The PVC Pipe Slice Rack
Perfect for drawer inserts, this method keeps chains rigidly separated in individual cylindrical vaults.
- Materials: 1.5-inch diameter PVC pipe, a miter saw, and adhesive-backed felt.
- Dimensions: Cut the PVC into 2-inch thick rings. Line the interior of each ring with soft felt to prevent micro-scratches on high-polish gold or platinum.
- Execution: Glue the rings together in a honeycomb pattern using a flexible silicone adhesive. Coil each necklace individually, fasten the clasp, and slide it into a dedicated PVC cell. This completely eliminates the possibility of cross-chain tangling.
Build 3: The Tension Rod Closet Drop
For those with extensive collections who want to utilize dead space inside a walk-in closet.
- Materials: A heavy-duty steel tension rod (capable of holding 20+ lbs) and S-hooks with vinyl-dipped ends.
- Execution: Install the tension rod near the ceiling of the closet where it is out of the way. Hang the necklaces using the vinyl-dipped S-hooks. The vinyl coating is critical; bare metal hooks will eventually scratch the jump rings of your necklaces through repeated friction.
DIY Method Comparison Chart
| DIY Build | Best For | Tangle Prevention | Tarnish Protection | Estimated Cost |
|---|---|---|---|---|
| Corkboard Matrix | Heavy chains, pendants | High | Low (Needs 3M strips) | $25 - $40 |
| PVC Pipe Honeycomb | Delicate chains, drawer storage | Absolute | Medium | $15 - $20 |
| Tension Rod Drop | Large collections, closets | High | Low | $10 - $15 |
The Untangling Protocol: Rescuing Knotted Chains
Even with the best DIY storage, accidents happen. When faced with a severe knot in a delicate chain (like a 14k gold rope or snake chain), pulling will only tighten the loops and risk work-hardening the metal, leading to a structural snap.
Follow this professional jeweler's protocol:
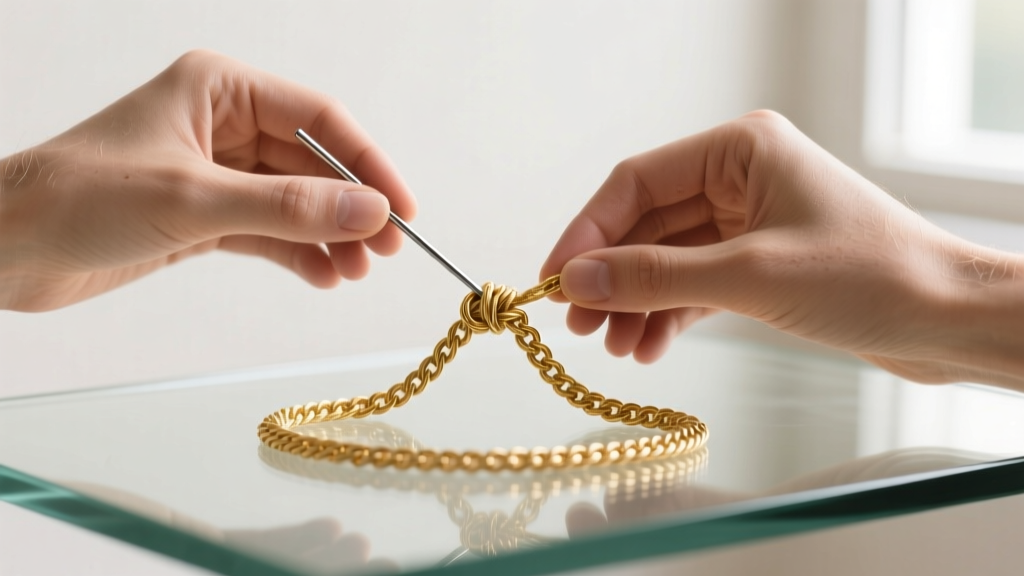
- The Surface: Place the knotted chain on a hard, flat surface like a pane of glass or a ceramic tile. Avoid fabric, which creates friction and grips the chain.
- The Lubricant: Apply a single drop of jojoba oil or baby oil directly to the knot. Jojoba is preferred because it closely mimics natural sebum and will not degrade most gemstones, unlike harsh chemical solvents or WD-40, which can strip rhodium plating from white gold.
- The Tools: Use two fine-tipped sewing needles or specialized jeweler's tweezers. Insert the needles into the center of the knot and gently push outward to loosen the core tension.
- The Clean-up: Once untangled, wash the chain in a mild solution of warm water and Dawn dish soap to remove the oil, then pat dry with a lint-free microfiber cloth.
For deeper cleaning and maintenance of specific metals post-untangling, refer to the GIA's official silver and gold care guidelines to ensure you do not accidentally strip patinas or damage porous stones during the wash.
Travel Hacks for the Road
DIY storage at home is only half the battle; travel introduces aggressive agitation that accelerates spontaneous knotting. If you do not have a dedicated travel jewelry roll, use the Straw Threading Method. Unclasp the necklace, thread the chain through a standard plastic drinking straw, and re-clasp it. The rigid plastic prevents the chain from folding in on itself. For pendant necklaces where the bail is too small for a straw, use a sheet of Press'n Seal plastic wrap. Lay the necklace flat on the wrap, fold the wrap over the chain, and press down to create a vacuum-sealed, custom-fit pouch that completely immobilizes the piece inside your suitcase.


