Elevate Dollar Tree Bead Necklaces: Step-by-Step DIY
Learn how to transform cheap dollar tree bead necklaces into high-end custom jewelry with our step-by-step restringing and upcycling DIY guide.

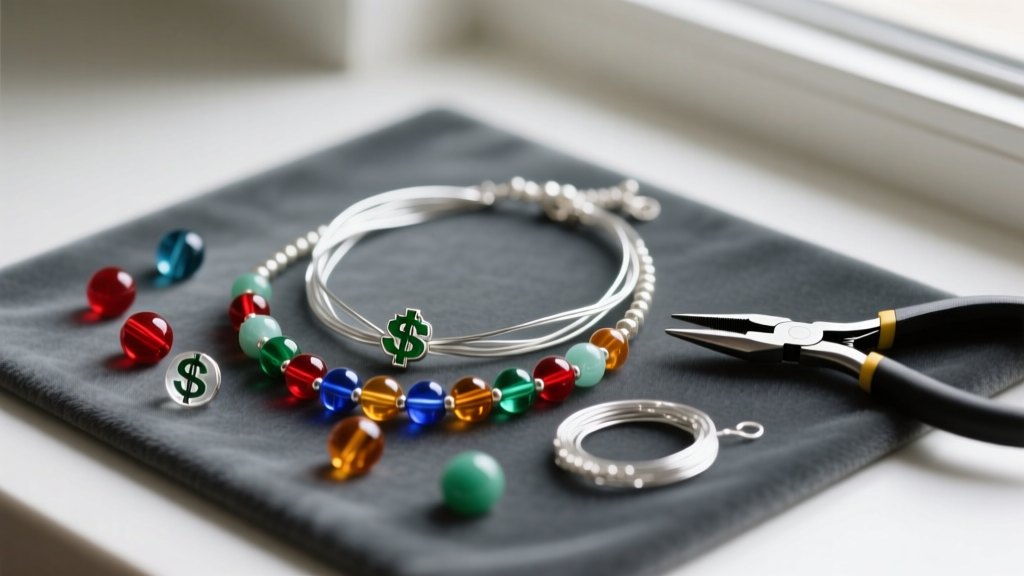
When you first look at dollar tree bead necklaces, you might see cheap plastic, uneven spacing, and flimsy elastic stringing. However, as a jewelry designer, I see a goldmine of raw materials. The secret to high-end boutique jewelry isn't always the cost of the base beads; it is the quality of the stringing materials, the precision of the crimps, and the architectural flow of the design. In 2026, the upcycling movement has fully embraced budget craft supplies, proving that you can create luxury-level necklaces for under ten dollars.
This comprehensive, step-by-step guide will teach you how to deconstruct, redesign, and professionally restring dollar tree bead necklaces. By replacing degrading nylon threads with aerospace-grade beading wire and integrating premium metal findings, you will transform a one-dollar trinket into a durable, custom piece of wearable art.
The Hidden Potential of Budget Beads
Most mass-produced budget necklaces are strung on low-grade nylon or elastic cord. Over time, the sharp molding seams of injection-molded acrylic beads act like tiny saws, fraying the cord until it inevitably snaps. Furthermore, the knots used to secure the clasps are often bulky and poorly glued, leading to premature failure.
However, the beads themselves—whether they are brightly dyed acrylic, painted wood, or low-grade glass—possess vibrant colors and interesting shapes that are perfect for statement jewelry. By stripping away the inferior stringing material and combining these beads with genuine gemstones, metallic spacer beads, and professional hardware, you completely alter the perceived value of the piece. The tactile weight and drape of the necklace will shift from cheap and rigid to fluid and luxurious.
Essential Tools and Materials for Upgrading
To achieve a professional finish, you must abandon basic craft string and invest in proper jewelry-making components. Below is a breakdown of the essential materials required to elevate your upcycled designs, along with their approximate costs and functional purposes.
| Material | Specification | Purpose | Avg. Cost |
|---|---|---|---|
| Beading Wire | 49-Strand, 0.018" diameter | Provides fluid drape and extreme tensile strength without stretching. | $8.00 / spool |
| Crimp Tubes | 2x2mm Sterling Silver | Secures the wire to the clasp. Tubes fold more cleanly than round beads. | $4.50 / pack |
| Wire Guardians | Silver-plated horseshoe | Protects the beading wire from friction and snapping at the clasp loop. | $2.00 / pack |
| Crimping Pliers | Micro or Standard size | Folds and rounds the crimp tube for a seamless, bead-like finish. | $12.00 / tool |
| Flush Cutters | Precision micro-shear | Cuts beading wire cleanly without leaving sharp, protruding metal edges. | $9.00 / tool |
For a deep dive into the mechanics of crimping, I highly recommend reviewing Beadalon's official crimping guide, which details the exact pressure and placement needed for 49-strand wire.
Step 1: Deconstructing the Original Necklace
The first step in the upcycling process is safely harvesting the beads. Do not simply pull the necklace apart, as this can stretch or damage the bead holes.
- Identify the Knot: Locate the knot or crimp bead near the original clasp. Use your flush cutters to snip the cord directly adjacent to the knot.
- Remove the Clasp: Discard the original cheap alloy clasp and frayed cord. These components will compromise the integrity of your new design.
- Thread the Beads Off: Hold the necklace over a shallow tray or a bead board to prevent the beads from rolling onto the floor. Slide the beads off the cord, inspecting each one for cracks or severe molding defects.
- Clean the Beads: Wipe down the harvested beads with a slightly damp microfiber cloth to remove any manufacturing dust or oily residues.
Step 2: Designing Your Elevated Layout
Now that you have your raw materials, it is time to design. The biggest mistake beginners make when working with dollar tree bead necklaces is using every single bead from the original piece. To achieve a high-end look, you must curate the beads and introduce negative space or contrasting textures.
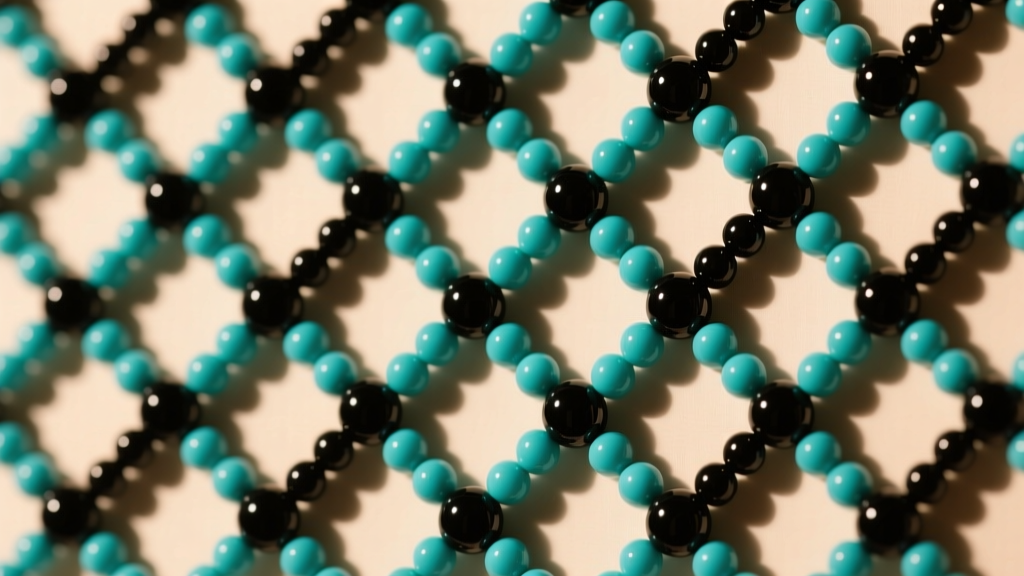
Design Rules for Budget Beads
- The 30% Rule: Replace at least 30% of the original plastic beads with premium materials. Matte glass beads, metallic brass spacers, or genuine freshwater pearls instantly elevate the surrounding acrylic beads.
- Symmetry and Focal Points: Use a graduated bead board to map out your design. Place the largest, most vibrant beads at the center (the focal point) and graduate down to smaller, more subdued beads near the clasp.
- Color Theory: If your dollar tree beads are a chaotic mix of colors, unify them by introducing a single metallic tone (like copper or gold) between every third bead to create a cohesive visual rhythm.
For more advanced layout techniques, the Fire Mountain Gems' jewelry making resources offer excellent visual guides on bead board mapping and color balancing.
Step 3: Professional Restringing Techniques
This is where the actual transformation occurs. Stringing beads on 49-strand stainless steel beading wire ensures the necklace will drape beautifully around the neck, mimicking the fluid movement of high-end pearl or gemstone strands.
Working with Wire Guardians and Crimps
Cutting corners on the clasp attachment is the most common point of failure in DIY jewelry. Follow this exact sequence to ensure your necklace lasts for years:
- Thread the Wire: Cut a length of 0.018" beading wire about four inches longer than your desired finished necklace length.
- Add the Crimp and Guardian: Thread one end of the wire through a 2x2mm crimp tube, then through a wire guardian (the small metal horseshoe).
- Secure the Loop: Bring the wire back around the horseshoe and thread it back down through the crimp tube, creating a small, neat loop.
- Crimp the Tube: Using your crimping pliers, place the crimp tube in the first notch (the U-shape) and squeeze firmly to fold the tube in half. Then, move it to the second notch (the oval) and squeeze again to roll it into a tight, rounded bead.
- String the Design: Thread your beads onto the wire, ensuring that the short tail of the wire from your crimp loop is hidden inside the first few beads.
Step 4: Clasp Selection and Finishing
The clasp is not just a functional necessity; it is a design element. Avoid cheap lobster clasps with thin, easily bent levers. Instead, opt for heavy-duty sterling silver or gold-filled lobster clasps, or for a more modern, accessible finish, use a high-grade neodymium magnetic clasp.
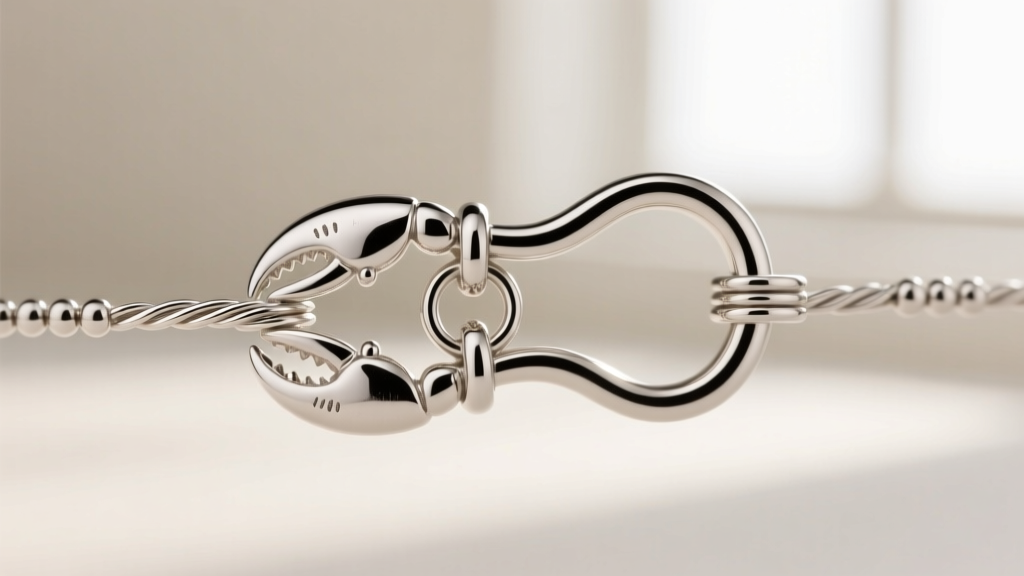
Once all beads are strung, thread the opposite end of the wire through your second crimp tube and wire guardian. Attach the clasp, pull the wire taut (but not so tight that it restricts the beads' movement), and crimp the second tube. Use your flush cutters to trim the excess wire as close to the bead as possible. If a tiny wire tail remains, use chain-nose pliers to gently tuck it flush against the crimp bead so it does not scratch the wearer's skin.
Care and Maintenance for Upcycled Jewelry
While you have vastly improved the structural integrity of the necklace, the base beads are still susceptible to environmental factors. Acrylic and painted wood beads can fade under prolonged UV exposure and may degrade if exposed to harsh chemicals like chlorine or acetone.
To maintain your upcycled masterpiece, always store it flat or hung on a padded jewelry rack to prevent the wire from developing permanent kinks. Wipe the beads with a dry, soft cloth after wearing to remove skin oils. By treating your upcycled dollar tree bead necklaces with the same care as fine jewelry, you ensure that your budget-friendly, high-fashion creations remain a staple in your wardrobe for years to come.


