How to Fix a Broken Necklace Safety Chain: Expert Guide
Learn how to troubleshoot, repair, and replace a broken necklace safety chain with expert jewelry bench tips, gauge guides, and soldering advice.

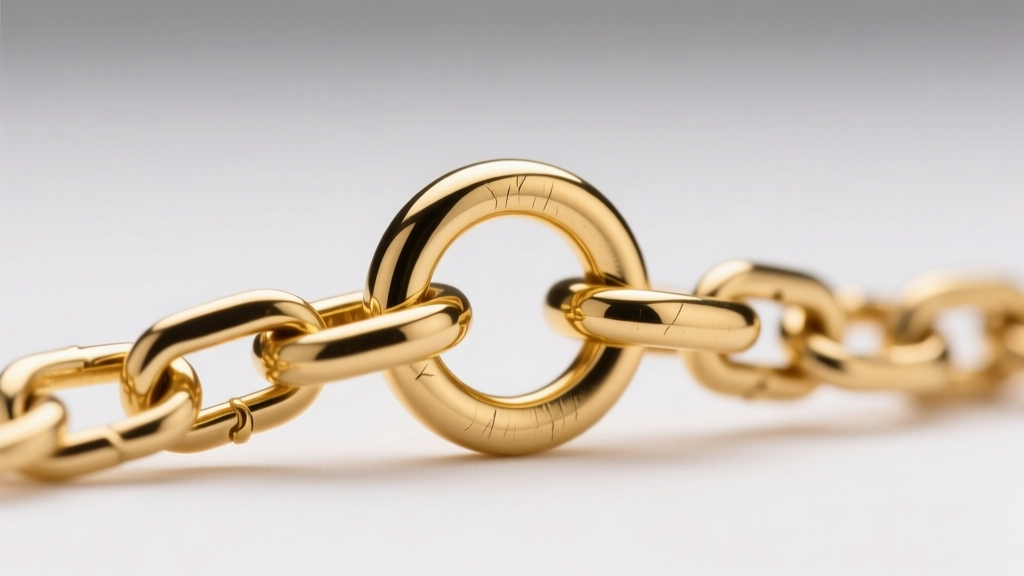
The Anatomy of a Necklace Safety Chain
A necklace safety chain is the unsung hero of fine jewelry security. Designed to catch your pendant or main chain if the primary clasp fails, this secondary tether prevents catastrophic loss. However, because safety chains are subjected to constant friction, lateral pulling, and environmental wear, they are often the first component to fail on a necklace. According to the Jewelers of America, regular inspection of secondary security findings is critical for preserving high-value heirlooms.
To effectively troubleshoot a failure, you must understand the standard specifications of these chains. Most fine jewelry safety chains are figure-8 or cable chains ranging from 0.8mm to 1.2mm in thickness (approximately 20-gauge to 16-gauge). They are typically anchored to the main chain via 3.0mm to 4.0mm jump rings. When these dimensions are mismatched, or when inferior repair methods are used, the safety chain becomes a liability rather than a safeguard.
Common Safety Chain Failures & Troubleshooting
When a necklace safety chain breaks, the failure almost always occurs at the connection points rather than the chain links themselves. Here is a diagnostic breakdown of the three most common bench-level failures.
Scenario 1: The Work-Hardened Jump Ring Snap
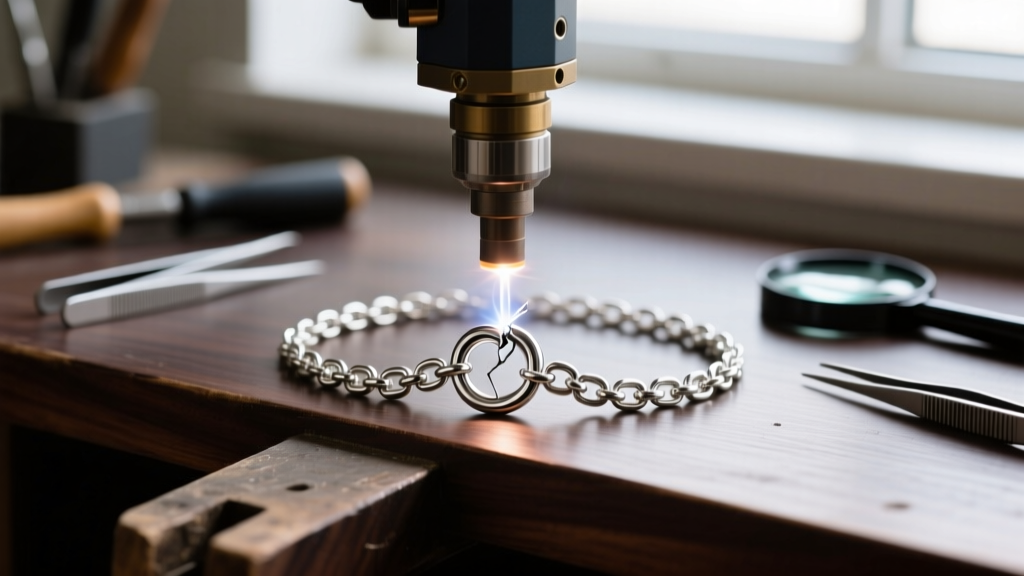
The most frequent point of failure is the unsoldered jump ring connecting the safety chain to the main necklace. When a jeweler or consumer repeatedly opens and closes a jump ring using pliers without annealing (heating) the metal, the crystalline structure of the gold or silver locks up. This phenomenon, known as work hardening, makes the metal extremely brittle. Over time, the microscopic fissures at the seam of the jump ring expand until the ring simply snaps under the weight of the pendant.
The Fix: Never reuse a work-hardened jump ring. The broken ring must be cut off entirely using a jeweler's saw (not wire cutters, which pinch the metal). Replace it with a new, heavy-duty jump ring that has been properly soldered shut using hard solder to ensure a seamless, permanent bond.
Scenario 2: Gauge Mismatch and Friction Sawing
If your main necklace is a robust 3.0mm Cuban link or box chain, but the safety chain is a delicate 0.6mm (22-gauge) cable, you have a gauge mismatch. The heavier, harder links of the main chain will act like a file against the softer, thinner links of the safety chain. This friction literally saws through the safety chain's end links over a period of 6 to 12 months.
The Fix: Upgrade the safety chain gauge. The safety chain should be no more than 30% thinner than the main chain's individual link wire diameter. For a 3.0mm chain, opt for a 1.0mm (18-gauge) safety chain to balance flexibility with structural integrity.
Scenario 3: The Tangling Drop-Length Error
A safety chain that is improperly sized will cause relentless tangling. If the chain is too long, it loops over the primary clasp mechanism, jamming the lobster lever. If it is too short, it places severe lateral stress on the anchor jump rings every time you take the necklace off, eventually warping the rings into an oval shape and causing them to slip open.
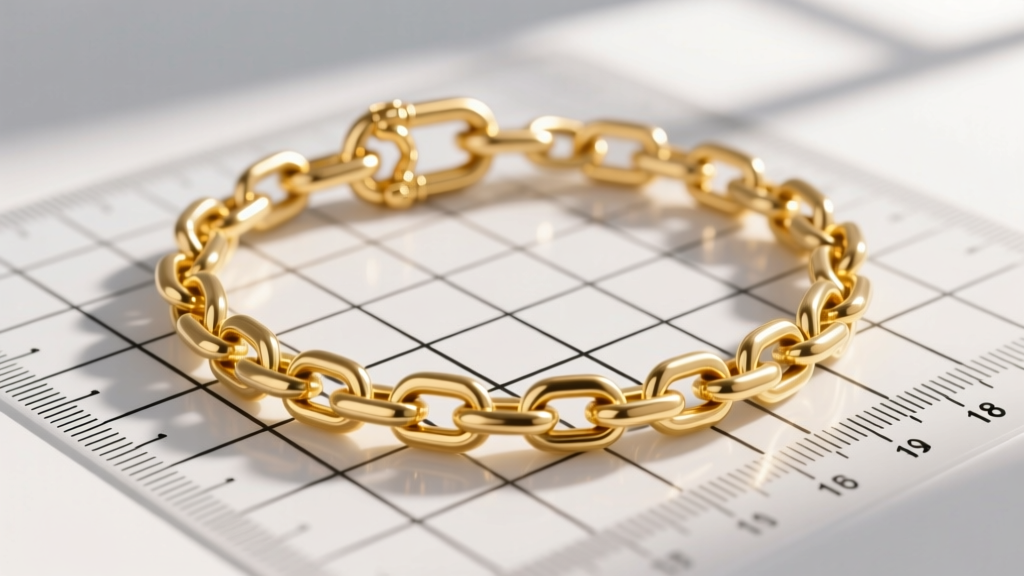
The Fix: Apply the 1.5-Inch Drop Rule. Measure the distance between the two anchor points on your main chain (usually 1 inch down from the clasp on either side). The safety chain should be exactly 1.5 inches longer than this gap. This provides enough drape to prevent lateral stress during removal, but keeps the chain short enough that if the clasp pops open, your pendant will not strike a table or the floor.
Repair Methods: Soldering vs. Mechanical Fixes
How you reattach a safety chain depends entirely on the metallurgy of the piece and the proximity of heat-sensitive gemstones. The GIA Gem Encyclopedia notes that thermal shock can fracture treated stones, making the choice of repair method paramount.
| Material | Standard Gauge | Best Repair Method | Estimated Bench Cost |
|---|---|---|---|
| 14k Yellow Gold | 0.9mm (20ga) | Torch Soldering (Hard Solder) | $35 - $65 |
| Platinum 950 | 1.0mm (18ga) | Laser Welding | $85 - $140 |
| Sterling Silver | 1.2mm (16ga) | Torch Soldering or Mechanical | $25 - $50 |
| 18k White Gold | 0.9mm (20ga) | Laser Welding (if rhodium plated) | $70 - $110 |
Laser Welding: This is the gold standard for platinum and white gold pieces, especially those featuring heat-sensitive stones like emeralds, opals, or tension-set diamonds. A laser welder uses concentrated light to fuse the metal at a microscopic level without transferring ambient heat to the rest of the necklace. It is highly precise but requires specialized bench equipment.
Torch Soldering: Traditional torch soldering is ideal for yellow gold and sterling silver. The jeweler uses a borax flux and a medium-temperature hard solder to fuse the jump ring. Warning: If your necklace features enamel, pearls, or fracture-filled diamonds, the jump rings must be detached from the main chain before soldering to prevent irreversible thermal damage.
How to Measure and Order a Replacement
If your safety chain is entirely missing or damaged beyond repair, you will need to source a replacement. Do not attempt to use a standard charm bracelet safety chain, as the end findings are designed for wide bracelet links, not delicate necklace jump rings.
- Determine the Clasp Type: For necklaces under 20 grams, a 5mm spring ring on the safety chain is sufficient. For heavy pendants or thick chains (over 25 grams), insist on a 6mm or 8mm dog-clip (trigger clasp). Dog clips lack the tiny, failure-prone internal springs found in spring rings and lobster clasps, making them vastly superior for heavy-load security.
- Match the Alloy and Color: If your main chain is 14k palladium white gold, ensure the replacement safety chain is the exact same alloy. Mixing standard nickel-white gold with palladium-white gold will result in a visible color mismatch and potential galvanic corrosion where the metals touch in the presence of sweat and moisture.
- Verify the End Rings: The loops at the end of the replacement safety chain must be fully soldered shut from the manufacturer. If you receive a chain with open end loops, have your jeweler solder them before attaching them to your necklace.
Preventative Maintenance for Long-Term Security
Troubleshooting a broken necklace safety chain is often a reactive process, but proactive maintenance can extend the life of your findings by decades.
Bench Jeweler Pro-Tip: Once a year, perform the 'Thumbnail Test' on your safety chain jump rings. Run your thumbnail firmly across the seam of the jump ring. If your nail catches in a microscopic groove, the ring is beginning to pull apart and requires immediate soldering. Do not wait for it to snap.
Additionally, avoid ultrasonic cleaning your necklace with the safety chain wrapped tightly around the main clasp. The high-frequency vibrations of an ultrasonic cleaner can cause the delicate safety chain links to grind against the harder clasp mechanism, accelerating friction wear. Always unhook the safety chain's secondary clasp before dropping the piece into an ultrasonic tank or a chemical silver dip.
By understanding the specific gauge requirements, recognizing the signs of work-hardened metal, and choosing the correct welding method for your specific alloy, you can ensure your necklace safety chain functions exactly as intended: as an invisible, unbreakable insurance policy for your most prized jewelry.


