How to Fix a Broken Necklace: Upcycling Trends & Style Guide
Learn how to fix a broken necklace with our style guide. Explore visible mending trends, upcycling techniques, and expert repair tips.

The Shift: Why Repairing is the Ultimate Style Statement
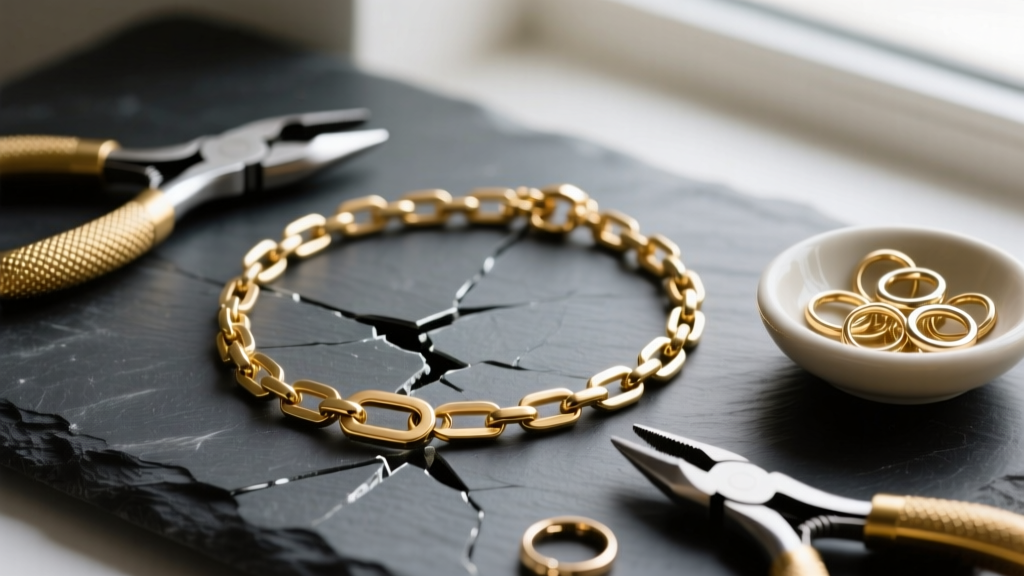
For decades, a snapped chain meant a trip to the jeweler for a hidden, seamless repair or, worse, relegating the piece to a dark drawer. However, the jewelry landscape has undergone a massive philosophical shift. As sustainability and bespoke individuality dominate the 2026 style radar, the urge to simply discard or invisibly mend is being replaced by a desire to celebrate the break. Learning how to fix a broken necklace is no longer just a matter of basic maintenance; it is an entry point into the worlds of visible mending, upcycling, and intentional styling.
Today’s most fashion-forward collectors view a broken chain not as a failure of the metal, but as a blank canvas. Whether you are dealing with a vintage 14k gold curb chain that succumbed to metal fatigue or a delicate sterling silver cable link that caught on a sweater, the way you choose to repair it can completely transform its aesthetic profile. By embracing the repair process, you align with a broader movement that values longevity, personal narrative, and the striking beauty of imperfection.
Diagnosing the Break: Chain Anatomy and Failure Points
Before you can stylize a repair, you must understand the anatomy of the failure. Different chain weaves distribute tension differently, leading to highly specific breakage patterns. According to the GIA Gem Encyclopedia, metal fatigue and structural stress are the primary culprits behind chain failure, exacerbated by the natural softness of high-karat gold and the brittleness of oxidized silver.
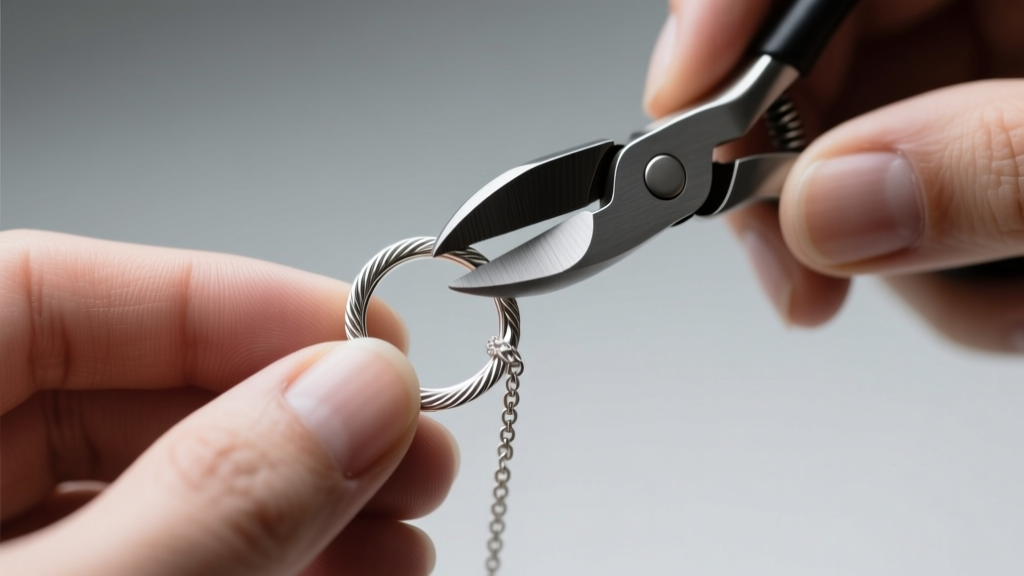
Understanding your chain's specific vulnerability is the first step in deciding whether to use a traditional jump ring, a silk-cord weave, or a professional laser weld. Below is a diagnostic breakdown of popular chain styles and their structural weak points.
| Chain Style | Common Failure Point | Best Repair Method | Style Impact & Trend Potential |
|---|---|---|---|
| Cable | Link stretching and thinning | 20-gauge jump ring replacement | Minimal; ideal for adding contrasting metal charms at the break site. |
| Curb / Figaro | Torsion snapping at the solder point | Laser soldering or heavy 18g rings | High; visible mending with oxidized silver creates an industrial, grunge aesthetic. |
| Rope | Unraveling due to crushed links | Professional torch soldering | Difficult to hide; best upcycled by cutting into segments for a multi-strand choker. |
| Box | Corner crushing and hinge failure | Professional laser welding | Requires polishing; best repaired invisibly to maintain the geometric illusion. |
Trend 1: Visible Mending and the Jewelry Kintsugi Aesthetic
Inspired by the Japanese art of Kintsugi—where broken pottery is repaired with lacquer mixed with powdered gold—the 'visible mending' trend in jewelry flips traditional repair logic on its head. Instead of hiding the fix, you highlight it. When you fix a broken necklace using this philosophy, you intentionally select repair materials that contrast sharply with the original piece.
Techniques for Intentional Contrast
- Mixed-Metal Jump Rings: If your 18k yellow gold cable chain breaks, repair it using a cluster of three 22-gauge oxidized sterling silver jump rings. The dark, matte silver against the bright gold creates a deliberate, avant-garde focal point.
- Wire-Wrapping the Break: Instead of a simple link replacement, use 24-gauge dead-soft copper or brass wire to wrap the two broken ends together. This creates a textured, artisanal binding that looks like a bespoke designer detail rather than a patch job.
- Beaded Spacers: Remove the damaged links and bridge the gap with a 3mm faceted onyx or lapis lazuli bead, secured with wire loops. This introduces a pop of color and breaks up the monotony of an all-metal chain.
Trend 2: Upcycling Broken Segments into Layered Chokers
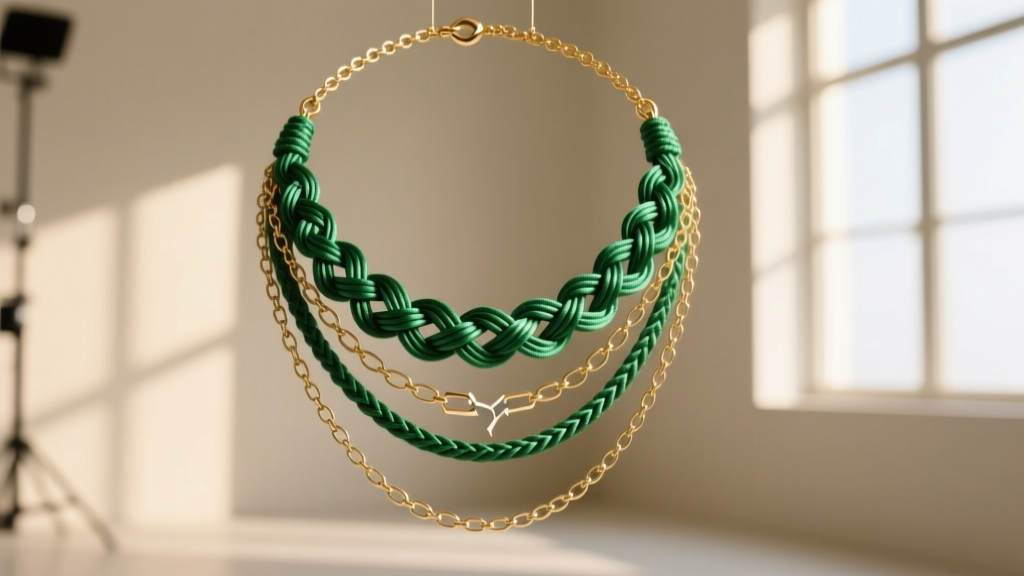
Sometimes, a chain is simply too damaged or too short after a break to be worn as a traditional necklace. This is where the upcycling trend shines. By integrating non-metal materials, you can salvage broken segments and create highly layered, textural chokers that dominate current street-style and editorial looks.
The Silk Cord Integration Method
Silk cord (typically 0.8mm to 1.2mm in thickness) is a premier material for jewelry upcycling. If your 20-inch rope chain snaps in half, do not try to force it back together. Instead, attach a sterling silver crimp tube and a jump ring to each broken end. Thread a vibrant silk cord—such as emerald green, deep burgundy, or charcoal grey—through the rings, and use a sliding macrame square knot to create an adjustable closure at the nape of the neck. This technique not only fixes the necklace but transforms it into a modern, mixed-media choker that pairs perfectly with deep V-necklines and off-the-shoulder tops.
Technical Guide: How to Fix a Broken Necklace at Home
For standard repairs where you want to maintain the original look of the chain, mastering the jump ring technique is essential. As outlined by master jewelry suppliers like Rio Grande, the structural integrity of a jump ring repair relies entirely on how the ring is opened and closed.
Essential Tools and Gauge Sizing
To execute a flawless repair, you need two pairs of pliers: chain-nose (flat inner jaws) and bent-nose. Never use standard household pliers, as their serrated teeth will mar the metal finish. For delicate chains (cable, snake), use 20-gauge or 22-gauge jump rings with an outer diameter of 3mm or 4mm. For heavier chains (curb, figaro), step up to 18-gauge or 16-gauge rings with a 5mm diameter to ensure the repair can withstand the weight of the chain.
The Lateral Opening Technique
The most common mistake amateurs make is pulling the jump ring apart laterally (like opening a book). This permanently distorts the circle, making it impossible to close flush, which leads to the chain slipping out or catching on hair and fabrics.
The Correct Method:
1. Grip the jump ring with your chain-nose pliers at the 3 o'clock position and your bent-nose pliers at the 9 o'clock position.
2. Twist one hand toward you and the other away from you, opening the ring along its horizontal axis.
3. Slide the two broken chain links onto the ring.
4. Reverse the twisting motion to close it. Listen for a subtle 'click' or 'snap' as the ends meet perfectly flush.
5. For added security on heavier pieces, use a brass brush to lightly work-harden the jump ring, which increases the metal's tensile strength without altering its shape.
When to Seek a Professional Jeweler
While jump rings and silk cords are fantastic for styling and minor breaks, certain situations demand professional intervention. If the break occurs directly on a soldered link, or if the chain is a complex weave like a Byzantine or wheat chain, home repairs will compromise the drape and flexibility of the piece.
Laser Welding vs. Traditional Torch Soldering
Modern jewelers primarily use two methods to fix a broken necklace seamlessly. Traditional torch soldering involves using a butane or oxygen-acetylene torch to melt a filler metal (solder) into the joint. This requires heating a large area of the chain, which can be risky if there are heat-sensitive gemstones nearby. Pricing for torch soldering typically ranges from $35 to $75, depending on the metal and chain thickness.
Laser welding, on the other hand, uses highly focused light energy to fuse the exact metal of the chain back together without the need for filler solder. The heat-affected zone is microscopic, meaning the jeweler can weld a break just millimeters away from an opal or emerald without causing thermal shock or fracturing the stone. Laser welding is the gold standard for 2026 jewelry repair, though it commands a premium, usually ranging from $65 to $150 per break.
Final Thoughts on Necklace Longevity
Ultimately, knowing how to fix a broken necklace empowers you to curate a jewelry collection that tells a story. Whether you choose to invisibly restore a family heirloom via laser welding, or you decide to lean into the visible mending trend by weaving a broken gold chain with neon silk cord, the repair process is an extension of your personal style. Embrace the break, choose your materials with intention, and wear your repaired pieces as badges of sustainable, bespoke fashion.


