How to Fix a Broken Perler Necklace: Expert Guide
Is your DIY perler necklace snapping or falling apart? Discover expert troubleshooting tips for stringing, melting, and sealing fuse bead jewelry.

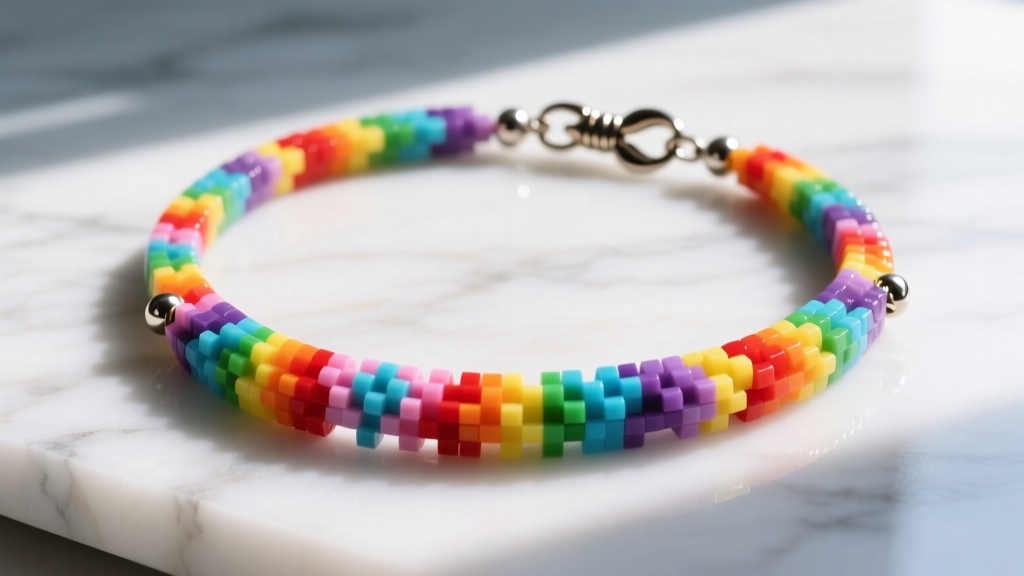
The 2026 Resurgence: Why Your Perler Necklace Keeps Breaking
As the Y2K and indie-craft revivals continue to dominate 2026 street style and festival fashion, the perler necklace has evolved from a childhood craft into a legitimate medium for bespoke, avant-garde jewelry design. High-end streetwear brands and independent artisans are pushing the boundaries of fuse bead art, creating intricate, pixelated pendants and chunky chokers. However, the structural integrity of these pieces remains a massive pain point. If you have ever experienced a perler necklace snapping mid-wear, beads crumbling, or clasps mysteriously detaching, you are not alone.
The root of these failures lies in material science. Perler beads are manufactured from low-density polyethylene (PE), a thermoplastic with a notoriously low surface energy. This means standard jewelry adhesives, like cyanoacrylate (super glue), simply cannot form a lasting chemical bond with the plastic. Furthermore, the melting process inherently alters the bead's structure, often creating microscopic, razor-sharp internal edges that act like tiny saws against traditional stringing materials. To build a perler necklace that survives daily wear, we must abandon basic craft techniques and adopt professional jewelry-making troubleshooting protocols.
Troubleshooting Melting and Fusing Failures
The most common reason a perler necklace falls apart is improper fusing. Under-melted beads will separate when subjected to the tension of a necklace drape, while over-melted beads lose their structural walls and close up, making stringing impossible or causing the plastic to become brittle.
The Temperature and Timing Matrix
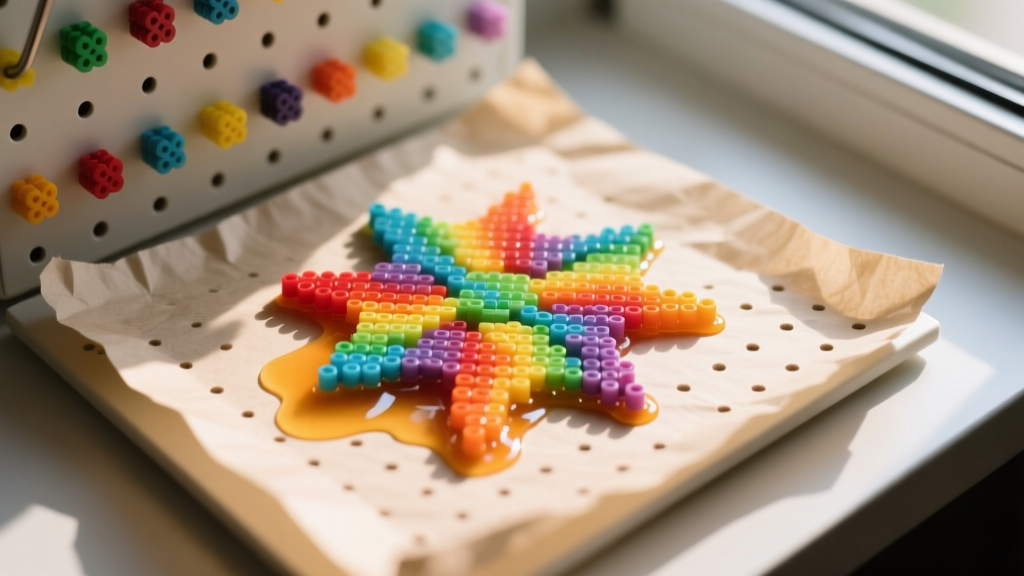
Polyethylene has a melting point of approximately 115°C to 135°C (239°F to 275°F). Household irons vary wildly in temperature output, so relying on the 'wool' or 'cotton' dial settings is a recipe for disaster. Below is a professional troubleshooting matrix for achieving the optimal 'tack fuse'—where beads are permanently bonded but retain their cylindrical depth and open holes.
| Iron Setting | Approx. Temp | Time per Side | Result & Troubleshooting |
|---|---|---|---|
| Low / Synthetic | 110°C (230°F) | 10-15 sec | Under-fused. Chalky finish. Beads will snap apart under tension. Increase heat or time. |
| Medium / Wool | 130°C (266°F) | 8-12 sec | Optimal tack fuse. Holes remain open, walls are slightly rounded. Ideal for stringing. |
| High / Cotton | 160°C+ (320°F+) | 5-8 sec | Over-melted. Holes close up, plastic warps, and the piece becomes brittle and prone to cracking. |
Pro Tip: Never use wax paper, as it will melt into the polyethylene and ruin the piece. Always use a dedicated PTFE (Teflon) non-stick ironing sheet or high-quality parchment paper. According to crafting authorities at The Spruce Crafts, applying even, circular pressure without resting the iron in one spot prevents localized warping and uneven shrinkage.
Solving Stringing and Clasp Breakages
If your perler necklace is snapping at the center or fraying near the clasp, your stringing material is the culprit. The internal holes of fused PE beads are rarely perfectly smooth. When the plastic cools, it can form microscopic burrs. If you are using cotton thread, silk, or standard elastic cord, these burrs will saw through the fibers within hours of wear.
Upgrade to Nylon-Coated Stainless Steel
To permanently solve stringing breakage, you must transition to a 49-strand nylon-coated stainless steel beading wire. According to the material specifications from Soft Flex Company, a 0.018-inch (0.45mm) gauge wire offers the perfect balance of drape and tensile strength for midi-sized perler beads. The 49-strand construction ensures the wire remains flexible enough to lay flat against the collarbone, while the nylon exterior protects the steel from sweat and friction.
Securing the Clasp: The Crimping Method
Because super glue will peel right off polyethylene, you cannot glue a clasp directly to a perler bead. You must use mechanical crimps.
- The Hardware: Use 2x2mm sterling silver or gold-filled crimp tubes. Avoid base-metal crimp beads, as they can crack under pressure.
- The Tool: Invest in a micro-crimper tool. This plier features two notches: one to compress the tube into a 'U' shape, and one to fold the 'U' into a rounded bead.
- The Execution: Thread your steel wire through the crimp tube, through the jump ring of your lobster clasp, and back through the tube. Leave a 2mm tail. Use the micro-crimper to secure it, then thread the tail through the first 3-4 perler beads before trimming flush with the bead surface.
Sealing and Finishing: Banishing the Chalky Look
A common aesthetic complaint with DIY perler jewelry is the matte, chalky finish left behind after ironing, as well as the visibility of the grid-like pegboard texture. To elevate a perler necklace from a craft project to a premium fashion accessory, you must seal the plastic.
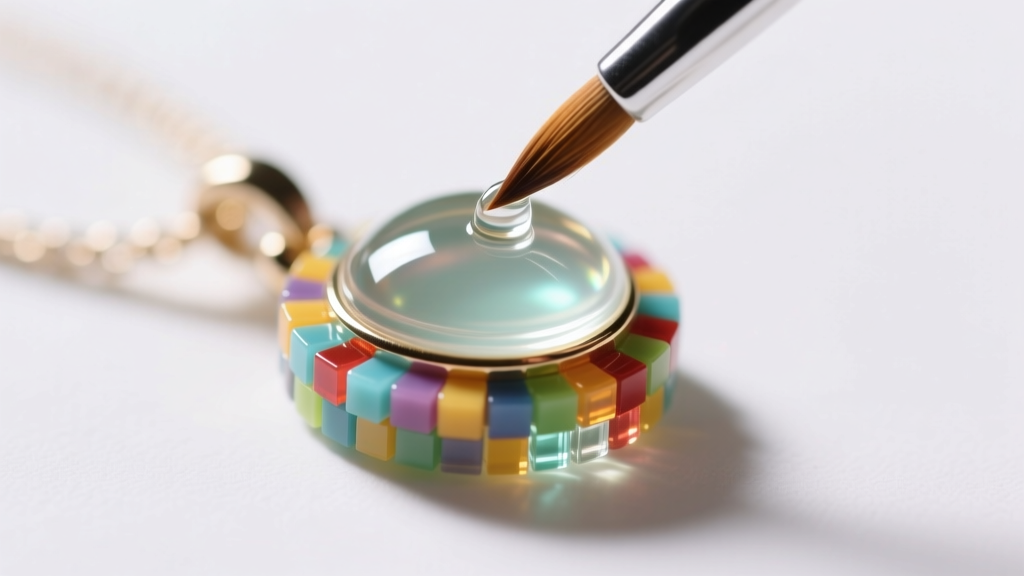
Standard aerosol clear coats often react poorly with PE plastics, leading to peeling or a cloudy, frosted appearance. Instead, professional jewelry makers utilize UV-cure jewelry resin or a two-part clear epoxy. ArtResin and similar jewelry-grade epoxies provide a high-gloss, glass-like finish that fills in the microscopic divots on the surface of the beads, creating a unified, polished pendant.
Step-by-Step Resin Sealing Protocol
- Prep: Ensure your fused perler piece is completely cool and free of dust. Wipe it down with a microfiber cloth.
- Mix: If using two-part epoxy, mix the resin and hardener in a strict 1:1 ratio by volume. Stir slowly for three minutes to minimize air bubbles.
- Apply: Using a fine-tipped silicone brush, apply a thin, even layer of resin over the top surface of the necklace. Surface tension will pull the resin to the edges of the beads without dripping over the sides.
- Cure: Allow it to cure in a dust-free environment for 24 hours. If using UV resin, cure under a 36W UV lamp for 60-90 seconds per layer.
Designing for Structural Integrity
Troubleshooting isn't just about fixing breaks; it is about designing them out of the piece entirely. When designing a perler necklace, consider the physics of the drape. Long, heavy, multi-layered pixel-art pendants place immense sheer stress on the top two beads where the wire enters the design.
To distribute this weight, incorporate a 'bail' made from multiple fused beads, or use a metal pendant bail glued with a specialized polyethylene primer (like Loctite Plastics Bonding System) before sealing. Additionally, avoid using single-bead thickness for large, heavy pendants. Fusing two identical layers together back-to-back doubles the structural integrity and provides a clean, finished look on the reverse side of the necklace.
Final Troubleshooting Checklist
Before wearing or selling your perler necklace, run through this quick diagnostic checklist to ensure longevity:
- The Flex Test: Gently bend the necklace into a tight 'U' shape. If you hear cracking or see beads separating, the piece is under-fused and requires a second pass with the iron.
- The Tug Test: Apply firm outward pressure on the clasp connections. The crimp tubes should hold fast without the wire slipping.
- The Edge Check: Run your fingernail along the inner stringing holes. If it catches on sharp plastic burrs, use a micro-reamer or a heated needle to gently smooth the channel before stringing.
By respecting the material properties of polyethylene and utilizing professional jewelry hardware, you can transform the humble perler bead into a durable, high-fashion statement piece that withstands the rigors of modern wear.


