How to Fix, Clean, and Upgrade Mardi Gras Necklaces
Learn how to fix broken strands, stop metallic paint from staining skin, and upgrade cheap Mardi Gras necklaces into durable, stylish jewelry pieces.

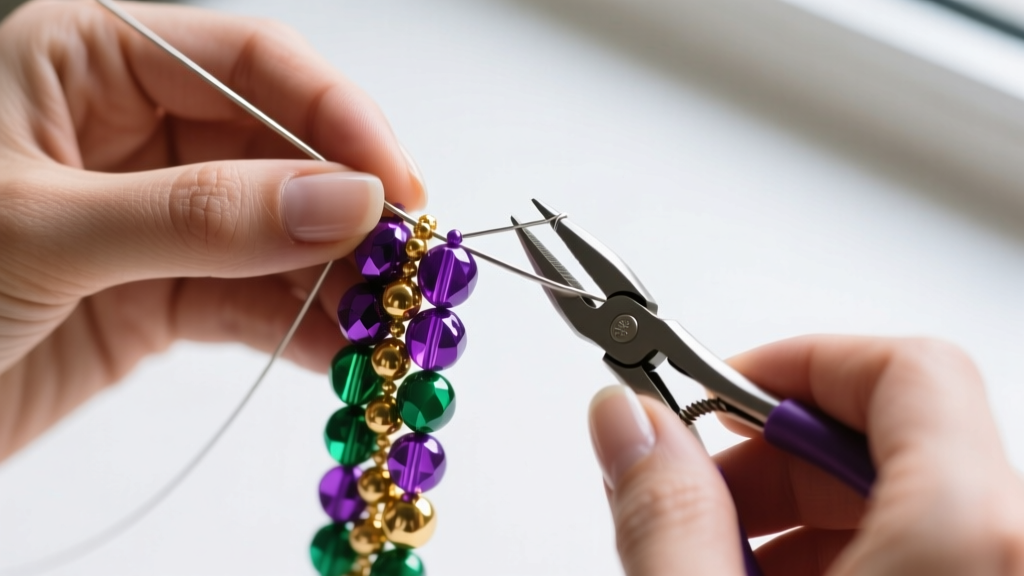
The Anatomy of a Parade Throw: Why They Break and Fade
Every February, millions of Mardi Gras necklaces flood the streets of New Orleans and Mobile, only to end up tangled, broken, or discarded by Ash Wednesday. As jewelry professionals, we look at these iconic pieces and see a masterclass in material failure. The vast majority of modern throws are constructed from high-density polyethylene (HDPE) or polystyrene plastics, strung on low-grade cotton or thin, UV-degradable nylon threads. The metallic finishes are typically acrylic-based paints mixed with mica powders that lack a protective topcoat, leading to rapid chipping and skin staining.
However, with the right jewelry-making techniques, you can salvage, restore, and elevate these cultural artifacts. Whether you are dealing with a mid-parade snap, the dreaded 'Mardi Gras rash,' or a massive knot of beads, this troubleshooting guide will help you transform disposable throws into durable, wearable art.
Troubleshooting Common Mardi Gras Necklace Disasters
Disaster 1: The Mid-Parade Snap (Re-stringing Guide)
The most common failure point is the stringing material. Cotton thread rots when exposed to humidity and sweat, while cheap nylon snaps under the tension of heavy plastic beads. To permanently fix broken Mardi Gras necklaces, you must completely restring them using professional jewelry supplies.
- The Right Wire: Discard the original thread. Use a 49-strand stainless steel beading wire coated in nylon, such as Soft Flex in .019-inch diameter. This specific gauge offers the perfect balance of tensile strength and drape for standard 4mm to 6mm plastic beads.
- Crimping Mechanics: Never tie knots in beading wire; it will eventually fray and snap. Instead, use 2mm sterling silver or gold-filled crimp tubes. Base metal crimp beads often have brittle alloys that crack when compressed. Use a micro-crimping plier to fold the tube into a secure, rounded bead, and always finish the ends with a 3mm wire guardian to prevent the wire from sawing through the clasp loop.
- Clasp Upgrades: Replace the traditional 'tie-off' method with a 10mm gold-filled lobster claw clasp and a 5mm soldered jump ring for secure, easy removal.
Disaster 2: Metallic Paint Rub-Off and Skin Staining
The infamous 'Mardi Gras rash' or green/black skin staining is caused by cheap metallic spray paints containing copper, aluminum, and sometimes trace heavy metals reacting with the acidity in human sweat. In 2026, with stricter environmental and skin-safety standards, it is crucial to seal older or imported throws before wearing them against the skin.
The Fix: First, wipe the beads down with a lint-free cloth dampened with 70% isopropyl alcohol to remove surface oils and loose mica dust. Allow them to dry completely. Next, apply a protective barrier. For a high-gloss, durable finish, lay the strands flat on a silicone mat and spray them with two light coats of Krylon Clear Polyurethane Gloss. For a more controlled application on specific focal beads, brush on a layer of Mod Podge Dishwasher Safe sealant. This creates an impermeable acrylic barrier that locks in the pigment and prevents skin contact.
Disaster 3: Severe Bead Tangling (The Knot of Death)
When multiple strands of plastic beads are stored together in a plastic bag, friction and static electricity create impenetrable knots. Pulling on the ends only tightens the HDPE beads against the nylon thread, often causing micro-fractures in the plastic.
The Fix: Never use brute force. Lay the tangled mass on a smooth, non-porous surface. Apply a single drop of mineral oil or a synthetic beading lubricant directly to the center of the knot. Take two fine-tipped beading awls (or heavy-duty sewing needles) and insert them into the center of the knot. Gently wiggle the awls in opposite directions to loosen the tension, working from the inside out. The mineral oil reduces surface friction, allowing the plastic beads to slide past one another without cracking. Once untangled, wash the strand in warm water with a drop of Dawn dish soap to remove the oil residue.
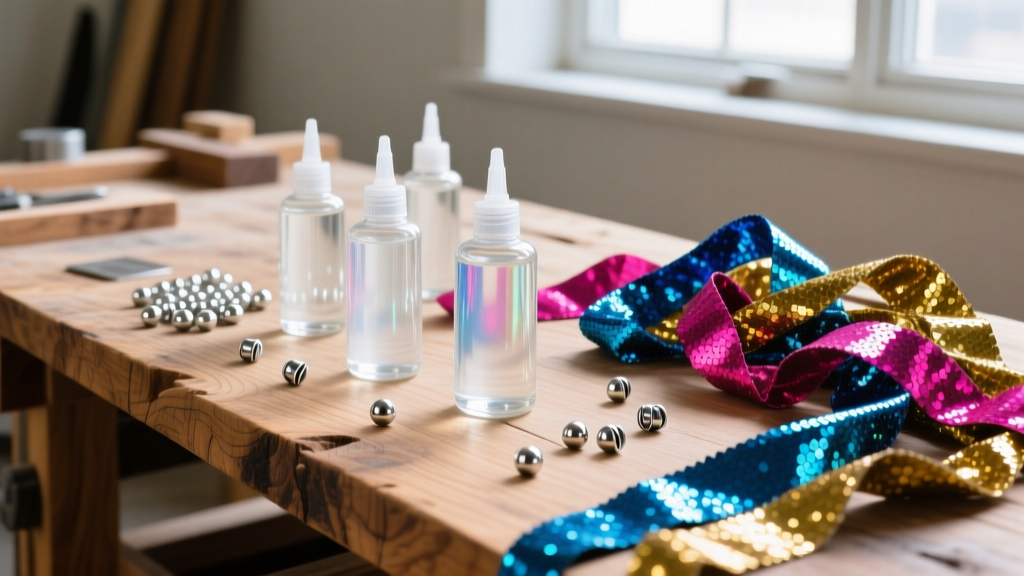
Upgrading Your Throws: From Cheap Plastic to Heirloom Quality
If you want to transition your Mardi Gras necklaces from seasonal costume jewelry to year-round statement pieces, upgrading the hardware and mixing materials is essential. Below is a material upgrade matrix to guide your restoration budget.
| Component | Original Throw Material | Upgraded Alternative | Estimated Cost per Necklace |
|---|---|---|---|
| Stringing | Cotton/Poly Thread | Soft Flex .019" 49-Strand Wire | $1.50 - $3.00 |
| Clasp | None (Tied Loop) | 10mm 14k Gold-Filled Lobster Claw | $1.20 - $2.50 |
| Crimps | None / Knots | 2mm Sterling Silver Crimp Tubes | $0.30 - $0.60 |
| Finish | Raw Acrylic Paint | Clear Epoxy Resin Dip / Polyurethane | $0.50 - $1.00 |
| Accents | Standard Plastic | Swarovski Crystal Bicones (4mm) | $4.00 - $8.00 |
By interspersing high-quality glass crystals or genuine gemstone beads (like amethyst for purple, peridot for green, and citrine for gold) every few inches, you break up the monotony of the plastic and add genuine optical brilliance to the piece. You can source high-quality findings and gemstones from reputable suppliers like Rio Grande to ensure your upgrades withstand daily wear.
Cleaning and Restoring Vintage Glass Beads
Not all Mardi Gras necklaces are plastic. Pre-1970s throws, often imported from Czechoslovakia or Japan, were made of genuine glass, sometimes featuring intricate foil-backing or hand-painted floral motifs. These vintage pieces are highly sought after by collectors but require delicate troubleshooting.
Identification: Glass beads are noticeably heavier, colder to the touch, and produce a sharp 'clinking' sound when tapped together, unlike the dull thud of HDPE plastic.
Cleaning Protocol: Never place vintage glass throws in an ultrasonic jewelry cleaner. The high-frequency vibrations will shatter the delicate glass or cause the metallic foil-backing to delaminate and turn black. Instead, prepare a lukewarm bath of distilled water and a pH-neutral jewelry cleaner. Submerge the strand for no more than five minutes. Gently agitate the water, then use a soft-bristled baby toothbrush to clean the crevices around the bead holes. Rinse with distilled water and lay flat on a microfiber towel to air dry. If the original cotton thread is fraying, restring immediately using FireLine 6lb braided beading thread, which offers the flexibility needed for vintage glass without the stiffness of steel wire.

Advanced Layering: Styling Upgraded Pieces for Everyday Wear
The final troubleshooting step is solving the 'costume' look. Traditional Mardi Gras necklaces are often 33 inches long (opera length) and feature uniform, bulky beads, which can overwhelm the neckline and look tacky when worn outside of a parade environment.
To integrate these pieces into a sophisticated 2026 wardrobe, employ the rule of contrasting textures and lengths. Pair your upgraded, re-strung 33-inch Mardi Gras strand with two shorter, delicate chains. For example, layer the bold beads with an 18-inch 1.2mm gold cable chain and a 22-inch gold rope chain. The delicate metallic lines of the gold chains provide negative space that allows the vibrant purple, green, and gold beads to act as a bold focal point rather than a chaotic mass of color. Tuck the longest strand under a structured blazer or let it drape over a simple, solid-color silk blouse to let the restored jewelry take center stage.
Conclusion
Mardi Gras necklaces do not have to be destined for the landfill. By understanding the material science behind their failure points and applying professional jewelry repair techniques, you can rescue these vibrant symbols of celebration. Whether you are re-stringing with 49-strand steel wire, sealing toxic metallic paints, or carefully restoring vintage glass, a little troubleshooting goes a long way in preserving the magic of the season year-round.


