Expert Guide to Restoring and Repairing Wood Necklaces
Learn how to troubleshoot, clean, and repair damaged wood necklaces. Expert fixes for cracked beads, broken cords, and dried-out finishes.

The Hygroscopic Challenge of Wood Jewelry
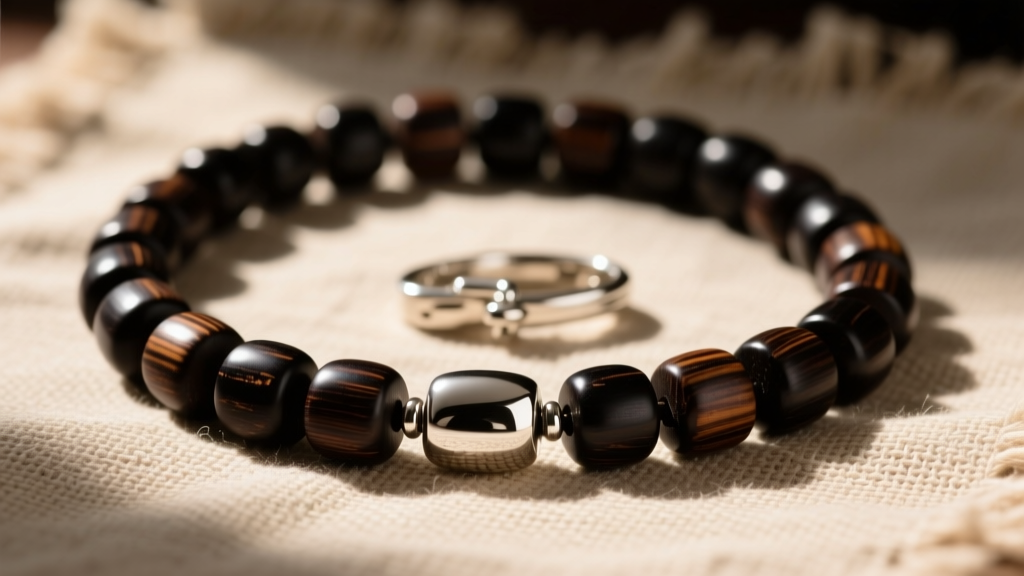
Wood necklaces offer an organic warmth and lightweight comfort that metals and gemstones simply cannot replicate. However, as a hygroscopic material, wood constantly exchanges moisture with its environment. When the ambient relative humidity drops below 30%, wooden beads and pendants lose their internal moisture content, leading to micro-cracking, checking (splitting along the grain), and a dull, grayish patina. Conversely, excessive humidity or direct contact with sweat can cause the wood to swell, degrading the finish and weakening the structural integrity of the bead holes. Understanding the Equilibrium Moisture Content (EMC) of your specific wood type is the first step in troubleshooting and repairing damaged wood necklaces.
Unlike metal chains that can be soldered or gemstones that can be repolished with standard lapidary compounds, wood requires specialized, non-aqueous restoration techniques. Water-based cleaners will raise the grain and cause irreversible swelling. In this comprehensive guide, we will break down the exact material grades, restorative oils, and cord-repair techniques required to bring damaged wood jewelry back to life.
Troubleshooting Common Wood Bead Failures
Different wood species react to environmental stress in unique ways based on their Janka hardness rating and natural oil content. Below is a diagnostic matrix to help you identify the failure mode of your wood necklace and select the appropriate restorative treatment.
| Wood Type | Janka Hardness | Common Failure Mode | Best Restorative Treatment |
|---|---|---|---|
| African Ebony | 3,220 lbf | Micro-cracking from dry air; brittle fracture | Clear Tung Oil (multiple thin coats) |
| Indian Sandalwood | 1,200 lbf | Loss of aromatic oils; surface graying | Jojoba Oil (mimics natural sebum) |
| Olive Wood | 2,710 lbf | Checking (splitting along the grain) | Danish Oil (polymerizes deep in grain) |
| Rosewood | 2,440 lbf | Pore clogging from skin oils; sticky finish | Naphtha solvent wash, followed by wax |
According to the Forest Stewardship Council (FSC), sustainably harvested hardwoods like Ebony and Rosewood are incredibly dense, meaning they take longer to absorb restorative oils but are highly susceptible to sudden temperature shocks. Always allow dense woods to acclimate to room temperature before applying any finishing oils.
Step-by-Step Restoration for Dried or Scratched Wood
If your wood necklace has lost its luster or developed superficial scratches from daily wear, you must carefully abrade the damaged surface layer before re-oiling. Do not use sandpaper, as it will leave deep, uneven scratches that disrupt the natural grain pattern.
Phase 1: Solvent Cleaning
Never use water, alcohol, or commercial jewelry dips on wood. Instead, use a lint-free microfiber cloth lightly dampened with VM&P Naphtha. Naphtha is a fast-evaporating petroleum distillate that dissolves accumulated skin oils, lotions, and degraded wax finishes without raising the wood grain. Gently rub each bead, paying special attention to the areas around the drill holes where sebum tends to accumulate.
Phase 2: Micro-Abrasion
For physical scratches, utilize a Micromesh abrasive pad kit. Start with 1500 grit to level the scratched surface, then progress sequentially through 2400, 3600, 6000, and finally 12000 grit. As of 2026, advanced micro-abrasive pads are widely available and will burnish the wood fibers to a glass-like finish without the need for chemical polishes. Sand strictly in the direction of the grain.
Phase 3: Oil Polymerization
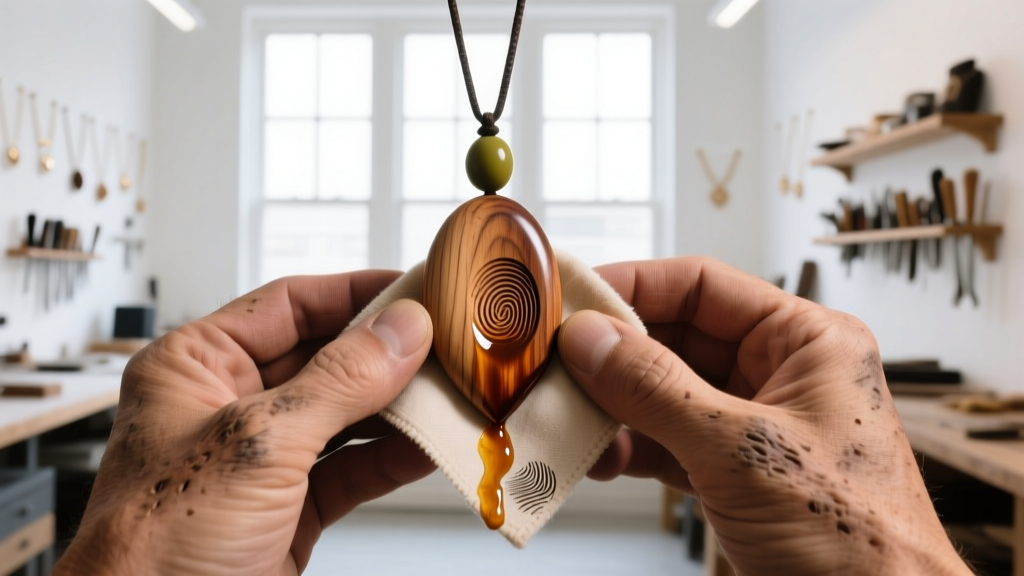
Once the wood is clean and burnished, it is time to replenish the lipid barrier. Avoid mineral oil, which never fully cures and can leave a greasy residue that attracts dust. Instead, use 100% pure Tung Oil or a high-quality Danish Oil. Apply a single drop to each bead, rub it in thoroughly, and let it penetrate for 20 minutes. Wipe away all excess oil with a dry cloth. The oil requires oxygen to polymerize (cure) into a hard, protective resin within the wood pores. Allow 24 hours of curing time between coats, applying a minimum of three coats for severely dried wood.
Cord and Hardware Troubleshooting: The Hidden Weak Points
The most frequent point of failure in wood necklaces is not the wood itself, but the cord threading through it. Wood bead holes are often drilled with standard steel bits, leaving microscopic splinters and rough edges inside the channel. Over time, these rough edges act like tiny saws, fraying and eventually snapping the necklace cord.
Upgrading Your Cord Material
If you are repairing a broken wood necklace, do not reuse standard elastic or cheap nylon. Elastic (polyurethane) degrades rapidly when exposed to the natural acids in human sweat and the friction of wood beads. For a permanent repair, upgrade to a braided polyethylene cord, such as WildFire, or a bonded nylon thread like C-Lon. For standard 1mm to 1.5mm bead holes, a 0.008-inch (0.20mm) diameter WildFire cord offers exceptional tensile strength and is completely waterproof.
Reaming and Protecting the Drill Holes
Before restringing, inspect the bead holes. If you feel resistance or see splintering, use a diamond-coated bead reamer to gently smooth the interior channel. Lubricate the reamer with a drop of water (keep the water strictly inside the hole, avoiding the wood surface) to prevent heat buildup. After reaming, thread the cord through a microscopic dab of beeswax to reduce friction against the wood interior.
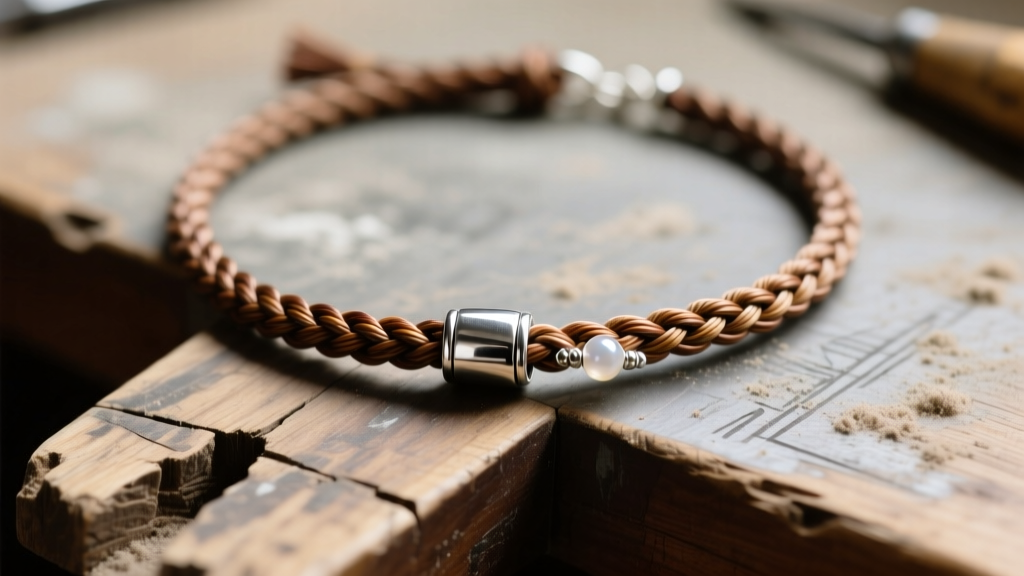
When finishing the ends of the necklace, avoid crushing the polyethylene cord with standard crimp beads, as the hard metal can cut the synthetic fibers. Instead, use a surgeon's knot secured with a micro-drop of cyanoacrylate (super glue), and hide the knot inside a sterling silver bead tip or a clamshell clasp. For detailed knotting techniques and hardware selection, the Fire Mountain Gems jewelry making resources provide excellent visual tutorials on securing heavy bead strands.
Preventative Maintenance and Storage Protocols
Restoring a wood necklace is only half the battle; proper storage is essential to prevent future hygroscopic shock. Wood jewelry should never be stored in a bathroom, where humidity fluctuates wildly, or near HVAC vents, which blast dry, conditioned air.
- Humidity Control: Store your wood necklaces in an environment with a stable relative humidity between 45% and 55%. If you live in an arid climate, keep the necklace in a sealed polyethylene bag with a small, specialized jewelry humidification packet (like those used for wooden musical instruments).
- UV Protection: Prolonged exposure to ultraviolet light will photo-oxidize the lignin in the wood, causing vibrant woods like Purpleheart to turn dull brown, and Sandalwood to gray. Store in an opaque, lined jewelry box.
- Wear Order: Always put your wood necklace on after applying perfumes, hairsprays, and lotions. The alcohol and chemical solvents in cosmetics will strip the polymerized oil finish and dry out the wood fibers almost instantly.
Expert Insight: If you purchase a wood necklace while traveling to a drastically different climate (e.g., moving from a humid tropical region to a dry, high-altitude city), do not wear it immediately. Keep it in its sealed packaging for 7 to 10 days to allow the wood's internal moisture to slowly acclimate to the new environment's EMC, drastically reducing the risk of spontaneous cracking.
By understanding the botanical and structural properties of your jewelry, you can easily troubleshoot common issues and maintain the organic beauty of your wood necklaces for decades. For deeper insights into finishing techniques for exotic hardwoods, consult the Woodcraft finishing guides, which offer master-level advice on sealing and protecting porous organic materials.


