Fixing an Emerald Necklace Trail: Troubleshooting Spinning and Wear
Solve common emerald necklace trail issues. Expert fixes for spinning, chain kinking, and protecting brittle emeralds from chipping and damage.
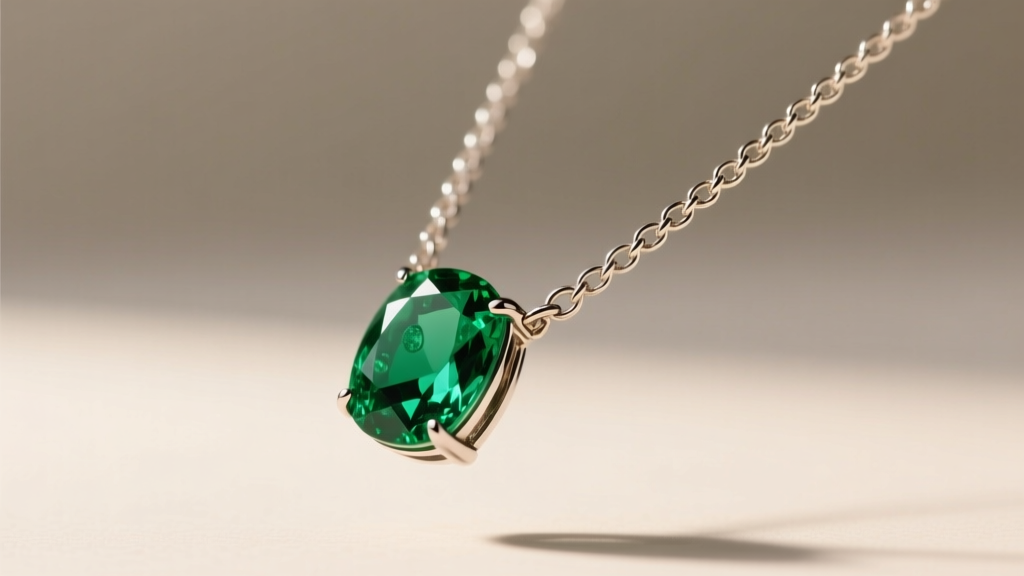

An emerald necklace trail—often designed as a graduated cascade, a rivière, or a station-style drop—is one of the most striking silhouettes in fine jewelry. By drawing the eye down the décolletage, a trailing line of vibrant green beryl creates unparalleled elegance. However, from a bench jeweler’s perspective, this specific design is a mechanical nightmare. The combination of heavy, brittle gemstones and delicate chains leads to a predictable trio of problems: relentless spinning, stone-on-stone chipping, and catastrophic chain kinking.
If your favorite emerald trail constantly slips to the side, or if you are noticing micro-chips along the girdles of your stones, you are not alone. This troubleshooting guide breaks down the physics and material science behind these failures, providing actionable, professional-grade solutions to restore and protect your necklace.
The Spinning Dilemma: Why Your Trail Shifts
The most frequent complaint regarding any front-heavy necklace is spinning. An emerald necklace trail concentrates the majority of its mass (the gemstones and their settings) in the front 3 to 5 inches of the piece. The back of the neck, meanwhile, is supported by a lightweight chain. This creates a severe center-of-gravity imbalance. Every time you move, the heavy front acts as a pendulum, dragging the lighter back chain around your neck.
Troubleshooting the Center of Mass
To stop the spin, you must artificially rebalance the necklace. Here are the three most effective methods used by master jewelers:
- The Counterweight Method: Have a jeweler solder or attach a small, dense metal bead (usually 14k or 18k gold or platinum) to the chain exactly one inch away from the clasp. A bead weighing between 1.5 and 2.5 grams provides just enough drag at the nape of the neck to anchor the piece without altering the front drape.
- Silicone Necklace Guards: For a non-permanent, budget-friendly fix, thread the clasp through a microscopic, clear silicone friction disc before closing it. This increases the surface area and friction against the skin and hair, drastically reducing rotational movement.
- Chain Upsizing: If the back chain is a delicate 22-gauge cable, swapping it for an 18-gauge wheat or box chain adds necessary structural weight to the back half of the necklace, naturally countering the heavy front trail.

Stone-on-Stone Impact: Preventing Emerald Chipping
Emeralds belong to the beryl family and rank a 7.5 to 8 on the Mohs scale of hardness. However, hardness (scratch resistance) is not the same as toughness (impact resistance). Emeralds are classified as Type III clarity gems, meaning they almost always contain natural internal fractures and inclusions known as 'jardin'. These inclusions make emeralds inherently brittle.
In a poorly designed emerald necklace trail, the settings are placed too close together. When the wearer walks or bends, the stones clack against one another. Over time, this microscopic impact will chip the girdles (the outer edges) of the emeralds, permanently degrading their value and beauty.
Spacing and Setting Requirements
If you are having a trail custom-made or restrung, strict spatial rules must be followed:
- The 1.5mm Rule: There must be a minimum of 1.5mm to 2mm of physical space between the edges of adjacent emerald settings. This allows the chain to absorb the kinetic energy of movement before the stones can touch.
- Ditch High Prongs: Traditional four-prong settings catch on silk, wool, and hair. When a prong snags, it pulls the stone out of alignment, increasing the risk of it striking its neighbor. For a trail design, low-profile bezel or half-bezel settings are mandatory. They encase the vulnerable girdle in a protective rim of gold or platinum.
Chain Kinking and Clasp Failures Under Load
Emeralds have a specific gravity of roughly 2.67 to 2.78, making them surprisingly heavy for their size. A modest trail featuring five 8x6mm oval emeralds weighs approximately 12 to 15 carats total (about 2.5 to 3.2 grams of pure stone weight, plus the metal settings). Suspending this weight on a standard, mass-produced chain is a recipe for structural failure.
When a chain is too thin, the weight of the emerald trail forces the individual links to stretch and distort. Once a link loses its factory-soldered tension, the chain will kink, twist, and eventually snap at the weakest solder point.
Chain Gauge and Weave Tolerance Chart
Use the table below to determine if your current chain is rated for the weight of an emerald trail. If your chain falls into the 'High Risk' category, take it to a bench jeweler for an immediate upgrade.
| Chain Weave Type | Wire Gauge (Thickness) | Max Safe Load (Emerald Trail) | Kink Resistance |
|---|---|---|---|
| Cable / Link | 22-gauge (0.64mm) | Under 5 carats total | Very Low (High Risk) |
| Cable / Link | 20-gauge (0.81mm) | Up to 15 carats total | Moderate |
| Box Chain | 18-gauge (1.02mm) | Up to 25 carats total | High |
| Wheat / Spiga | 18-gauge (1.02mm) | Up to 30 carats total | Very High (Recommended) |
Professional Maintenance and The Ultrasonic Disaster
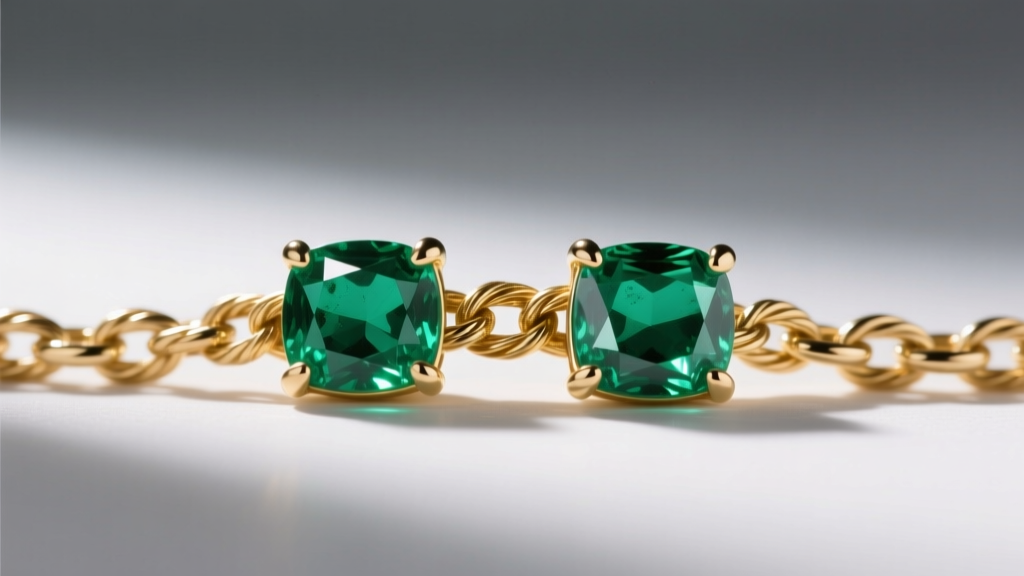
Troubleshooting an emerald necklace trail extends beyond physical repairs; it heavily involves proper maintenance. The vast majority of commercial emeralds undergo a traditional clarity enhancement process where they are bathed in cedar oil or modern synthetic resins (like Opticon). This oil fills surface-reaching fractures, making the stone appear more transparent and vibrant.
Master Jeweler Warning: Never, under any circumstances, allow a jeweler to clean your emerald necklace trail in an ultrasonic cleaner or with a high-pressure steam wand. The vibrations and heat will instantly strip the cedar oil from the stones, causing the hidden fractures to turn opaque, white, and heavily visible. This damage is often irreversible without professional re-oiling.
Safe At-Home Cleaning Protocol
To maintain the brilliance of your trail without risking the structural integrity of the settings or the oil treatments, follow this exact protocol:
- Fill a small glass bowl with lukewarm water (never hot) and a single drop of mild, lotion-free dish soap.
- Submerge the necklace trail for exactly 3 to 5 minutes to loosen skin oils and cosmetics.
- Using a baby-hair brush (the softest bristle available), gently sweep the backs of the emerald settings. Do not scrub the crowns of the stones aggressively.
- Rinse under a gentle stream of tepid water, ensuring the drain is securely plugged.
- Pat dry with a lint-free microfiber cloth. Allow the chain to air-dry completely before storing to prevent moisture from weakening the silk or wire threading inside the links.
For more in-depth information on the geological properties and care requirements of these stunning green gems, consult the Gemological Institute of America's Emerald Overview, or review their specific Emerald Care and Cleaning Guidelines. By understanding the unique vulnerabilities of the emerald necklace trail, you can troubleshoot mechanical flaws early, ensuring your jewelry remains a flawless, spinning-free cascade of green for decades to come.