How to Fix or Replace a Failing Necklace Pendant Clasp
Learn how to troubleshoot, repair, or upgrade a failing necklace pendant clasp. Expert tips on lobster, spring ring, and magnetic clasp mechanisms.

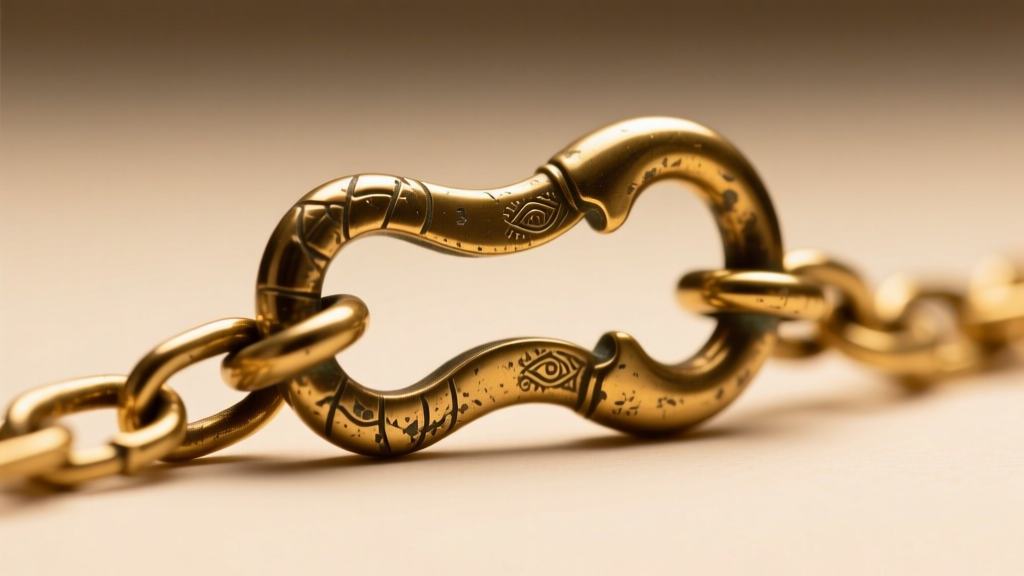
There are few things more frustrating in jewelry ownership than hearing the faint clink of a favorite piece hitting the floor. The necklace pendant clasp is the unsung hero of your jewelry box, bearing the dynamic load of your pendant while enduring constant friction, skin oils, and environmental stressors. When it fails, the entire piece is compromised.
As we move through 2026, the rise of heavier lab-grown diamond and solid gold pendants has shifted the average pendant weight, putting unprecedented stress on traditional, lightweight factory clasps. Whether your clasp is slipping open, sticking, or completely snapped, this guide will walk you through the exact metallurgical and mechanical reasons for failure, and provide actionable steps to troubleshoot, repair, or upgrade your hardware.
The Anatomy of Clasp Failure: Why Your Jewelry Keeps Breaking
Before reaching for your pliers, it is crucial to understand why the necklace pendant clasp failed. Most commercial jewelry uses mass-produced findings that prioritize cost over longevity. The three most common points of failure include:
- Work-Hardening and Metal Fatigue: Sterling silver (925) and low-karat gold alloys work-harden over time. Repeated opening and closing of a spring ring or lobster lever causes microscopic fractures at the hinge, eventually leading to a clean snap.
- Jump Ring Separation: The clasp itself rarely breaks; the unsoldered jump ring connecting it to the chain does. A standard 20-gauge wire jump ring will easily pull apart under the swinging pendulum effect of a pendant weighing more than 10 grams.
- Internal Spring Corrosion: While the exterior of your clasp may be 14k gold or sterling silver, the internal tension spring is almost always stainless steel or base metal. Exposure to sweat and chlorine causes this spring to rust, resulting in a stiff lever that refuses to snap shut.
Troubleshooting the Top 3 Clasp Mechanisms
Different clasps fail in highly specific ways. Here is how to diagnose and fix the most common hardware culprits.
1. Lobster Clasps: Stiff Levers and Snapped Springs
The lobster clasp is the industry standard for its security, but it is prone to debris accumulation. If the lever feels stiff or fails to close completely, do not force it. Forcing will snap the internal tension wire.
- Use a can of compressed air to blow out the hinge cavity.
- Dip a cotton swab in isopropyl alcohol (90% or higher) and gently clean the lever track to dissolve hardened lotion and sebum.
- If the lever is physically bent, use smooth-jawed chain-nose pliers to apply gentle lateral pressure to realign it. Never pull the lever backward past its natural resting point.
2. Spring Ring Clasps: The Sliding Sleeve Issue
Spring rings are lightweight and cheap, making them common on delicate chains. The most frequent failure is the outer sliding sleeve becoming dented or flared, which prevents the internal wire from fully retracting.
The Fix: Place the spring ring on a steel bench block. Using a rawhide mallet or the smooth jaws of your pliers, apply very light pressure to the outer sleeve to reshape it into a perfect circle. Apply a microscopic drop of synthetic watch oil to the track to restore smooth action.
3. Magnetic Clasps: Weak Magnets and Glue Failures
Magnetic clasps are excellent for accessibility, but they frequently fail at the epoxy bond. According to jewelry repair specialists at Jewelers Mutual, body heat and chemical exposure from perfumes degrade the cyanoacrylate or epoxy resins used to set the neodymium magnet inside the metal housing.
The Fix: If the magnet has fallen out, clean both the magnet and the metal cup with alcohol. Re-set the magnet using a two-part jeweler's epoxy (like G-S Hypo Cement or Devcon 5-Minute Epoxy), ensuring the magnetic poles are aligned correctly before curing for 24 hours.
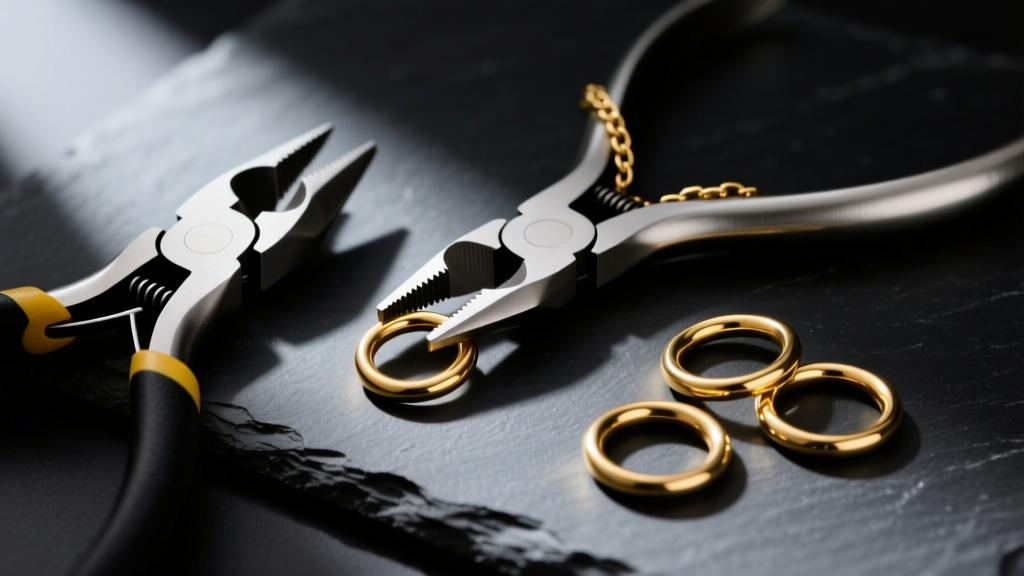
Step-by-Step Guide to Replacing a Broken Clasp
When a clasp is beyond repair, replacing it is a straightforward process if you use the correct gauge materials. Avoid using standard craft-store jump rings, which are too soft for fine jewelry.
Tools Required
- Flush wire cutters
- Two pairs of smooth-jawed chain-nose pliers (to prevent marring the metal)
- Replacement clasp (lobster or toggle)
- Soldered jump rings or heavy-gauge split rings
The Replacement Process
- Remove the Old Hardware: Use your flush cutters to snip the old, unsoldered jump ring. Never pull the chain through a damaged ring, as this will stretch and weaken the end links.
- Select the Right Jump Ring: For pendants under 15g, use an 18-gauge (1.0mm) wire jump ring with an outer diameter (OD) of 4mm or 5mm. For heavier pendants, you must use a soldered jump ring or a double-loop split ring.
- Attach and Close: Thread the new jump ring through the chain end-link and the clasp loop. Using two pairs of pliers, twist the jump ring open laterally (like a door hinge), never pull it apart outward. Twist it closed until you hear a faint 'click' and feel the ends flush against each other.
Clasp Upgrade Matrix: Matching Weight to Hardware
Upgrading your necklace pendant clasp requires matching the hardware to the dynamic weight of your specific piece. The Gemological Institute of America (GIA) frequently notes that improper finding selection is the leading cause of gemstone loss in custom jewelry. Use this matrix to select the correct upgrade path.
| Pendant Weight | Recommended Clasp Type | Jump Ring Gauge & Type | Chain Thickness Limit |
|---|---|---|---|
| Under 5g | Standard Spring Ring (5mm) | 20-gauge (0.8mm) Unsoldered | Up to 1.2mm |
| 5g - 15g | Small Lobster (10mm - 12mm) | 18-gauge (1.0mm) Unsoldered | Up to 2.0mm |
| 15g - 30g | Large Lobster (15mm+) or Magnetic | 16-gauge (1.3mm) Soldered | Up to 3.5mm |
| Over 30g | Heavy Toggle or Box Clasp | 14-gauge (1.6mm) Soldered | Over 3.5mm |
Expert Tip: If you are attaching a heavy pendant to a delicate chain, the chain will break before the clasp fails. Always ensure your chain's tensile strength exceeds the weight of the pendant and the upgraded clasp hardware combined.
Preventative Maintenance for Long-Term Durability
A high-quality necklace pendant clasp will last decades if maintained correctly. Implement these three habits to prevent premature mechanical failure:
1. The 'Last On, First Off' Rule
Cosmetics, hairsprays, and lotions contain volatile organic compounds (VOCs) and emulsifiers that break down the lubricants inside mechanical clasps. Always put your necklace on after applying beauty products, and remove it before showering or swimming.
2. Monthly Ultrasonic or Chemical Cleaning
Debris trapped in the clasp lever acts as an abrasive, grinding away the metal at the hinge pin. Once a month, soak the clasp (if solid gold or platinum) in a mild jewelry cleaning solution, or use a soft-bristled baby toothbrush with warm water and a drop of Dawn dish soap to gently scrub the lever cavity. Note: Never use ultrasonic cleaners on magnetic clasps or plated jewelry.
3. Proper Storage to Prevent Work-Hardening
Tossing necklaces into a communal jewelry box causes chains to tangle. When you pull a tangled chain, the immense localized pressure is transferred directly to the clasp hinge, bending it out of alignment. Store necklaces individually in soft flannel pouches or hang them from a multi-hook jewelry stand to eliminate tension on the findings.
When to See a Professional Jeweler
While replacing a jump ring or cleaning a lobster clasp is well within the realm of DIY jewelry care, certain repairs require a professional bench jeweler. If the actual loop on the clasp has worn thin from years of friction against the jump ring, it needs to be laser-welded or replaced entirely. Similarly, if you are upgrading to a soldered box clasp on a complex chain (like a Byzantine or Snake chain), a jeweler will need to use a laser welder to attach the findings without melting the intricate surrounding links.
By understanding the mechanics of your necklace pendant clasp and matching the hardware to the physical demands of your jewelry, you can ensure your favorite pieces remain secure, functional, and beautiful for a lifetime.


