Troubleshooting Your Love You More Necklace: Fixes & Care
Is your love you more necklace tangled, broken, or tarnished? Discover expert troubleshooting steps, chain repair tips, and clasp upgrades.

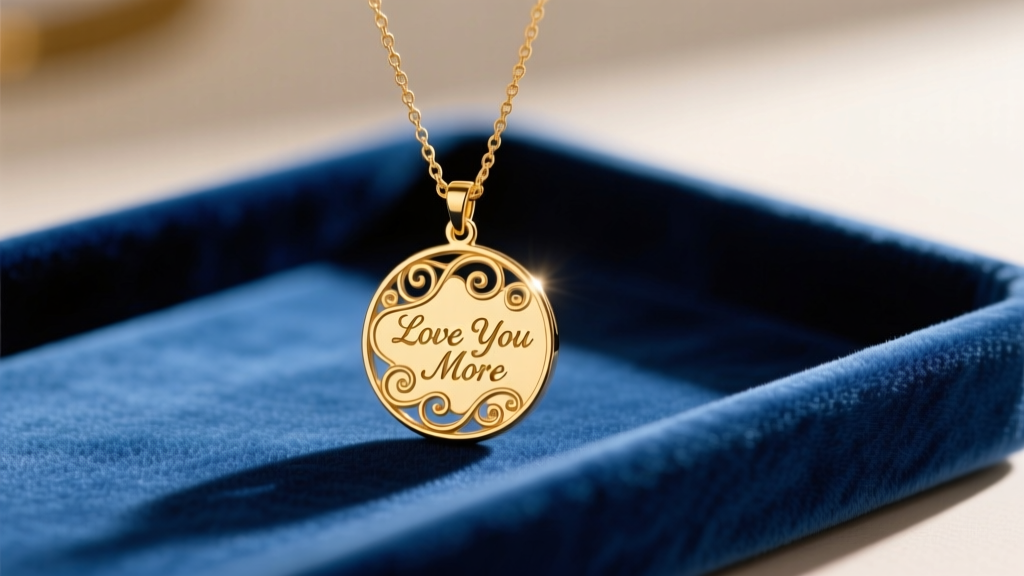
A sentimental piece of jewelry like a love you more necklace carries immense emotional weight, often serving as a daily reminder of a profound bond. Whether it features a custom-engraved bar, interlocking hearts, or a delicate script pendant, these necklaces are typically designed with dainty aesthetics in mind. However, the very delicacy that makes them beautiful also makes them highly susceptible to mechanical failure, tangling, and material degradation. When a cherished piece snaps, tarnishes, or knots itself into an impossible mess, panic often sets in.
As jewelry construction experts, we see countless sentimental pieces returned for repair due to preventable wear and tear. In this comprehensive troubleshooting guide, we will dissect the most common failure modes of delicate pendant necklaces and provide actionable, metallurgically sound solutions to restore your jewelry to its original glory.
Diagnosing Chain Tangling and Micro-Knots
The majority of love you more necklaces are strung on ultra-fine cable or box chains, typically ranging from 0.8mm to 1.2mm in width. While a 0.8mm chain offers an ethereal, barely-there look, it lacks the structural rigidity to resist torsion. When stored improperly or subjected to the friction of daily movement, these micro-chains fold back onto themselves, creating severe micro-knots that can permanently kink the metal links if forced.
Box chains are particularly notorious for this. Because their links are square and interlock at rigid 90-degree angles, they do not drape as fluidly as round cable chains. When a box chain twists, the sharp edges of the links can catch on one another, locking the knot in place.
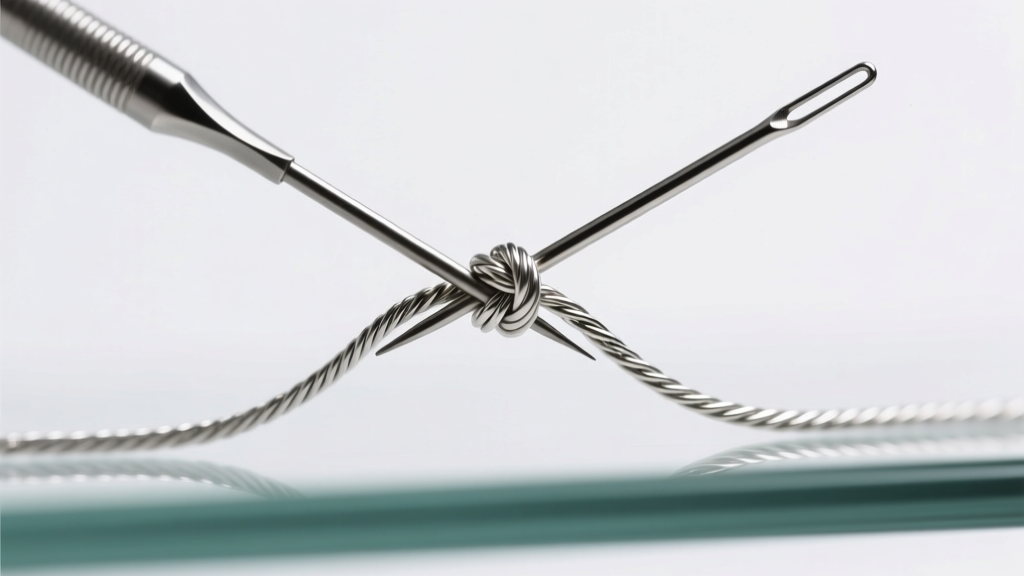
The Baby Oil and Needle Technique
Never pull on a knotted chain. Tension will collapse the delicate links, turning a simple tangle into a structural failure requiring laser soldering. Instead, follow this professional untangling protocol:
- Lubricate the Knot: Place the necklace on a hard, flat surface (glass or ceramic works best). Apply a single drop of mineral oil or baby oil directly onto the knot. Avoid olive oil, as it can become sticky and rancid over time.
- Loosen the Core: Using two fine-tipped sewing needles or beading awls, gently tap the center of the knot to loosen the links. Do not pry them apart yet.
- Work the Edges: Insert the needles into the outermost loops of the tangle and gently wiggle them outward. The oil reduces surface friction, allowing the 0.9mm links to slide past one another.
- Cleanse: Once untangled, wash the chain in a mild solution of warm water and phosphate-free dish soap to remove the oil, then pat dry with a microfiber cloth.
Clasp Failures: Spring Ring vs. Lobster Claw
The clasp is the most frequent point of mechanical failure on any necklace. A love you more necklace typically ships with a lightweight spring ring clasp to maintain the delicate aesthetic. However, spring rings contain a microscopic internal coil spring that is highly prone to fatigue and collapse, especially when exposed to the acidic pH of human sweat or the friction of daily wear.
According to repair standards outlined by the Jewelers of America, a spring ring should be replaced at the first sign of trigger resistance or failure to close flush. If your clasp is sticking, it is likely that debris or oxidized metal has jammed the internal track.
| Clasp Type | Durability Rating | Common Failure Mode | Recommended Chain Gauge |
|---|---|---|---|
| Spring Ring | Low | Internal spring collapse / trigger jam | 0.8mm - 1.0mm |
| Lobster Claw | High | Lever bending / solder ring detachment | 1.2mm - 2.0mm |
| Magnetic | Medium | Neodymium magnet adhesive failure | 1.5mm+ |
The Upgrade Solution: If your spring ring constantly fails, take the necklace to a bench jeweler and request an upgrade to a 5mm or 7mm lobster claw clasp. A jeweler can easily snip the jump ring and solder on a more secure lobster claw, drastically reducing the risk of losing your pendant. Ensure the new clasp is cast in the same metal alloy (e.g., 14k gold or 925 sterling silver) to prevent galvanic corrosion.
Pendant Bail Friction and Chain Wear
The bail is the loop at the top of the pendant through which the chain passes. On a heavily worn love you more necklace, the constant back-and-forth sliding of the chain through the bail acts like a microscopic saw. Over time, this friction can wear a groove completely through the bail, or conversely, the harder bail can saw through the softer chain links.
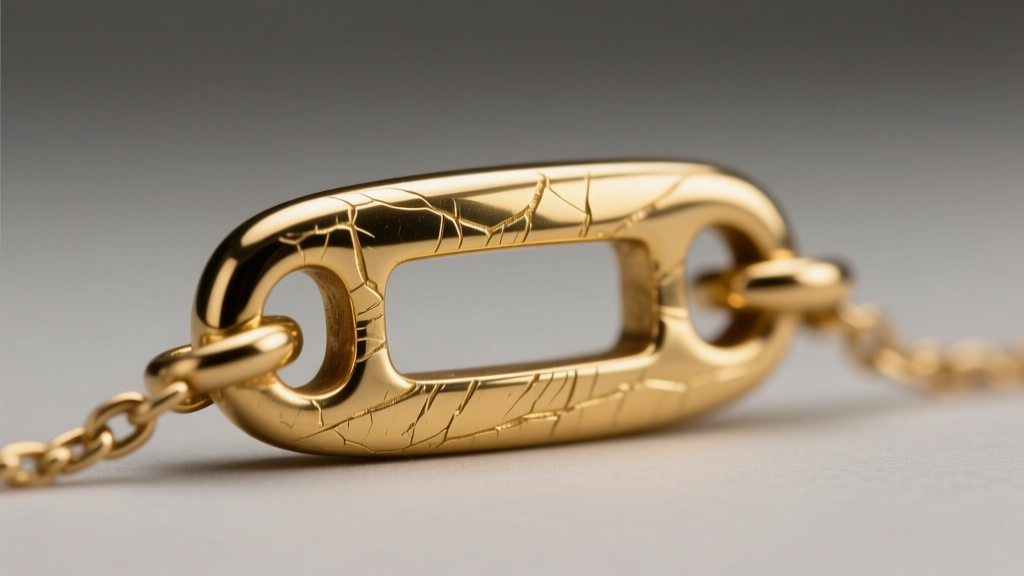
This issue is exacerbated when mixing metal hardness levels. For example, if your pendant is crafted from 18k gold (which is softer due to higher pure gold content) and your chain is 14k gold (which is harder due to higher alloy content), the 14k chain will slowly erode the 18k bail. The Gemological Institute of America (GIA) frequently notes that mismatched karat weights in daily-wear jewelry lead to accelerated friction wear.
Preventative Bail Maintenance
To troubleshoot and prevent bail wear, inspect the interior of the bail loop every six months using a jeweler's loupe. If you notice a visible groove or thinning of the metal, you have two options:
- Bail Liner Installation: A jeweler can solder a tiny, hardened platinum or 14k white gold tube inside the bail. This creates a sacrificial, highly durable barrier that protects the softer gold pendant.
- Chain Gauge Upsizing: If the chain is wearing down, upgrade from a 1.0mm chain to a 1.5mm chain. The thicker links distribute the friction load over a wider surface area, reducing the cutting effect on the bail.
Preserving Engravings and Enamel Accents
Many love you more necklaces feature laser-engraved script or delicate enamel fills (such as black or white enamel inside the lettering to increase contrast). Cleaning these pieces requires extreme caution. Ultrasonic cleaners, which use high-frequency sound waves to cavitate dirt away, are strictly prohibited for enameled jewelry. The vibrations can shatter the glass-like enamel or cause it to separate from the metal backing.
Furthermore, aggressive polishing with abrasive silver dips or treated rouge cloths will wear away the oxidized contrast in laser engravings, leaving the text faded and difficult to read. To safely clean an engraved or enameled pendant, use a soft-bristled baby toothbrush dipped in a solution of lukewarm water and a single drop of mild, ammonia-free dish soap. Gently brush the surface, rinse thoroughly, and dry with a lint-free cloth.
Emergency Snap Repair Protocol
If your chain snaps while you are wearing it, your immediate priority is preserving the broken ends. Do not attempt to twist the links back together with pliers; this will warp the metal and make laser soldering significantly more difficult and expensive for a professional.
Instead, carefully unthread the pendant from the broken chain to prevent it from sliding off and getting lost. Place the broken chain and the pendant into a small, sealable plastic bag. If a link has completely broken open and separated, ensure you recover the microscopic jump ring or O-ring, as custom-matching these tiny components can delay the repair process. Store the bag in a secure jewelry box until you can visit a certified bench jeweler for a seamless laser weld.
Expert Insight: A love you more necklace is an investment in sentiment. By upgrading the clasp, monitoring bail friction, and avoiding ultrasonic cleaners, you can ensure that the physical piece lasts just as long as the promise it represents.


