Stop the Pain Necklace: How to Wear Heavy Chains Comfortably
Learn how to stop your heavy statement jewelry from becoming a pain necklace. Step-by-step guide to chain gauges, weight distribution, and clasps.

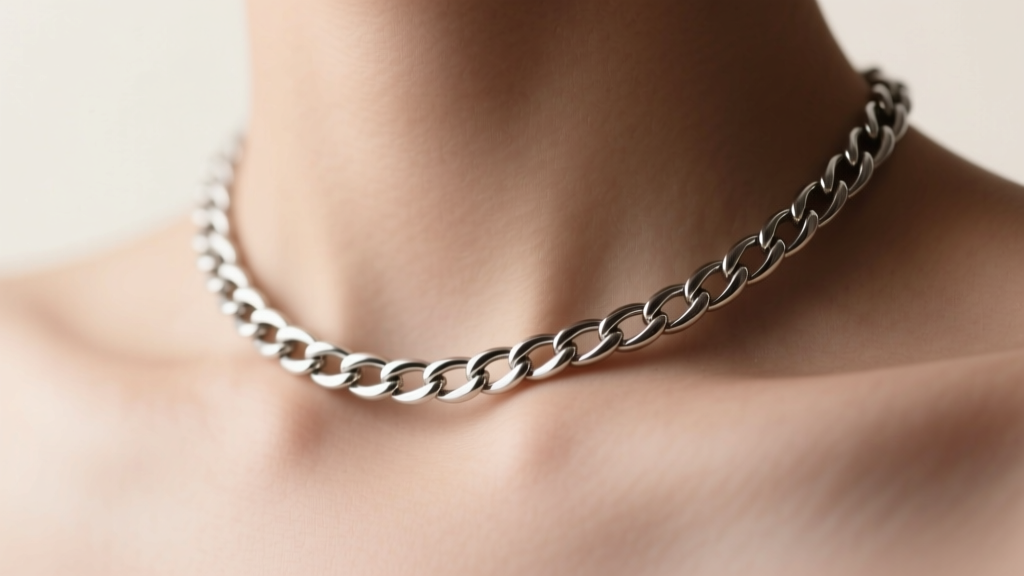
Statement jewelry is having a massive moment in 2026, with oversized pendants, chunky links, and layered metallics dominating runways and street style alike. But there is a hidden downside to this maximalist trend: cervical strain. When a heavy, poorly balanced piece of jewelry starts causing physical discomfort, red marks, or postural fatigue, it crosses the line from a fashion statement into what we in the industry call a pain necklace.
If you love bold jewelry but hate the neck aches, you are not alone. The human neck is a complex network of muscles and vertebrae not designed to bear continuous anterior loads. Fortunately, transforming a pain necklace into a comfortable, wearable masterpiece requires only a few strategic adjustments. This step-by-step guide will teach you how to evaluate weight distribution, choose ergonomic components, and wear heavy chains without sacrificing your spinal health.
The Anatomy of a Pain Necklace: Why Heavy Jewelry Hurts
To fix the problem, we first need to understand the biomechanics of neck strain. According to the Mayo Clinic, the cervical spine supports the weight of your head (roughly 10 to 12 pounds). When you add a heavy necklace, the trapezius and levator scapulae muscles must work overtime to counterbalance the anterior pull.
A piece of jewelry generally becomes a pain necklace when it exceeds 85 grams (3 ounces) and features a concentrated center of gravity. The discomfort usually manifests in three ways:
- Friction Burns: Caused by rough chain links or small, digging clasps rubbing against the nape of the neck.
- Muscle Fatigue: The trapezius muscles spasm as they attempt to stabilize a heavy pendant that swings away from the chest.
- Fulcrum Strain: A heavy pendant on a short chain acts as a lever, pulling the back of the neck upward and forcing the chin forward.
Step 1: Evaluate Your Chain Gauge and Material
The foundation of any comfortable heavy necklace is the chain. In 2026, jewelry makers are moving away from dense, rigid chains in favor of high-tensile, lightweight alloys. However, if you are working with vintage or solid metal pieces, the chain style dictates how weight is distributed across your collarbones.
| Chain Style | Typical Gauge (mm) | Weight per 18" (g) | Comfort Profile | Best Application |
|---|---|---|---|---|
| Wheat (Spiga) | 2.0 - 4.0 | 15 - 35g | Excellent (Smooth, flexible) | Heavy Pendants |
| Rope | 3.0 - 6.0 | 25 - 60g | Poor (Digs into skin, stiff) | Standalone Wear |
| Box | 1.5 - 3.0 | 10 - 25g | Fair (Can pull fine hair) | Light Charms |
| Cable | 1.0 - 2.5 | 5 - 15g | Good (Classic, lightweight) | Layering |
Pro Tip: If your heavy pendant is currently strung on a rope chain, swap it for a 316L surgical stainless steel wheat chain. 316L steel offers the visual weight and shine of white gold but is significantly lighter and hypoallergenic, instantly reducing the overall gram weight of your pain necklace.
Step 2: Master Weight Distribution with the Right Clasp
The clasp is the most overlooked component of necklace ergonomics. A standard 10mm lobster claw clasp concentrates all the tension of a heavy chain into a single, tiny point on the most sensitive part of your neck. To stop your jewelry from being a pain necklace, you must distribute this tension.
Upgrading to a Counterweight or Magnetic Clasp
For necklaces exceeding 60 grams, upgrade to a neodymium magnetic clasp. However, not all magnets are created equal. You must look for N52 grade neodymium, which provides a shear force strong enough to hold heavy pendants without accidentally snapping open.
Alternatively, use a counterweight clasp. This involves adding a small, decorative 10-gram weight to the back of the chain, directly behind the clasp. This counterbalance prevents the heavy front pendant from pulling the back of the chain upward, effectively neutralizing the fulcrum effect that causes cervical strain.
Step 3: The Pendant-to-Chain Ratio Rule
A common mistake that creates a pain necklace is an unbalanced pendant-to-chain ratio. If your pendant is massively heavy and your chain is ultra-thin, the chain will act like a wire cutting into your skin.
The Golden Ratio of Jewelry Ergonomics: A pendant should never exceed 3.5 times the weight of the chain it hangs from. If your pendant weighs 70 grams, your chain must weigh at least 20 grams to properly distribute the load across the trapezius muscles.
If you have a heavy pendant and a delicate chain, you can fix the balance by adding a bail enhancer or a spreader bar. A spreader bar is a small, horizontal metal bar that attaches to the chain and features multiple loops for the pendant bail. This spreads the downward force of the pendant across a 2-inch horizontal plane on your chest, rather than a single point on your neck.
Step 4: Adjusting the Drop Length for Cervical Relief
According to the American Physical Therapy Association, forward head posture is a leading cause of chronic neck pain. Wearing a heavy pendant on a 16-inch choker chain forces the head forward to compensate for the weight resting directly on the clavicle fulcrum.
To wear heavy pieces comfortably, you must lower the center of gravity. Follow these length guidelines based on pendant weight:
- Lightweight (Under 30g): 16 to 18 inches (Choker to Princess). Safe for the upper collarbone.
- Medium Weight (30g - 60g): 20 inches. Rests on the upper sternum, allowing the chest wall to bear the weight rather than the neck muscles.
- Heavy Statement (Over 60g): 22 to 24 inches (Matinee). The pendant rests on the mid-chest, completely eliminating cervical leverage and turning a potential pain necklace into a comfortable, sweeping accessory.
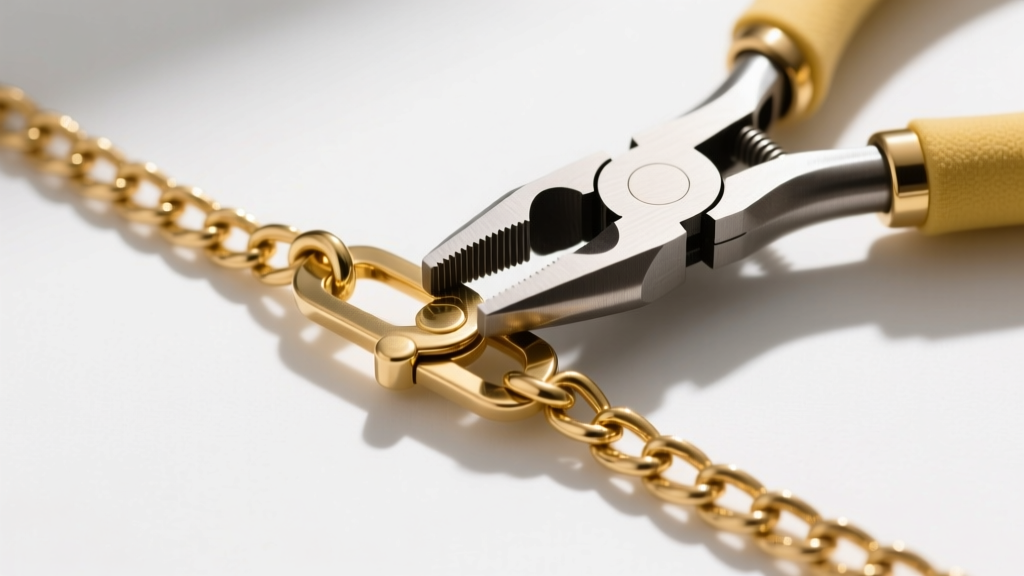
Quick Troubleshooting Chart for Common Necklace Complaints
Still experiencing discomfort? Use this diagnostic chart to identify and fix the specific failure mode of your necklace.
| Symptom | Root Cause | The Ergonomic Fix |
|---|---|---|
| Red, indented marks on the nape | Clasp friction and localized tension | Upgrade to a flat, wide magnetic clasp or add a silicone comfort guard. |
| Tension headaches after 2 hours | Pendant > 85g on a 16" chain | Increase chain length to 22" or 24" to shift weight to the sternum. |
| Chain snapping at the bail | Pendant-to-chain ratio > 4:1 | Add a reinforced, soldered jump ring and a horizontal spreader bar. |
| Skin irritation / green marks | Acidic sweat reacting with brass/copper | Re-plate the back of the pendant with rhodium or switch to Grade 5 Titanium. |
Final Thoughts on Ergonomic Jewelry
Fashion should never require physical suffering. By understanding the biomechanics of weight distribution, upgrading your clasps, and respecting the pendant-to-chain ratio, you can easily rescue your favorite statement pieces from the back of your jewelry box. The next time you reach for a bold, heavy accessory, run through this checklist to ensure it remains a stunning conversation starter—not a pain necklace.


