How to Make Beaded Necklaces: Fix Snaps, Sagging & Clasp Failures
Learn how to make beaded necklaces that last. Troubleshoot common issues like sagging gaps, snapped wires, and clasp failures with pro tips.

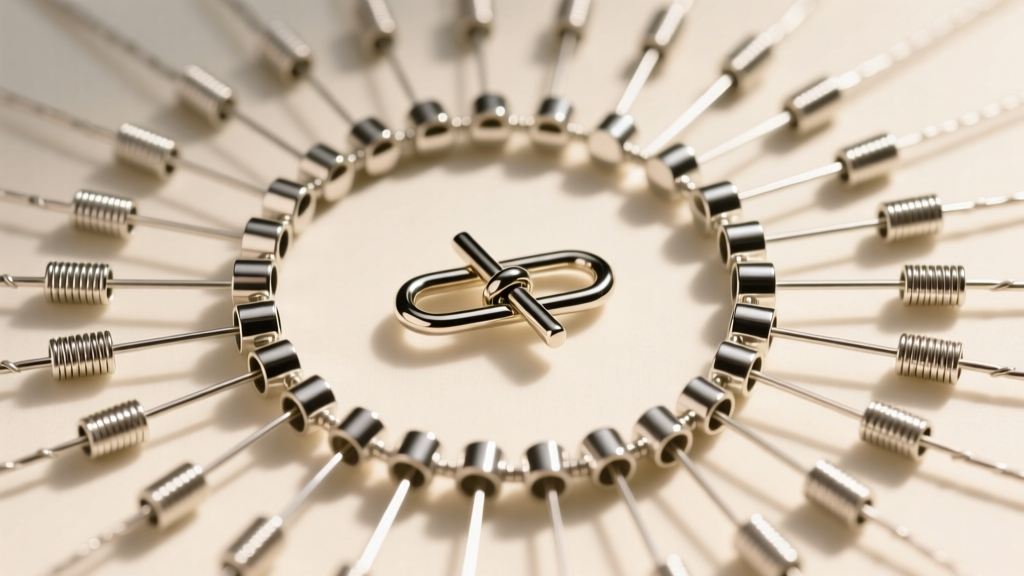
Learning how to make beaded necklaces is often marketed as a simple, relaxing craft. However, the reality of jewelry making involves navigating a minefield of structural failures. There is nothing more frustrating than spending hours designing a piece, only for the wire to snap at the clasp, the beads to sag awkwardly, or the stringing material to fray from the inside out. As a jewelry designer, troubleshooting these mechanical failures is just as important as selecting the right color palette.
This guide moves beyond basic stringing tutorials. We will diagnose the exact reasons your beaded necklaces fail, analyze material tensile strengths, and provide actionable, professional-grade solutions to ensure your jewelry survives daily wear.
The Anatomy of a Beaded Necklace Failure
When a handmade necklace breaks, it rarely happens by pure chance. Failures almost always occur at three specific stress points:
- The Clasp Connection: The highest point of friction and metal fatigue. If the wire bends sharply against a jump ring without protection, it will eventually shear.
- The Stringing Material Tension: Stringing a necklace too tightly prevents the beads from articulating, causing the wire to bow or snap when the wearer moves.
- Bead Hole Abrasion: Gemstones with a Mohs hardness of 7 or higher (like quartz, agate, or jasper) often have rough, unpolished drill holes that act like tiny saw blades against your stringing material.
Troubleshooting Stringing Material: Wire vs. Cord vs. Thread
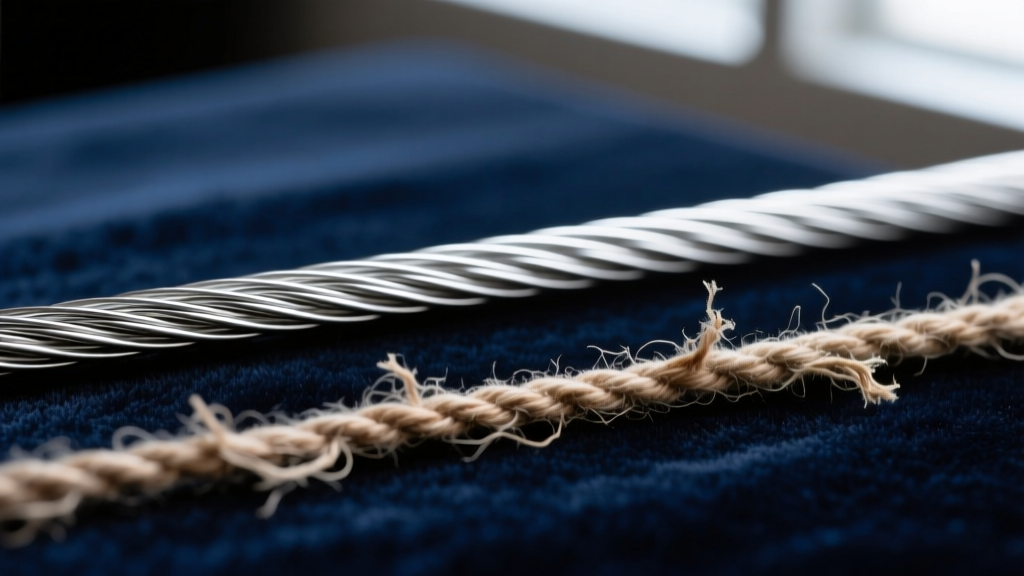
Choosing the wrong stringing material for your specific bead type is the most common mistake beginners make when figuring out how to make beaded necklaces that endure. Below is a diagnostic breakdown of common materials and their failure modes.
| Material | Best Application | Tensile Strength | Common Failure Mode | Pro Solution |
|---|---|---|---|---|
| 49-Strand SS Wire (0.018") | Heavy gemstones, glass, daily wear | ~30 lbs | Kinking and metal fatigue at the clasp | Use French wire (wire guardians) at the ends to prevent sharp bends. |
| Braided Fused Line (6lb) | Seed beads, pearls, lightweight crystals | 6 lbs | Melting/fraying from sharp bead edges | Ream bead holes and use a needle suitable for the line's diameter. |
| Size #2 Silk Cord | Knotting pearls and soft gemstones | ~10 lbs | Stretching and fraying over time | Pre-stretch the silk before knotting; never use on heavy stones. |
| Nylon Thread (Size D) | Looming, off-loom weaving | ~8 lbs | Snapping under the weight of pendants | Double the thread path or switch to braided fused line for pendants. |
Solving the "Sagging Gap" Problem
A hallmark of amateur beaded jewelry is the "sagging gap"—a visible stretch of bare wire that appears near the clasp or between bead clusters. This happens when the necklace is strung with too much tension. Beads need microscopic room to articulate and drape around the curve of the neck.
The Drape Test
Before you crimp your final end, lay the necklace flat on a table and form it into a teardrop or U-shape. Gently push the beads toward the center. You should see a tiny fraction of a millimeter of wire between each bead. If the beads are locked tightly together, the wire will bear the entire structural load of the necklace's movement, leading to premature kinking. According to the Beadalon Stringing Guide, allowing for proper drape is essential for the longevity of multi-strand and heavy stone designs.
Clasp Attachment Failures and How to Fix Them
The connection point between your stringing material and the clasp is the weakest link in any necklace. If you are using crimp beads, the method you use to secure them dictates the lifespan of the piece.
The Mechanics of a Proper Crimp
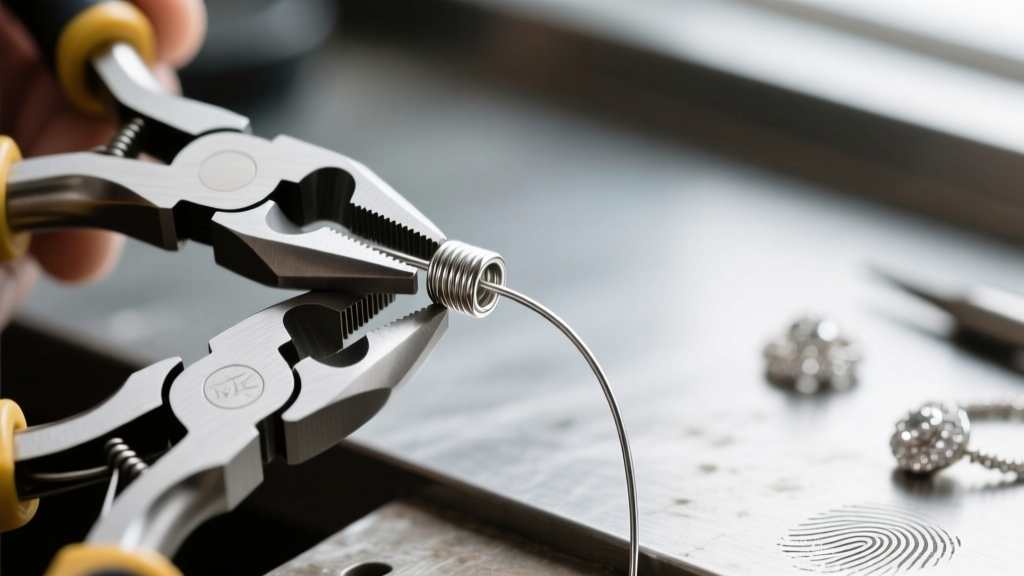
Many beginners use flat-nose pliers to simply smash a crimp bead flat. This creates sharp, jagged edges that will eventually slice through the wire. Instead, you must use dedicated crimping pliers (such as those made by The Beadsmith) and follow the two-notch system:
- The U-Shape (Back Notch): Place the crimp tube in the notch closest to the handle. Squeeze firmly. This separates the two wires inside the tube and creates a U-shape.
- The Fold (Front Notch): Turn the crimp 90 degrees and place it in the notch closest to the tip. Squeeze to fold the U in half, encasing the wires securely inside a rounded, smooth barrel.
Material Matters: Why Base Metal Crimps Fail
Never use base metal or plated brass crimp tubes. They are brittle and tend to split or crack when folded, leaving the wire exposed and vulnerable to slipping. Always invest in 2x2mm sterling silver or Argentium silver crimp tubes. Silver is malleable enough to fold cleanly without fracturing, providing a secure, permanent grip on stainless steel beading wire.
Integrating Wire Guardians
Even with a perfect crimp, the wire will eventually snap if it rubs directly against a metal jump ring or clasp loop. To solve this, thread your wire through a wire guardian (also known as French wire or bullion) before attaching the clasp. This horseshoe-shaped piece of coiled metal takes the friction instead of your stringing wire, increasing the necklace's lifespan by years.
Dealing with Sharp Bead Holes and Abrasion
If your necklace keeps snapping in the middle of the strand rather than at the clasp, you are likely dealing with bead hole abrasion. Mass-produced gemstone beads, particularly quartz, lapis lazuli, and turquoise, are often drilled quickly with diamond-tipped bits, leaving rough, jagged interiors.
To troubleshoot this, hold a few beads up to a light source and look through the hole. If you see uneven, chalky rings inside, the hole is unfinished. You have two options:
- Use a Bead Reamer: A diamond-coated bead reamer can be inserted into the hole and twisted gently under water to smooth the interior walls. This is time-consuming but essential for high-end pieces.
- Use Bead Liners (Tubes): For beads with larger holes, you can insert tiny sterling silver or copper bead liners to create a smooth metal tunnel for your wire to pass through.
For further reading on gemstone preparation and jewelry making techniques, the Fire Mountain Gems Encyclopedia offers extensive tutorials on reaming and finishing natural stones.
Tool Calibration: When to Replace Your Pliers
Finally, an often-overlooked cause of necklace failure is worn-out tools. If your crimping pliers have been used for thousands of crimps, the teeth in the notches may have worn down. This results in a sloppy fold that fails to grip the wire tightly, allowing the clasp to slip off over time. Furthermore, if the edges of your wire cutters are dull, they will pinch and flatten the stainless steel wire rather than shearing it cleanly, creating a microscopic weak point right where you begin your crimp. Replace your crafting tools annually if you are producing jewelry for sale or frequent gifting.
Conclusion
Mastering how to make beaded necklaces is less about the artistic arrangement of colors and more about the structural engineering of the piece. By selecting the correct tensile material for your specific bead weight, utilizing wire guardians to prevent clasp friction, executing a proper two-step crimp fold, and reaming rough gemstone holes, you transition from a hobbyist to a professional jeweler. Troubleshooting these mechanical flaws ensures your creations remain beautiful, durable, and safe for the wearer.


