How to Fix a Tangled Three Layer Necklace: Expert Guide
Stop your three layer necklace from tangling and clashing. Expert troubleshooting for chain lengths, weaves, clasps, and metal pairing.

The Physics of Chain Friction and Weave Incompatibility
The allure of a perfectly curated three layer necklace is often ruined the moment you pull it from your jewelry box, only to find a metallic rat's nest. To troubleshoot this, we must first understand the physics of chain friction. Tangling is rarely an accident; it is a predictable result of mismatched chain weaves and varying surface friction coefficients. When you layer chains with drastically different topographies, they act as mechanical fasteners to one another.
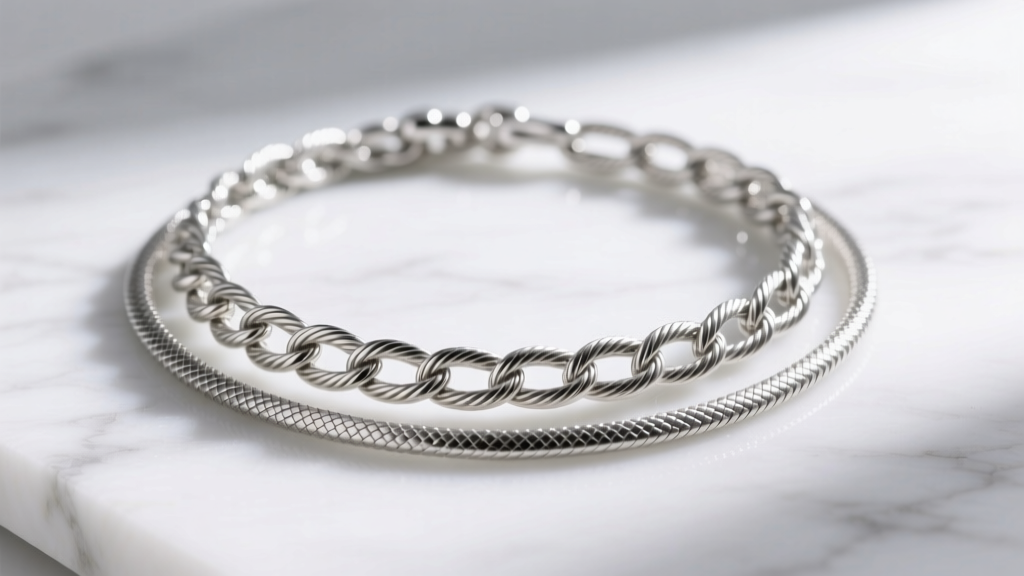
For example, pairing a smooth, high-friction snake chain with a textured, open-loop cable chain is a recipe for disaster. The micro-crevices of the snake chain's interlocking bands easily catch on the protruding wire loops of the cable chain during kinetic movement (like walking or bending). Similarly, box chains feature sharp 90-degree edges that can wedge into the rounded links of a rope chain. According to Rio Grande's metallurgical standards, matching the weave family or utilizing chains with similar surface polish levels reduces interlocking friction by up to 60%.
The Fix: If you are committed to mixing weaves, apply a micro-thin layer of jewelry wax (such as Renaissance Wax) to the more textured chain. This fills the microscopic gaps and creates a uniform, low-friction slip plane, allowing the chains to glide past one another rather than catching.
The Length Gradient Matrix: Solving Spatial Collisions
The most common failure in layering is the misinterpretation of the "Two-Inch Rule." Many stylists suggest leaving a two-inch gap between each layer. However, this rule completely ignores terminal drop length—the actual lowest point the necklace reaches when accounting for pendants and charms.
If your first layer is a 16-inch chain with a 2-inch pendant, its terminal drop is 18 inches. If your second layer is an 18-inch chain, both layers occupy the exact same physical space at the sternum. This spatial collision guarantees tangling and excessive wear on the pendant bail. To solve this, you must calculate the gradient based on the terminal drop, not just the chain length.
| Layer Position | Base Chain Length | Max Pendant Drop | Terminal Drop | Required Gap to Next Layer |
|---|---|---|---|---|
| Layer 1 (Choker) | 14" - 15" | 0.5" | 15.5" | Minimum 2.5" |
| Layer 2 (Princess) | 18" | 1.5" | 19.5" | Minimum 3.0" |
| Layer 3 (Matinee) | 22" - 24" | 2.0" | 24.0" | N/A (Lowest Layer) |
By adhering to the terminal drop matrix, you ensure that the center of gravity for each layer remains distinct, eliminating the pendulum effect that causes strands to wrap around one another.
Hardware Failures: Jump Ring Gauges and Clasp Tension
A three layer necklace exerts significantly more kinetic stress on the clasp hardware than a single strand. The constant shifting of three independent weights creates lateral torque on the primary jump ring. If your jump ring's Aspect Ratio (AR) is too high, the ring will slowly pull open, leading to lost chains or catastrophic clasp failure.
The Aspect Ratio is calculated by dividing the Inner Diameter (ID) by the Wire Diameter (WD). A standard 22-gauge wire (0.64mm) with a 4mm ID yields an AR of 6.25, which is far too weak for multi-strand torque. For a heavy three layer necklace, you must downgrade the ID and increase the wire thickness.
Upgrading Your Hardware
- Soldered Jump Rings: For the primary clasp attachment, always use soldered (closed) jump rings. This eliminates the split entirely, making it physically impossible for the ring to pull open under tension.
- Optimal AR for Layering: Aim for an AR between 3.5 and 4.5. An 18-gauge wire (1.02mm) with a 4.0mm ID provides the structural integrity needed to support the combined weight of three chains and their respective pendants.
- Multi-Strand Spacer Clasps: If tangling at the nape of the neck is your primary issue, replace the standard lobster clasp with a magnetic multi-strand spacer clasp. This locks the chains into a fixed parallel alignment at the back of the neck, preventing them from crossing over and knotting behind your head.
Metal Wear and Galvanic Corrosion in Mixed Layers
Mixing metals is a major trend, but it introduces a hidden chemical hazard: galvanic corrosion. When two dissimilar metals—such as sterling silver (925) and a copper-heavy alloy like 14k rose gold—rub against each other in the presence of an electrolyte (human sweat or high ambient humidity), a micro-galvanic cell is formed. This electrochemical reaction accelerates tarnishing on the silver and causes localized pitting on the gold.
According to GIA's jewelry care guidelines, prolonged friction between dissimilar metals also leads to uneven wear due to differences in Vickers hardness (HV). 14k yellow gold has an HV of roughly 120, while sterling silver sits around 60-70. The harder gold will act as an abrasive file against the softer silver, slowly thinning the links at the points of contact.
The Fix: If you must mix metals in a three layer necklace, introduce a physical barrier. Use a layer of fabric (like a silk scarf) between the chains, or opt for PVD-coated stainless steel, which offers a uniform surface hardness that prevents cross-metal abrasion while mimicking the look of mixed precious metals.

The 5-Minute Untangling and Prevention Protocol
When prevention fails and your three layer necklace becomes a solid knot, pulling the ends will only tighten the structural integrity of the tangle. Instead, utilize this professional jeweler's troubleshooting protocol to safely separate the chains without stretching the links or breaking the clasps.
Step 1: The Friction Reduction Application
Lay the tangled mass flat on a non-porous surface like glass or polished marble. Generously dust the knot with a talc-free baby powder or a specialized jewelry slip powder. The powder acts as a dry lubricant, drastically reducing the friction coefficient between the metal links and allowing them to slide rather than bind.
Step 2: The Pin and Cork Technique
Never use your fingers to pull at a tight knot; the oils from your skin can increase friction, and blunt force stretches delicate chains. Instead, take two standard sewing pins and insert them into the dead center of the knot. Gently wiggle the pins in opposite directions to create a microscopic void in the center of the tangle. Slowly work the pins outward, teasing the loops open one by one.
Step 3: The Post-Untangle Polish
Once separated, the chains will likely be coated in powder and localized tarnish from the stress. Wash the necklaces in a solution of warm water and a few drops of mild, phosphate-free dish soap. Use a soft-bristled baby toothbrush to gently agitate the links, rinse thoroughly, and pat dry with a microfiber cloth. For long-term storage, hang your three layer necklace on a multi-tiered velvet bust or store it flat in a compartmentalized box with anti-tarnish strips to absorb ambient sulfur compounds.
By understanding the mechanics of chain weaves, respecting terminal drop lengths, and upgrading your hardware to withstand multi-strand torque, you can transform your three layer necklace from a daily frustration into a flawless, permanent fixture of your jewelry wardrobe. For further reading on chain manufacturing and structural integrity, consult Halstead's jewelry manufacturing insights.