How to Choose the Perfect Pear Shape Diamond Necklace
Learn how to choose a pear shape diamond necklace with our step-by-step guide. Master the 4Cs, avoid the bow-tie effect, and pick the perfect setting.

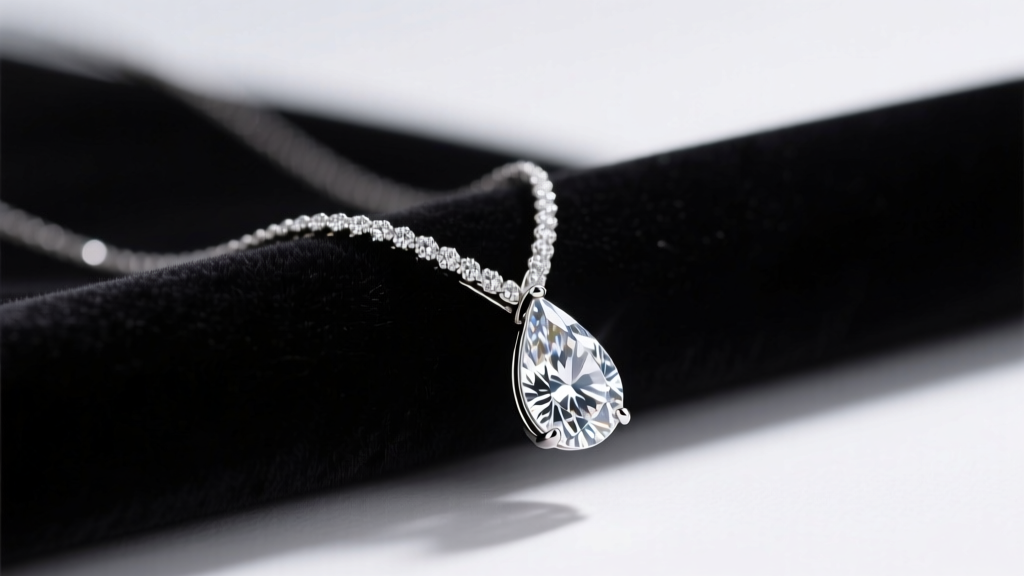
The Allure of the Teardrop: Why Pear Shapes Demand Expertise
The pear shape diamond necklace remains one of the most striking and complex choices in fine jewelry. Blending the rounded brilliance of a round cut with the elongated elegance of a marquise, the teardrop silhouette offers unparalleled fire. However, this asymmetrical hybrid cut is notoriously difficult to grade and set. Unlike symmetrical stones, a pear cut requires a meticulous evaluation of its silhouette, light performance, and structural vulnerabilities. In this comprehensive step-by-step guide, we break down the exact gemological parameters, setting requirements, and styling techniques you need to select a flawless pear shape diamond pendant.
Step 1: Evaluating the Cut and Mitigating the Bow-Tie Effect
The most critical flaw to watch for in any pear shape diamond necklace is the "bow-tie effect"—a dark, bow-tie-shaped shadow that stretches across the center of the stone. This occurs when light leaks out of the pavilion due to suboptimal facet alignment. While a faint bow-tie is nearly unavoidable in elongated fancy shapes, a severe one will make the center of your pendant look opaque and lifeless.
To evaluate this, never rely solely on the brilliant spotlighting of a jewelry store. View the stone in diffused, natural daylight or office lighting. According to the Gemological Institute of America (GIA), the ideal length-to-width ratio for a classic teardrop ranges between 1.45 and 1.75. In 2026, we are seeing a strong consumer preference for slightly more elongated stones (1.60 to 1.75) as they create a more dramatic, slimming effect on the neckline.
Ideal Proportion Parameters for Pear Cuts
| Measurement | Ideal Range | Acceptable Range |
|---|---|---|
| Length-to-Width Ratio | 1.45 - 1.75 | 1.40 - 1.80 |
| Depth Percentage | 58% - 62% | 55% - 65% |
| Table Percentage | 53% - 63% | 52% - 65% |
Step 2: Navigating Color and Clarity in Asymmetrical Stones
Pear shape diamonds trap color at their pointed tip. Because the facets converge into a sharp apex, any yellow or brown tint in the rough crystal becomes magnified at this point. If you are setting your necklace in platinum or 18k white gold, you must select a color grade of H or higher to ensure the tip does not look noticeably warmer than the rounded base. For yellow or rose gold settings, you can safely drop to a J or K color, as the metal's reflection will mask the warmth.
Regarding clarity, the pointed tip is also a stress point. Inclusions located near the apex (plotted on the GIA certificate as "clouds" or "feathers" near the point) can make the diamond susceptible to chipping during the setting process. Always aim for a VS2 or SI1 clarity grade, but physically inspect the stone or high-resolution 360-degree video to ensure the point is entirely free of structural flaws. Resources like Blue Nile's diamond education portal offer excellent visual guides on mapping inclusions in fancy shapes.
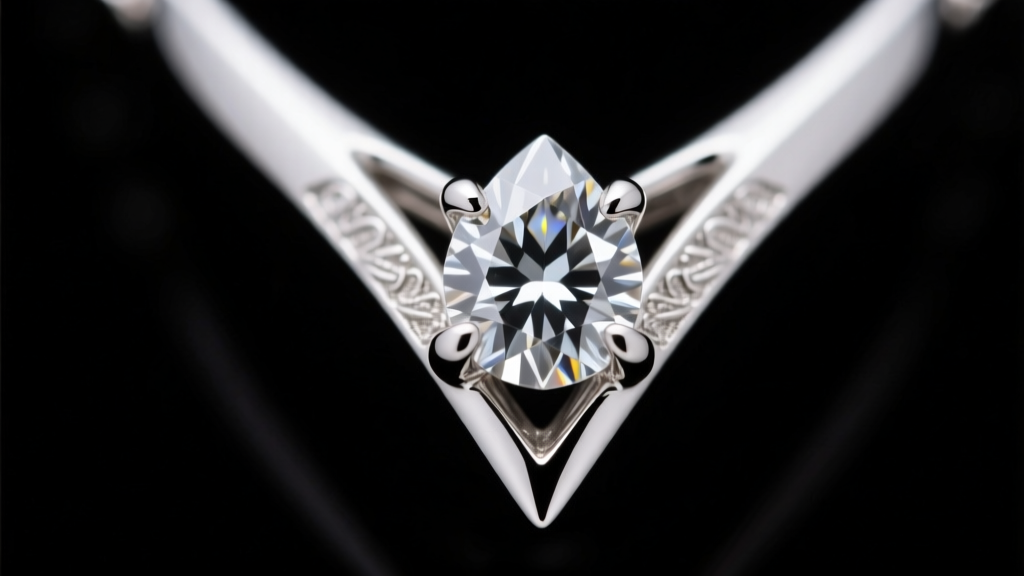
Step 3: Selecting a Setting That Protects the Vulnerable Point
A pear shape diamond necklace is only as secure as its setting. The sharp tip is the most fragile part of the stone and is highly prone to chipping if knocked against a hard surface. You must choose a setting that specifically addresses this vulnerability.
- The V-Prong (Essential): Never buy a pear pendant with a standard rounded prong at the tip. A V-prong wraps around the apex in a protective metal jacket, distributing pressure evenly and shielding the point from impacts.
- 5-Prong vs. 6-Prong: A 5-prong setting (one V-prong at the tip, four standard prongs around the belly) offers maximum light exposure. A 6-prong adds extra security but can slightly obscure the stone's outline.
- Bezel and Half-Bezel Settings: For active lifestyles, a full bezel encases the entire diamond in a metal rim. While it sacrifices about 10% of the stone's brilliance, it offers ultimate protection and a sleek, modern aesthetic.
Step 4: Matching the Pendant to the Correct Chain Gauge
The chain you select must balance the visual weight of the pear pendant. A common mistake is pairing a delicate 0.75-carat pear diamond with a thick 3.0mm rope chain, which visually drowns the stone and causes the pendant bail to wear down prematurely from friction.
Chain Gauge Recommendations by Carat Weight
- 0.50ct - 1.00ct Pendants: Pair with a 1.0mm to 1.2mm cable, box, or paperclip chain. These delicate gauges keep the focus on the diamond's fire.
- 1.25ct - 2.50ct Pendants: Opt for a 1.5mm to 2.0mm box or wheat chain. The slightly thicker links provide necessary tensile strength to support the heavier pendant without snapping.
- 3.00ct+ Statement Pieces: Use a 2.5mm to 3.5mm solid curb or figaro chain. Ensure the bail (the loop connecting the pendant to the chain) is lined with platinum or high-karat gold to prevent interior wear.
Step 5: Orientation, Layering, and Neckline Styling
How you wear the necklace drastically alters its visual impact. The traditional orientation is point down, which draws the eye vertically and creates a slimming, elongating effect on the neck and décolletage. This is ideal for V-neck blouses, wrap dresses, and deep scoop necklines.
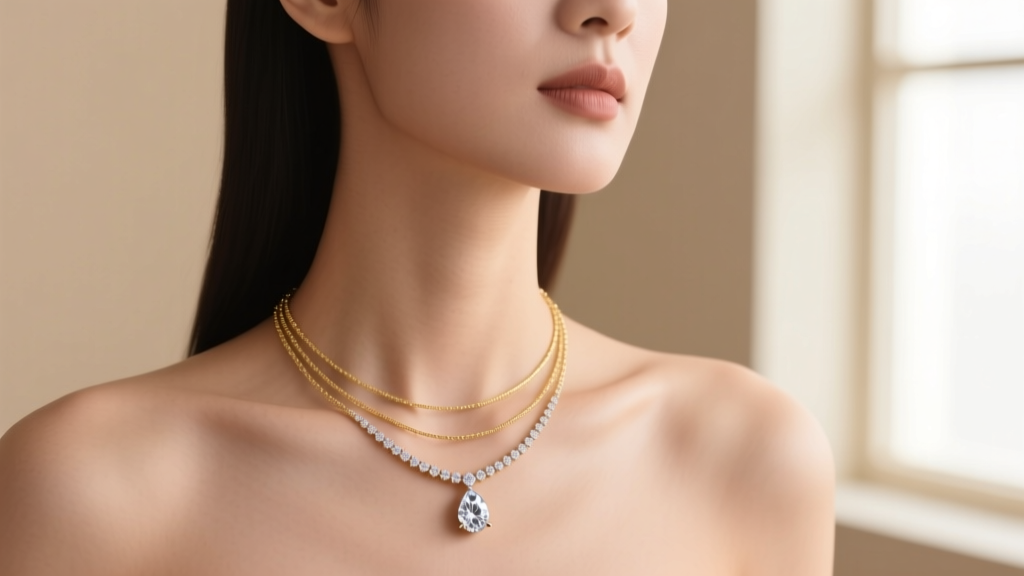
However, wearing the point up (often called the "mountain" or "chalice" orientation) is a major trend in contemporary styling. Point-up pendants sit beautifully against high crew necks, turtlenecks, and button-down shirts, acting almost like a subtle, upward-facing arrow that frames the face. When layering a pear shape diamond necklace, use it as the lowest, focal point in a three-chain stack, pairing it with a 14-inch choker and a 16-inch simple gold chain above it.
Expert Sourcing Tips and 2026 Pricing Expectations
When sourcing a pear shape diamond necklace, buyers in 2026 have distinct advantages regarding lab-grown options. Because pear cuts yield less from the rough crystal than round brilliants, natural pear diamonds carry a high premium per carat. Conversely, lab-grown pear diamonds have achieved near price-parity with other fancy shapes, making them an exceptional value for stones over 2.00 carats.
Expert Sourcing Tip: Always request an ASET (Angular Spectrum Evaluation Tool) image or an Idealscope image from your jeweler before purchasing a pear cut. This will reveal exactly how well the stone returns light to the eye and expose any severe bow-tie shadows that standard photography hides.
Estimated Pricing Guide (Natural vs. Lab-Grown, VS1/G Color):
- 1.00 Carat: $4,500 - $6,500 (Natural) | $800 - $1,200 (Lab-Grown)
- 1.50 Carat: $9,000 - $14,000 (Natural) | $1,500 - $2,200 (Lab-Grown)
- 2.00 Carat: $18,000 - $28,000 (Natural) | $2,500 - $3,800 (Lab-Grown)
By prioritizing the V-prong setting, strictly monitoring the length-to-width ratio, and carefully selecting your chain gauge, you will secure a pear shape diamond necklace that is not only breathtakingly brilliant but engineered to last a lifetime.


