How to Curate and Style a Custom Gold Charm Necklace
Learn how to curate, build, and style a custom gold charm necklace. Expert tips on chain weights, karat options, clasp types, and layering.

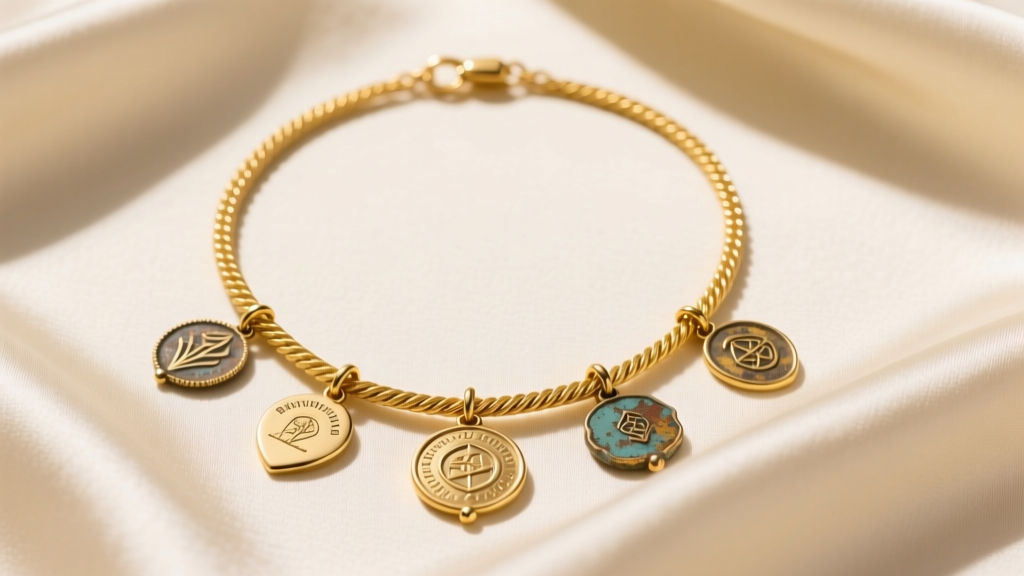
Building a custom gold charm necklace is one of the most deeply personal endeavors in fine jewelry. Unlike buying a pre-assembled piece, curating your own charms allows you to chronicle milestones, travels, and personal tastes in a wearable format. However, a beautifully curated charm necklace requires more than just clipping random pendants onto a fragile chain. It demands an understanding of metallurgy, structural integrity, and visual proportion.
In this comprehensive guide, we will walk you through the exact steps to design, assemble, and style a gold charm necklace that is both structurally sound and aesthetically flawless.
The Anatomy of a Perfect Gold Charm Necklace
Before purchasing charms, you must understand the foundational mechanics of gold jewelry. The karat weight of your gold dictates not only the color but the tensile strength of the chain. According to the Gemological Institute of America (GIA), pure 24k gold is far too soft for everyday wear, especially when bearing the dynamic weight of swinging charms.
- 10k Gold (41.7% pure): Highly durable and resistant to scratching, but possesses a paler yellow hue. Best for heavy, oversized charms.
- 14k Gold (58.5% pure): The industry sweet spot. It offers an excellent balance of rich color and structural integrity. A 14k chain will withstand the daily friction of charms without stretching prematurely.
- 18k Gold (75.0% pure): Delivers a luxurious, deep yellow tone but is significantly softer. If you choose an 18k chain, you must opt for a thicker gauge (2.0mm or above) to prevent the links from warping under the weight of the charms.
Step 1: Selecting the Foundation Chain
The chain is the unsung hero of your necklace. A delicate 0.8mm thread chain will snap under the kinetic energy of a solid gold charm. For a charm necklace, you need a chain style that distributes weight evenly and resists kinking.
| Chain Style | Recommended Thickness | Max Charm Weight (per charm) | Durability Notes |
|---|---|---|---|
| Cable | 1.5mm - 2.5mm | 3 - 5 grams | Classic look, but individual links can stretch if snagged. |
| Figaro | 2.0mm - 3.0mm | 5 - 8 grams | Excellent weight distribution; the elongated links add visual interest. |
| Rope | 1.5mm - 2.5mm | 4 - 7 grams | Highly durable due to twisted links, but can trap dirt and lotion. |
| Box | 1.2mm - 2.0mm | 2 - 4 grams | Prone to kinking if a heavy charm catches on clothing. Use with lightweight charms only. |
Pro Tip: Always choose a lobster claw clasp over a spring ring clasp. Spring rings have weak internal springs that fail under the variable weight of charms, whereas lobster claws offer a secure, mechanical lock.
Step 2: Sourcing and Attaching Charms

The most common point of failure in a charm necklace is the jump ring—the small circular loop that connects the charm to the chain. If you are attaching charms yourself, the gauge (thickness) of the jump ring is critical.
Jump Ring Mechanics
Jewelry wire gauge works inversely; a lower number means a thicker wire. For lightweight enamel or hollow charms (under 2 grams), a 20-gauge (0.81mm) jump ring is sufficient. For solid gold, gemstone, or oversized charms (3+ grams), you must use an 18-gauge (1.02mm) or even 16-gauge (1.29mm) jump ring.
The Golden Rule of Jump Rings: Never pull a jump ring apart horizontally to open it. This distorts the circle and weakens the metal. Instead, use two pairs of flat-nose pliers to twist the ends laterally (one toward you, one away). When closing, twist them back until you hear a faint 'click' or feel the ends flush against each other.
For irreplaceable or highly valuable charms, take your necklace to a professional jeweler to have the jump rings soldered. Soldering melts a gold alloy over the seam of the jump ring, creating a continuous, unbreakable loop that guarantees your charm will never slip off.
Step 3: Balancing Proportions and Spacing
A haphazardly assembled charm necklace looks cluttered, while a thoughtfully curated one looks intentional. Professional stylists rely on specific visual frameworks to arrange charms.
The Rule of Odd Numbers
The human eye is naturally drawn to asymmetry and odd groupings. Aim for 3, 5, or 7 charms on a standard 18-inch princess chain. If you are building a massive 'charm bomb' necklace with 15+ charms, the rule of odds matters less, as the piece becomes a maximalist statement.
Creating a Visual Hierarchy
Not all charms should be the same size. Select one 'hero' charm that is roughly 20-30% larger than the rest. Place this hero charm dead center, or slightly off-center for a modern, editorial look. Flank the hero charm with medium-sized charms, and place the smallest, most delicate charms near the clasp at the back of the neck.
Spacing Techniques
If you want your charms to stay in specific positions rather than sliding together into a tangled pile at the base of your throat, use spacing beads or have a jeweler solder small stopper rings onto the chain at 1.5-inch intervals. This maintains the architectural integrity of your design throughout the day.
Step 4: Styling and Layering Techniques

A gold charm necklace is incredibly versatile, but its impact changes dramatically depending on how it interacts with your wardrobe and other jewelry.
Neckline Pairings
- Crew Necks & Turtlenecks: Opt for a longer matinee length (20 to 24 inches). The charms should rest below the collarbone, breaking up the solid block of fabric.
- V-Necks & Scoop Necks: An 18-inch princess chain is ideal. The V-shape of the neckline naturally frames the cascading charms, drawing the eye downward.
- Button-Down Shirts: Leave the top two buttons undone and layer an 16-inch choker-length chain with a single, bold charm, followed by your 18-inch multi-charm chain.
The Art of Layering
When layering your charm necklace with other gold chains, adhere to a minimum 2-inch length difference between each necklace to prevent the clasps and chains from tangling. Pair your textured, charm-heavy chain with a sleek, minimalist chain (like a 1.5mm herringbone or snake chain) to provide visual contrast. According to Jewelers of America, mixing chain textures is key to achieving a curated, multi-dimensional look without appearing messy.
Maintenance and Long-Term Care
Charm necklaces endure more physical stress than standard pendants. The constant swinging, clinking, and friction can wear down gold links over time.
- Monthly Inspections: Run your fingers lightly over every jump ring and clasp. If you feel a snag or a gap, stop wearing the necklace immediately and have the ring closed or soldered.
- Proper Cleaning: Avoid ultrasonic cleaners if your charms feature porous gemstones (like turquoise, opal, or pearls) or painted enamel. Instead, use a solution of warm water and a few drops of mild, phosphate-free dish soap. Gently scrub the chain and charms with a soft-bristled baby toothbrush, paying special attention to the crevices where lotion and dead skin accumulate.
- Storage: Never toss a charm necklace into a jewelry box loose. The charms will act like tiny hammers against the chain links, causing micro-dents. Always hang the necklace on a velvet-lined jewelry stand or lay it perfectly flat in a dedicated, soft-lined drawer.
Curating a gold charm necklace is an ongoing process. It is a living piece of jewelry that evolves with you. By investing in a structurally sound 14k foundation chain, respecting the mechanics of jump ring gauges, and styling with intentional proportions, you will create an heirloom piece that withstands both the test of time and the rigors of daily wear.


