Master How to Draw a Necklace: Technical Sketching Guide
Learn how to draw a necklace with our step-by-step technical sketching guide. Master chain drapes, bail proportions, and CAD-ready jewelry design.

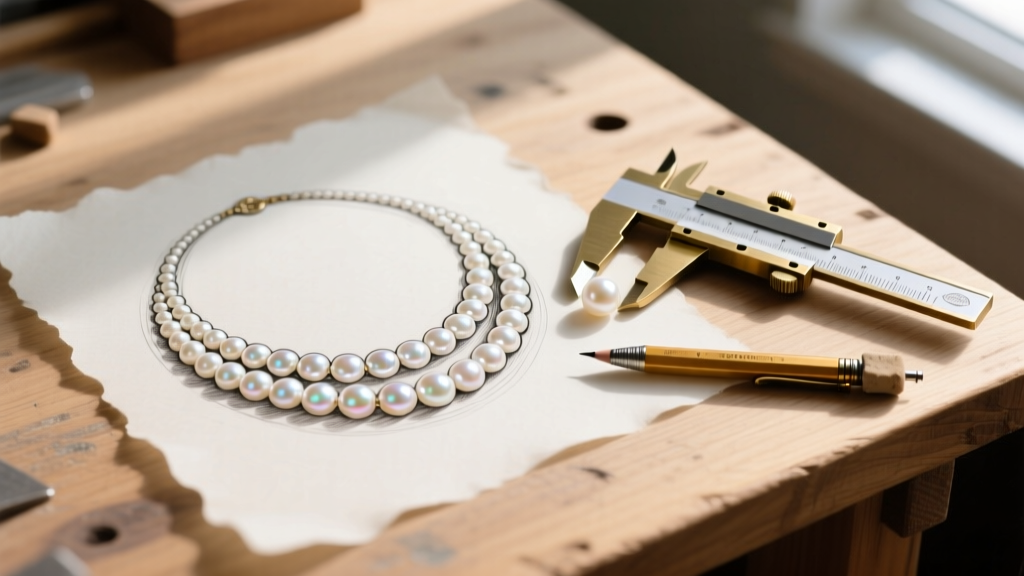
The Intersection of Art and Engineering in Jewelry Design
When aspiring jewelry designers first attempt to draw a necklace, they often fall into the trap of treating it purely as a fashion illustration. While capturing the aesthetic vibe is important, a technical jewelry sketch must serve as a precise blueprint for 3D CAD modeling and physical manufacturing. A beautiful sketch that ignores the physics of metal, the clearance requirements of chain links, and the structural realities of clasps will result in a flawed final product. This guide bridges the gap between artistic vision and metallurgical reality, providing a step-by-step framework used by professional jewelers to translate 2D concepts into wearable art.
Step 1: Mastering the Catenary Drape
The most common mistake novices make when they draw a necklace is illustrating the chain as a perfect, rigid 'V' shape. In reality, a necklace resting on the human body follows a catenary curve—the same mathematical arc formed by a hanging chain under its own weight, expressed as y = a cosh(x/a). Understanding this physics principle is critical for predicting how a pendant will sit on the sternum.
Calculating the Drop Length
Different chain lengths interact with the catenary curve differently. A 16-inch choker will hug the clavicle with a tight, shallow arc, while a 24-inch opera-length necklace will form a deep, sweeping parabola. When sketching, always map the center point of your curve to the anatomical landmark it will rest upon. For an 18-inch princess necklace (the industry standard), the lowest point of the drape should align precisely with the sternal notch in your sketch.
Step 2: How to Draw a Necklace Chain (Without Losing Your Mind)
Drawing every individual link of a 20-inch chain is an exercise in futility and leads to proportion errors. Professional designers use a shorthand technique: rendering the first two inches near the clasp and the two inches leading into the pendant bail with hyper-detailed precision, then fading the center sections into a stylized texture line. Below is a technical breakdown of how to represent popular chain styles in 2D space.
| Chain Style | Standard Widths (mm) | 2D Sketching Shorthand Technique |
|---|---|---|
| Cable Chain | 0.8mm - 1.5mm | Use a continuous central line with uniform, perpendicular tick marks to imply overlapping ovals. |
| Rolo Chain | 2.0mm - 5.0mm | Draw alternating flat circles. Use a tight, braided graphite shading technique to show depth. |
| Figaro Chain | 3.0mm - 6.0mm | Illustrate one full repeat (three short links, one long link) in detail, then fade to a dashed center line. |
| Wheat Chain | 1.5mm - 3.0mm | Use a tight, interlocking zig-zag herringbone pattern to simulate the woven teardrop links. |
| Box Chain | 1.0mm - 4.0mm | Draw a series of interlocking squares with heavy inner shadows to emphasize the hollow, geometric structure. |
Step 3: Pendant Proportions and Bail Mechanics
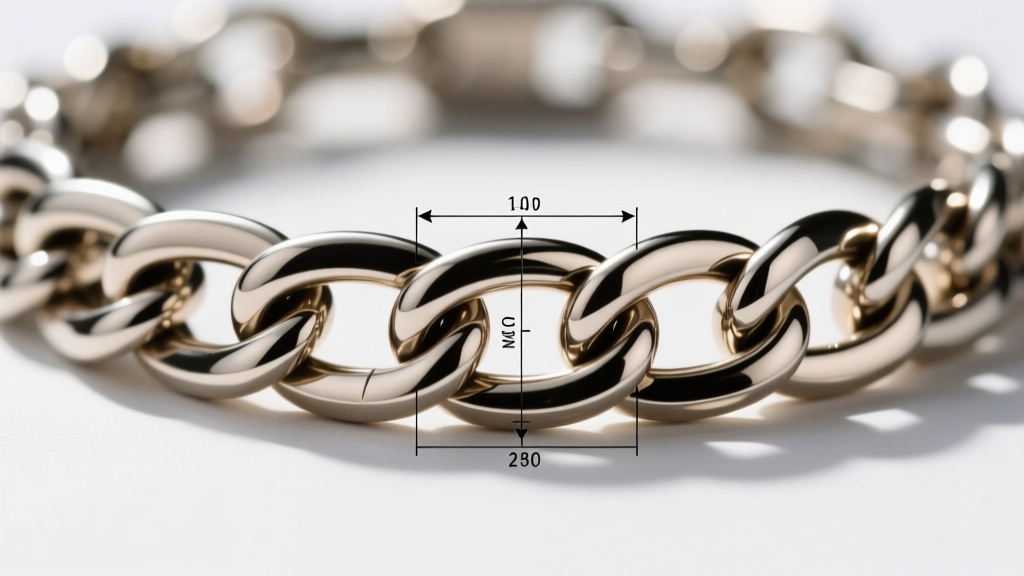
The bail—the loop that connects the pendant to the chain—is the most frequent point of mechanical failure in novice jewelry designs. When you draw a necklace pendant, you must account for the physical volume of the chain passing through the bail. According to manufacturing standards referenced by Stuller Jewelry Supplies, the inner diameter of a rigid or semi-rigid bail must be at least 1.5 times the width of the chain to allow for natural movement and prevent metal-on-metal friction wear.
Expert Insight: If you are sketching a 4.0mm Figaro chain, your pendant bail must be drawn with an inner clearance of at least 6.0mm. Furthermore, the bail's vertical drop must be factored into your total pendant length; a 25mm pendant with an 8mm bail will actually hang 33mm from the chain's center line.
Clasp and Findings Placement
Do not neglect the back of the necklace. A complete technical drawing includes a detail callout of the clasp assembly. Lobster claws are standard for chains over 2.5mm due to their tensile strength, while spring rings are reserved for delicate chains under 1.5mm. Always sketch the 'tag' (the small flat ring the clasp hooks onto) and note the exact millimeter gauge of the jump rings connecting the findings to the chain.
Step 4: Shading and Metallurgy Representation
While CAD software handles material rendering, a 2D sketch must communicate the intended metal to the client or casting house. In traditional black-and-white graphite sketching, jewelers use specific cross-hatching densities to denote different alloys. Yellow gold is typically represented with sparse, warm stippling, while white gold and platinum utilize dense, high-contrast cross-hatching to simulate the cooler, highly reflective nature of rhodium-plated or polished platinum surfaces. Always include a marginal legend specifying the exact alloy (e.g., 14k Palladium White Gold or 18k Yellow Gold) to eliminate ambiguity.
Step 5: Transitioning to 3D CAD and Manufacturing
Once your 2D sketch is finalized, it serves as the direct reference for 3D modeling in software like MatrixGold or Rhino 3D. The Gemological Institute of America (GIA) emphasizes that a well-executed technical sketch drastically reduces CAD revision time. By pre-calculating the catenary drape, bail clearances, and link proportions on paper, the CAD artist can focus on sculpting the aesthetic nuances rather than troubleshooting structural impossibilities. Ensure your sketch includes orthogonal views (front, profile, and top-down) of any complex pendant elements to guide the 3D topology.
Essential Tools for the Modern Jewelry Sketcher
To execute these technical drawings with precision, your toolkit must be calibrated for micro-detailing. Here is the industry-standard setup for 2026:
- Drafting Surface: Heavyweight vellum (160gsm) which allows for erasing without pilling and can be layered over anatomical neck templates.
- Graphite: 0.3mm mechanical pencils with 2H lead for initial structural guidelines, and HB lead for final contouring and shading.
- Measurement: Digital brass calipers accurate to 0.01mm for verifying link proportions against physical chain samples.
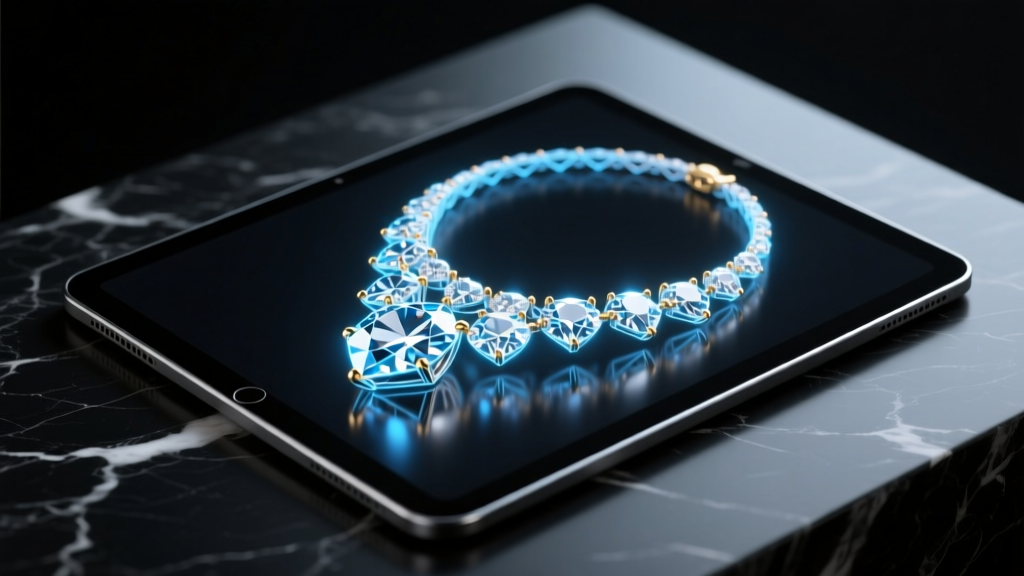
- Digital Alternatives: An iPad Pro with Procreate, utilizing a customized 'jewelry chain' brush set that stamps mathematically accurate link patterns along a curved vector path.
Learning how to draw a necklace is a discipline that marries artistic fluidity with strict engineering tolerances. By respecting the physics of the drape, adhering to mechanical clearances, and utilizing professional shorthand techniques, your sketches will evolve from mere pictures into viable, manufacturing-ready blueprints.


