How to Fix Necklace Chain Breaks: DIY Repairs & Soldering Guide
Learn how to fix necklace chain breaks at home or know when to see a jeweler. Expert troubleshooting for knots, broken links, and clasp failures.

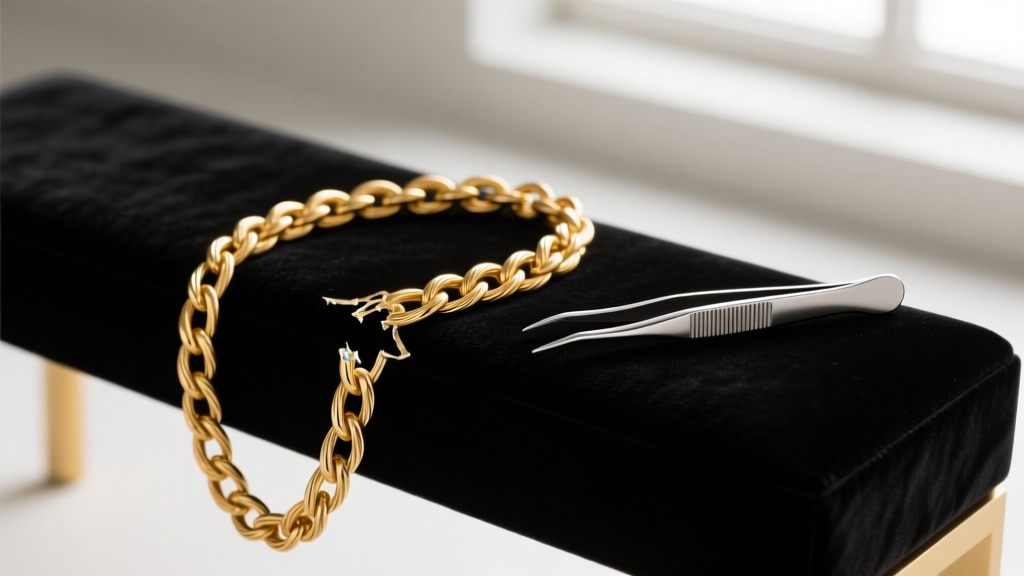
A snapped necklace chain is one of the most common, yet frustrating, issues in jewelry ownership. Whether you are dealing with a delicate 0.8mm cable chain that caught on a sweater or a heavy 3.0mm curb chain that succumbed to metal fatigue, knowing how to fix necklace chain damage requires a strategic approach. Not all chains are created equal, and the repair method that works for a sterling silver figaro chain might completely ruin a hollow tubular rope chain. In this comprehensive troubleshooting guide, we break down the exact metallurgy, link geometries, and repair techniques required to restore your favorite necklaces, separating the DIY fixes from the jobs that strictly require a professional bench jeweler.
Diagnosing the Chain Failure: Where and Why Did It Break?
Before attempting any repair, you must identify the exact failure point and the underlying cause. Chain breaks generally fall into four categories:
- Open Jump Rings: The most common failure point. The jump ring connecting the chain to the clasp or pendant bail has pulled apart due to lateral stress.
- Link Fatigue (Snapped Links): Common in box and wheat chains, where repeated bending causes the metal to work-harden and eventually snap at the crease.
- Clasp Mechanism Failure: The internal spring of a spring-ring clasp has died, or the trigger on a lobster clasp has lost its tension.
- Severe Tangling (The 'Bird's Nest'): While not technically a break, a severely mangled knot can cause micro-fractures in delicate chains, leading to a break if pulled with brute force.
Understanding the anatomy of your chain's weave is critical. For instance, the Gemological Institute of America (GIA) notes that intricate weaves like rope and wheat chains have multiple interlocking contact points. When these snap, the surrounding links often distort, making a simple reconnection impossible without replacing a segment of the chain.
Essential Tools for At-Home Chain Troubleshooting
If you are attempting to fix a necklace chain at home, you must abandon standard household tools. Hardware store needle-nose pliers will mar precious metals and crush delicate links. Invest in a basic jewelry repair kit (typically $25–$45) that includes:
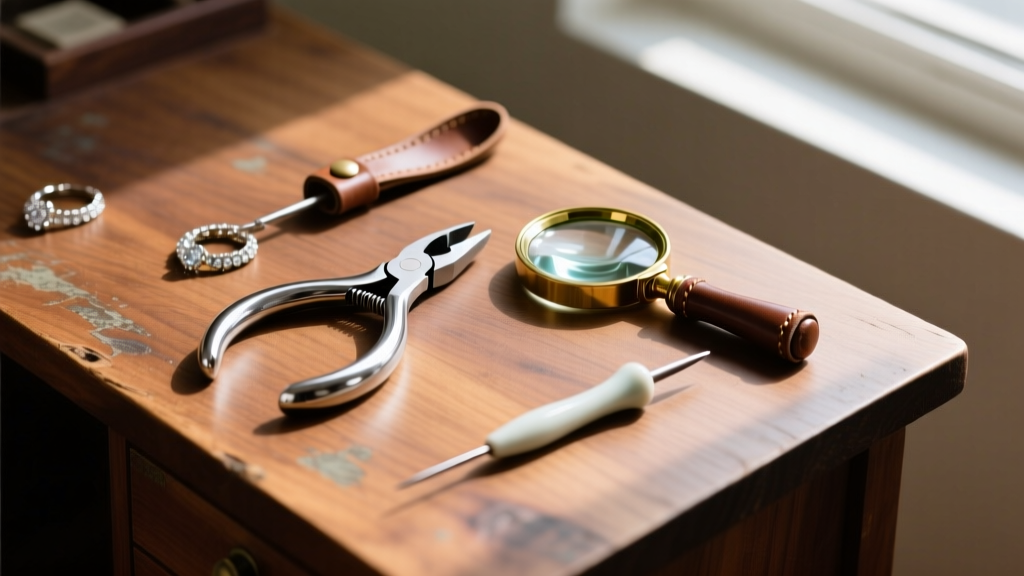
- Flush Cutters: For cleanly snipping wire or jump rings without leaving sharp pinching points.
- Chain-Nose and Round-Nose Pliers: Must be smooth-jawed (no serrations) to grip jump rings without scratching 14k gold or sterling silver.
- 10x Triplet Loupe: Essential for inspecting micro-fractures in links smaller than 1.5mm.
- Brass Tweezers: Non-magnetic and soft enough to handle tiny components without launching them across the room.
- Bead Mat or Velvet Tray: To provide a high-friction, contrasting surface that prevents tiny links from bouncing away.
How to Fix Necklace Chain Knots Without Breaking Links
Never pull a knotted chain. Pulling increases the tension, causing the metal links to deform and permanently weaken. Instead, use the friction-reduction method:
- Lay the knotted chain flat on a hard, non-porous surface like a glass pane or ceramic tile.
- Apply a generous amount of talcum powder, baby powder, or a drop of mineral oil directly to the center of the knot. This drastically reduces the coefficient of friction between the metal links.
- Using two fine sewing needles or jewelry prongs, gently work the center-most link of the knot back and forth. Do not pull the ends of the chain.
- Once the center link is loose, the surrounding tension will dissipate, allowing you to gently tease the rest of the chain apart.
- Clean the chain afterward with a mild dish soap and warm water solution to remove the powder or oil residue.
Repairing Open Jump Rings and Broken Links
If the chain separated at the jump ring (the small circular link connecting the clasp), you can often fix this at home. The golden rule of jump rings is: never pull them apart laterally. Pulling distorts the circle into an oval, weakening the metal's structural integrity.
The 'Twist' Technique
Hold the jump ring with two pairs of smooth-jawed pliers, one on each side of the split. Gently twist one hand toward you and the other away, opening the ring laterally. Hook the chain link and clasp back onto the ring, then twist the ends back together until they click flush. If the jump ring is heavily worn or thinned out from friction, discard it and replace it with a new one. For standard pendant bails, use a 20-gauge (0.81mm) or 18-gauge (1.02mm) jump ring in a matching metal alloy to ensure it can support the pendant's weight without bending.
When to Seek Professional Soldering or Laser Welding
If the chain itself has snapped mid-link, DIY repair is rarely a viable long-term solution. Super glue or jeweler's epoxy will fail almost immediately because the surface area of a broken wire link (often less than 1mm) cannot support the tensile stress of the necklace's weight. You must use heat to fuse the metal. However, the type of heat required depends heavily on the chain's construction and material.
Traditional Torch Soldering
Torch soldering involves using a butane or oxy-acetylene torch to heat the metal and flow a lower-melting-point solder alloy into the break. This works beautifully for solid cable, curb, and figaro chains. According to metallurgical guidelines from Rio Grande, a leading jewelry supply authority, matching the solder's karat and color to the chain is vital; otherwise, the repair spot will appear as a visible, discolored line. Traditional soldering typically costs between $45 and $85.
Laser Welding for Hollow and Intricate Chains
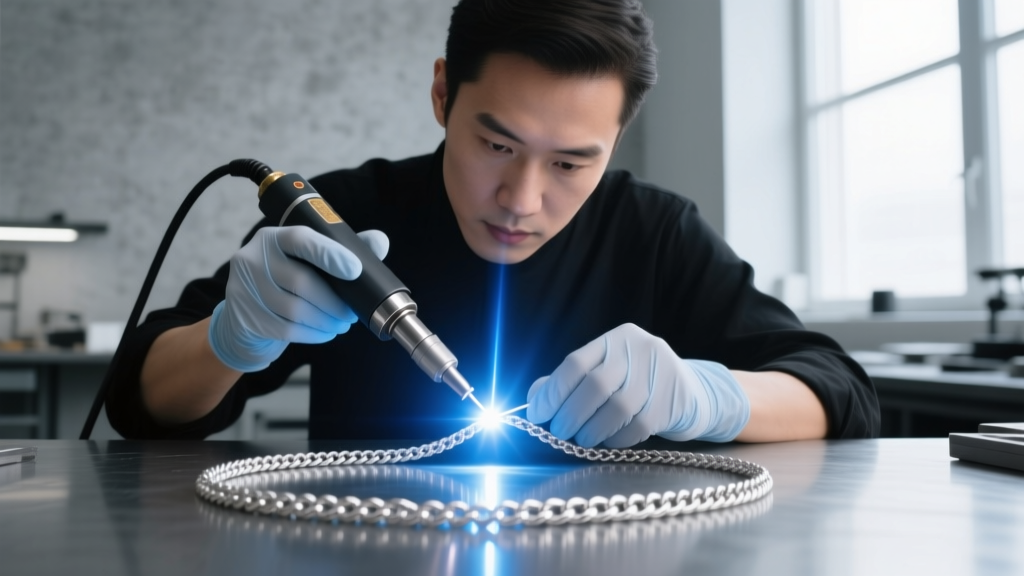
Traditional torch soldering is disastrous for hollow chains (like tubular rope or hollow box chains) because the flux and heat can cause the thin outer tubing to collapse or melt entirely. Laser welding uses highly focused pulses of light to fuse the exact point of the break without transferring ambient heat to the surrounding links. If you have a hollow 14k gold rope chain or a platinum wheat chain, laser welding is mandatory. Expect to pay between $90 and $160 for laser repairs, as it requires specialized equipment and a higher degree of bench expertise.
Chain Repair Cost & Material Compatibility Matrix
Use the table below to determine the viability and estimated cost of repairing your specific chain type in 2026.
| Chain Material & Type | Recommended Repair Method | DIY Feasibility | Estimated Pro Cost (2026) |
|---|---|---|---|
| Sterling Silver Solid Cable | Torch Soldering | Moderate (Jump rings only) | $35 - $55 |
| 14k/18k Gold Solid Curb | Torch Soldering | Moderate (Jump rings only) | $45 - $85 |
| 14k Gold Hollow Rope | Laser Welding | Impossible | $95 - $150 |
| Platinum Box Chain | Laser Welding / TIG | Impossible | $110 - $180 |
| Titanium / Tungsten | Link Replacement / Welding | Impossible | $60 - $120 (if weldable) |
| Gold-Plated Brass | Epoxy / Replacement | Low (Soldering burns plating) | $25 - $40 (Often unrepairable) |
Clasp Mechanism Failures: Spring Rings vs. Lobster Clasps
Sometimes the chain is perfectly intact, but the clasp has failed. Spring ring clasps (the small circular ones with a tiny trigger) are notorious for failing because the internal steel spring rusts or loses tension over time, especially if exposed to sweat, chlorine, or saltwater. You cannot easily repair a spring ring clasp; the tension mechanism is sealed. The best troubleshooting step is to snip off the dead spring ring using flush cutters and attach a new one.
For chains heavier than 1.5mm, we highly recommend upgrading to a solid cast lobster clasp. Lobster clasps feature a thicker, external trigger mechanism and a stronger internal spring, drastically reducing the chance of accidental unhooking. A high-quality solid 14k gold lobster clasp will cost around $15 to $30 and can be easily swapped at home using the twist-method on the accompanying jump ring.
Preventative Maintenance to Avoid Future Breaks
The best way to fix a broken chain is to prevent the metal fatigue that causes it. Implement these three rules to extend the lifespan of your necklaces:
- The 'Last On, First Off' Rule: Always put your necklace on after applying perfumes, lotions, and hairspray, and take it off before showering. Chemical exposure accelerates the degradation of metal alloys, particularly the copper and zinc mixed into 14k gold and sterling silver, making them brittle.
- Proper Storage: Never throw multiple necklaces into a single jewelry box drawer. The friction of chains rubbing against each other acts like microscopic sandpaper, thinning the links over time. Hang chains vertically on a jewelry stand or store them individually in soft polyethylene zip-lock bags to prevent tangling and environmental tarnishing.
- Annual Bench Inspections: Take your high-value chains to a local jeweler once a year. They will use a microscope to check for thinning links, worn jump rings, and failing clasp springs, catching the failure before the chain snaps and the pendant is lost.
By understanding the specific geometry of your chain's weave and respecting the metallurgical limits of the alloy, you can confidently troubleshoot chain failures. Whether you are safely untangling a delicate cable chain with baby powder or knowing exactly when to hand a hollow rope chain over to a laser-welding specialist, you now possess the expert knowledge to keep your jewelry collection secure and beautiful for decades.


